> ## Documentation Index
> Fetch the complete documentation index at: https://fillout.com/help/llms.txt
> Use this file to discover all available pages before exploring further.

# Add signatures to Airtable with a form

> Upload signatures to your Airtable base from a custom Fillout form. This is useful for contract signing, conference check-in forms, waiver forms and other e-signature data collection workflows.

## Video tutorial

This video walks through how to make a form that uploads signatures to Airtable using the Fillout form builder.

<iframe width="100%" height="420" src="https://www.youtube.com/embed/g9mzuoRVsm0" title="Collect e-signatures with Airtable and Fillout" frameborder="0" allow="accelerometer; autoplay; clipboard-write; encrypted-media; gyroscope; picture-in-picture; web-share" referrerpolicy="strict-origin-when-cross-origin" allowfullscreen />

## Overview

Signature forms are useful for all sorts of use cases, like contract signing, conference check-in forms, waiver forms, and many more. Your can make unlimited forms for free, with 1000 submissions per month. Learn more about e-signatures [here](/esignatures).

## How to upload signatures

<Steps>
  <Step title="Add a signature field">
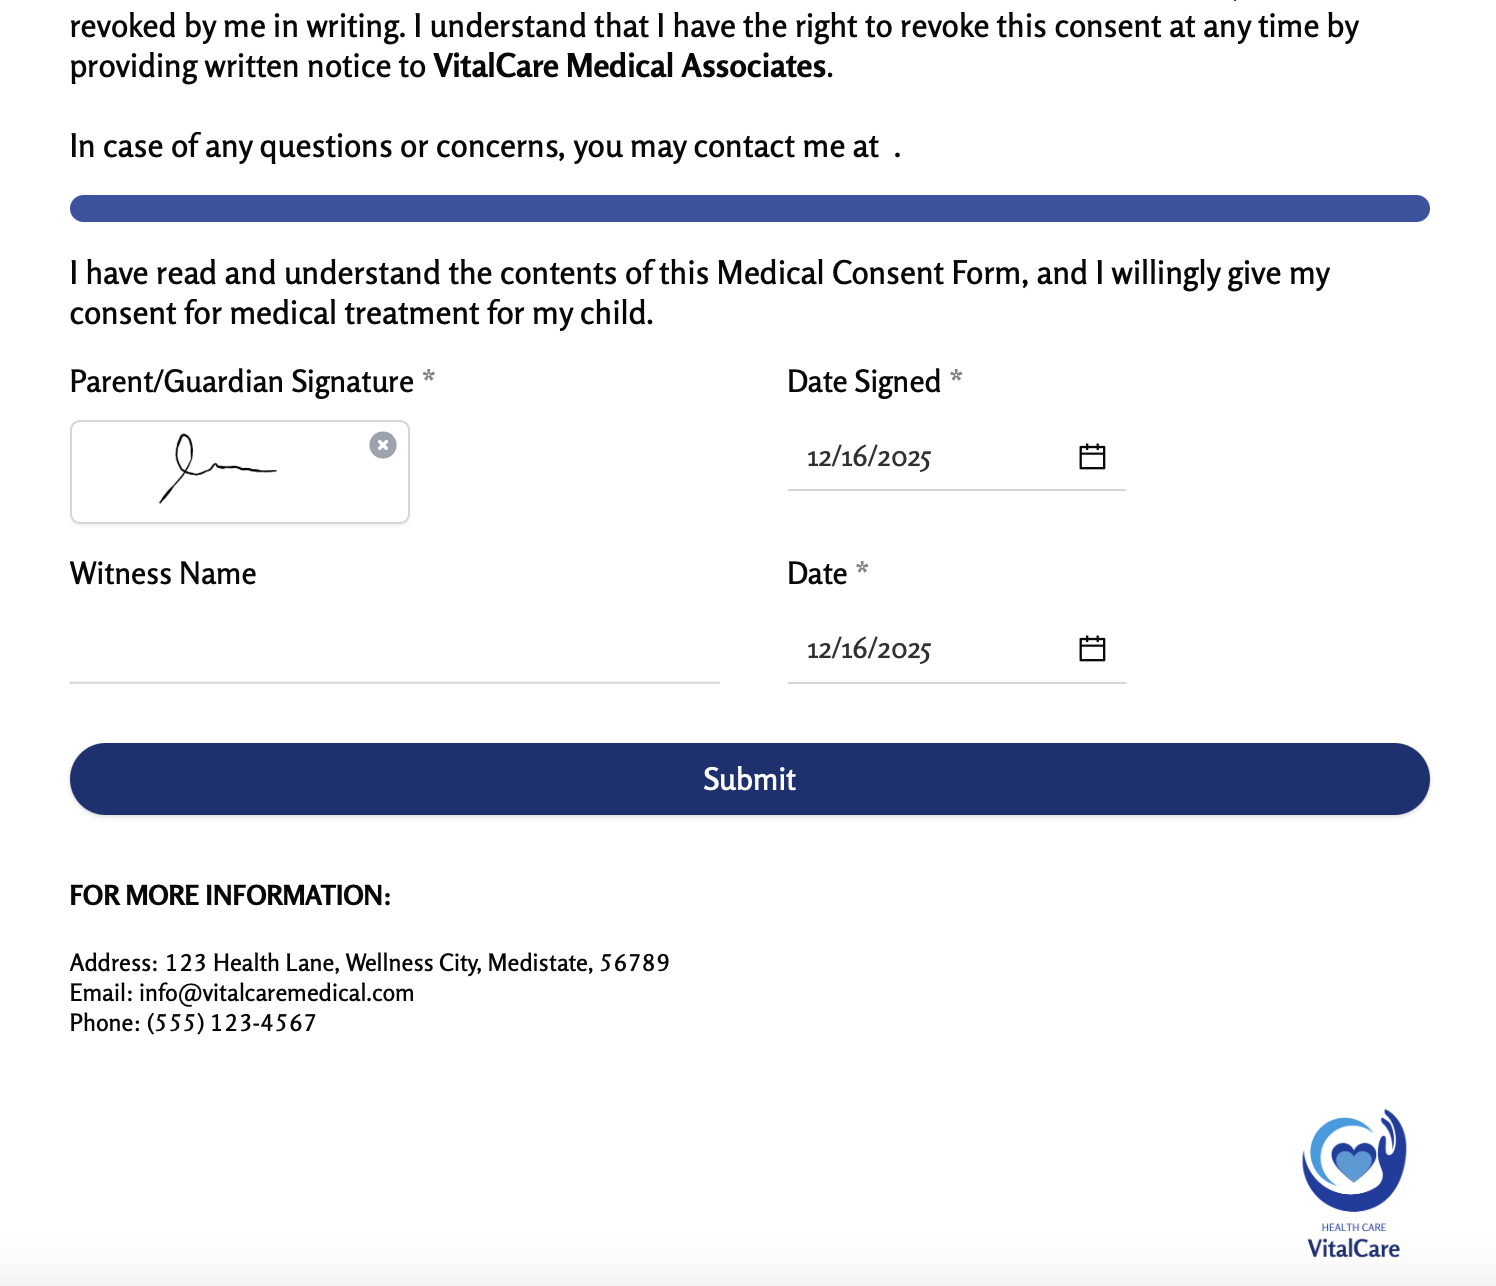
    On the left-hand panel of your Fillout form, click or drag and drop the [Signature field](https://www.fillout.com/help/esignatures#add-e-signatures-to-your-form).

    Once you have it added, you will end up with a form that looks like this.

    <img src="https://mintcdn.com/fillout-005a867b/CqyjdTTgmt0U_cyc/images/Screenshot2025-12-16at5.49.20PM.png?fit=max&auto=format&n=CqyjdTTgmt0U_cyc&q=85&s=b4a7efb0fbd6afdff57cfb240a1bdfb6" alt="Screenshot 2025-12-16 at 5.49.20 PM.png" width="1496" height="1286" data-path="images/Screenshot2025-12-16at5.49.20PM.png" />
  </Step>

  <Step title="Connect to Airtable">
    Click `Integrate` on the top menu followed by `Airtable`. Then, choose your **base** and **table**.
  </Step>

  <Step title="Map the signature field">
    Choose the Airtable field on the left and map it to your form’s Signature field on the right.

    <img src="https://mintcdn.com/fillout-005a867b/UD9ro_N_R6GH2wl_/images/Screenshot2025-11-10at11.38.25AM.png?fit=max&auto=format&n=UD9ro_N_R6GH2wl_&q=85&s=85eef49ab27386e3f3791f49bfb3b048" alt="Screenshot 2025-11-10 at 11.38.25 AM.png" width="1706" height="564" data-path="images/Screenshot2025-11-10at11.38.25AM.png" />
  </Step>

  <Step title="Publish and share">
    That's it! `Publish` your form to make the changes reflect.
  </Step>
</Steps>

## Airtable specific guides

<CardGroup cols={3}>
  <Card title="Create an Airtable form" icon="table-layout" iconType="regular" color="#FFC738" href="/airtable">
    Use a form to create or update Airtable bases.
  </Card>

  <Card title="Update Airtable records" icon="arrow-rotate-right" iconType="regular" color="#FFC738" href="/airtable-update-form">
    Edit existing records and pre-fill fields.
  </Card>

  <Card title="Prevent duplicates" icon="brake-warning" iconType="regular" color="#FFC738" href="/prevent-duplicate-submissions">
    Stop duplicate form submissions from being saved to Airtable.
  </Card>
</CardGroup>