> ## Documentation Index
> Fetch the complete documentation index at: https://fillout.com/help/llms.txt
> Use this file to discover all available pages before exploring further.
# How to create an Airtable form
> Use a Fillout form to create or update your Airtable tables. Embed your forms or share them anywhere.
## What is Airtable?
[**Airtable**](https://airtable.com/) is a cloud-based collaborative database and project management platform that combines the simplicity of a spreadsheet with the power of a database.
## Video tutorial
Check out this tutorial on using Fillout to create or update an Airtable base.
## How it works
If you already have your base created in Airtable, you can skip this step.
Log in to [Airtable](https://airtable.com/), and click `Create` on the lower left corner of your dashboard.
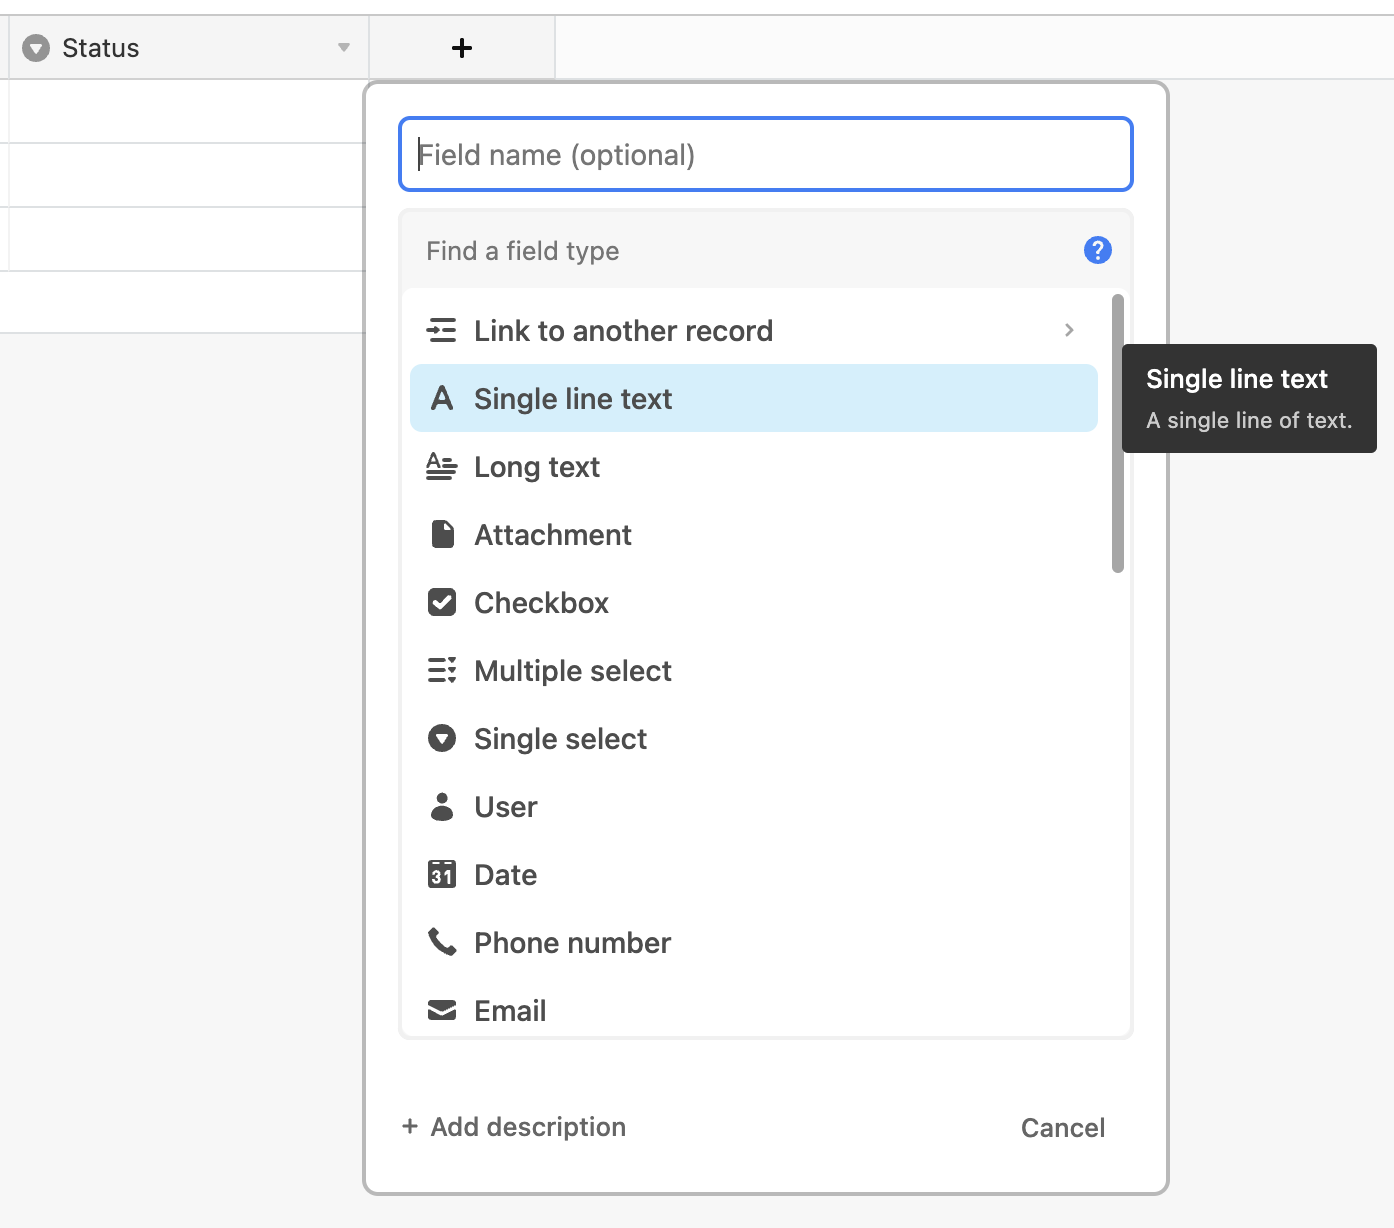
Give your base a **name**, and create the **fields** you need. You’ll need one field for every question in your form (e.g., Single line text for a short answer, Single select for radio buttons, Multi-select, etc).
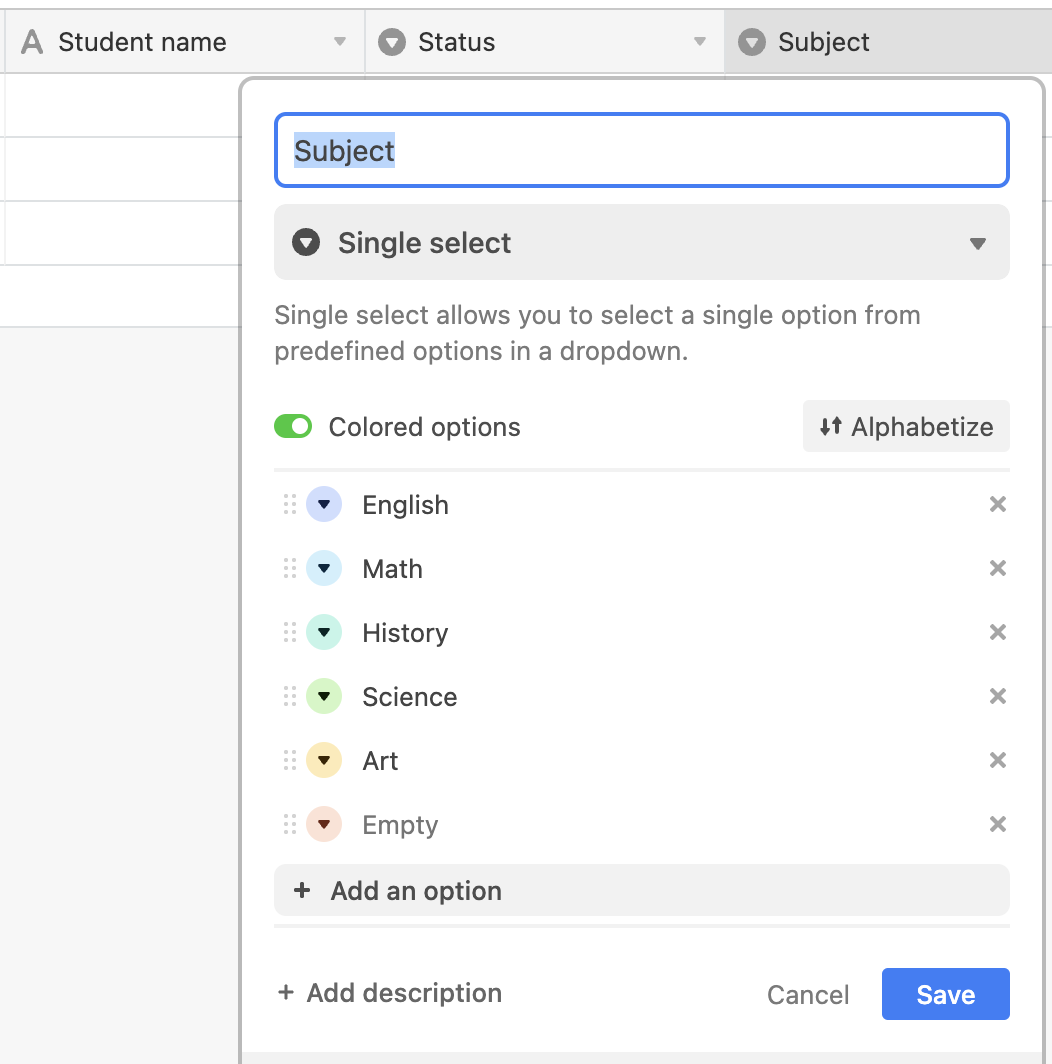
If you are using the Select and Multi-select properties, make sure to type in the options you’d like people to choose from.
Once you’ve added a **field** (and options, when needed) for every response field in your form, 90% of your work is now done.
Nice work! Now you’re ready to sync it easily with a new or existing Fillout form.
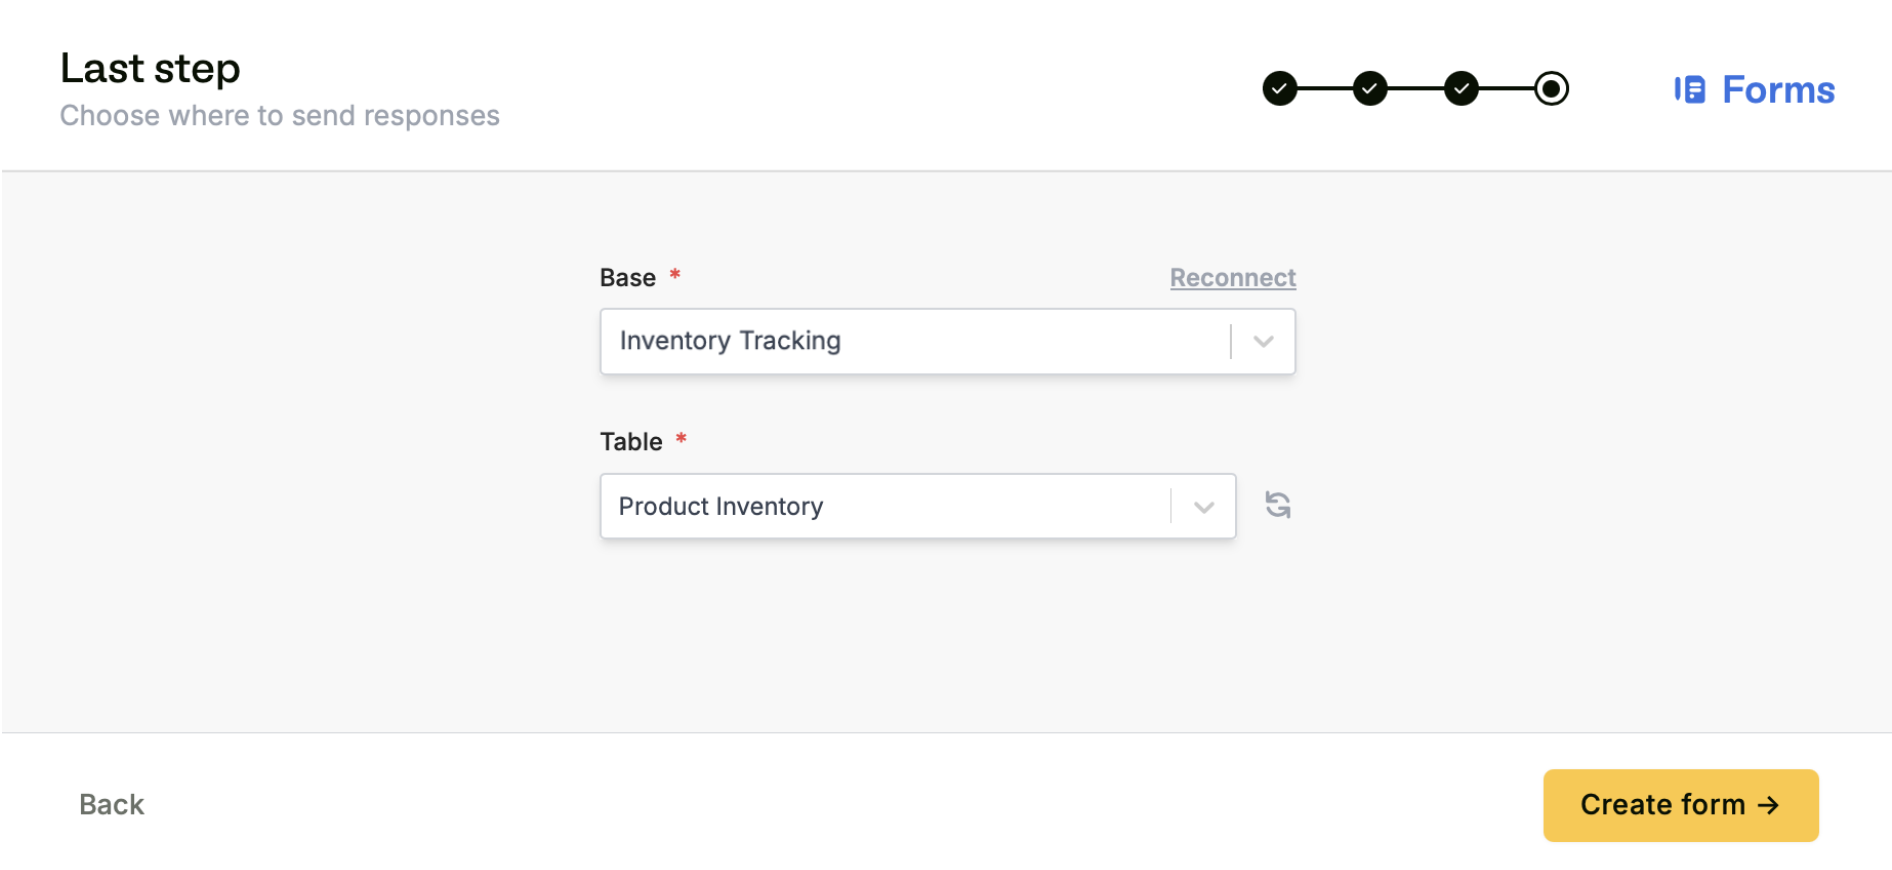
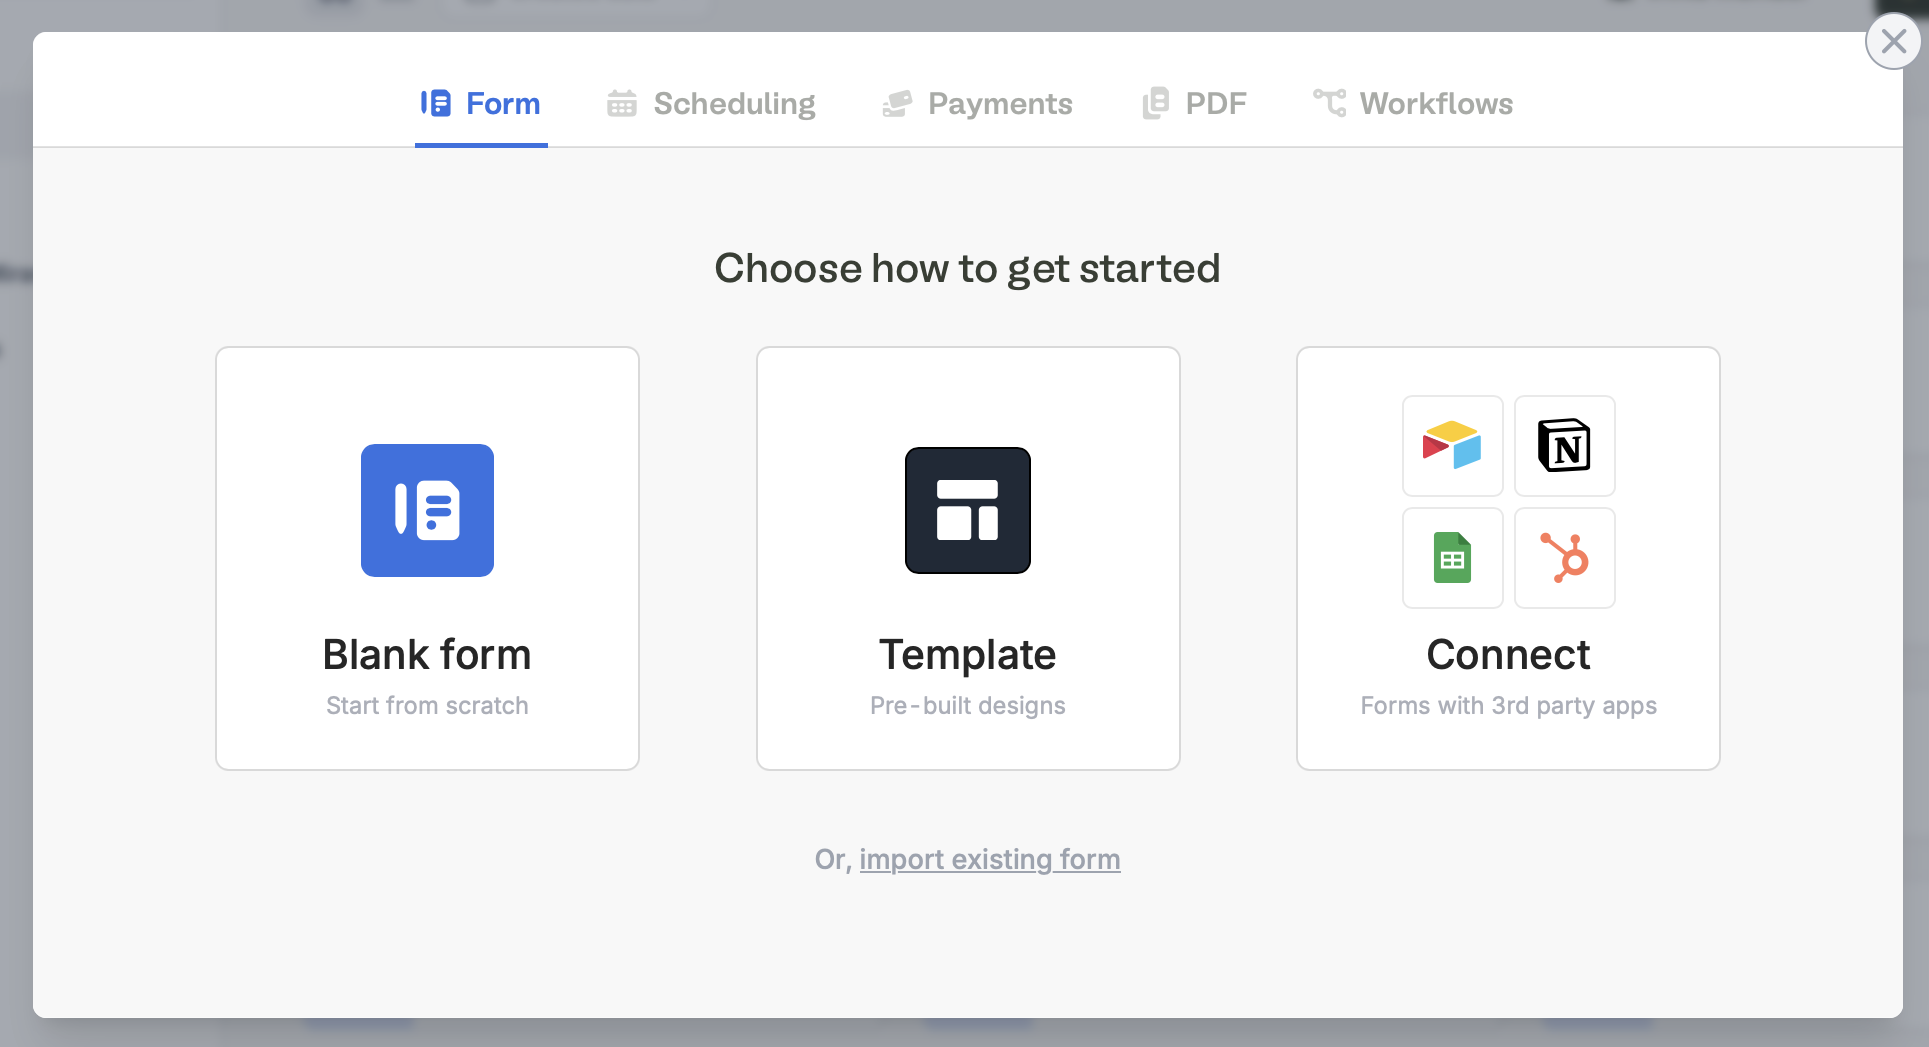
On your [Fillout](https://build.fillout.com/home) dashboard, [create a form](https://www.fillout.com/help/make-a-form). Choose to `Connect` to Airtable.
Select your theme (don’t worry, you can always change this later). Then, enter your **Account name** and `Connect to Airtable`.
After connecting, you can switch to use [personal access tokens](https://support.airtable.com/docs/creating-and-using-api-keys-and-access-tokens) via the Integrations page.
After making the selections, click `+ Create form`.
Don’t see your table in the dropdown list? Check you have connected to the correct base, and try refreshing the page.
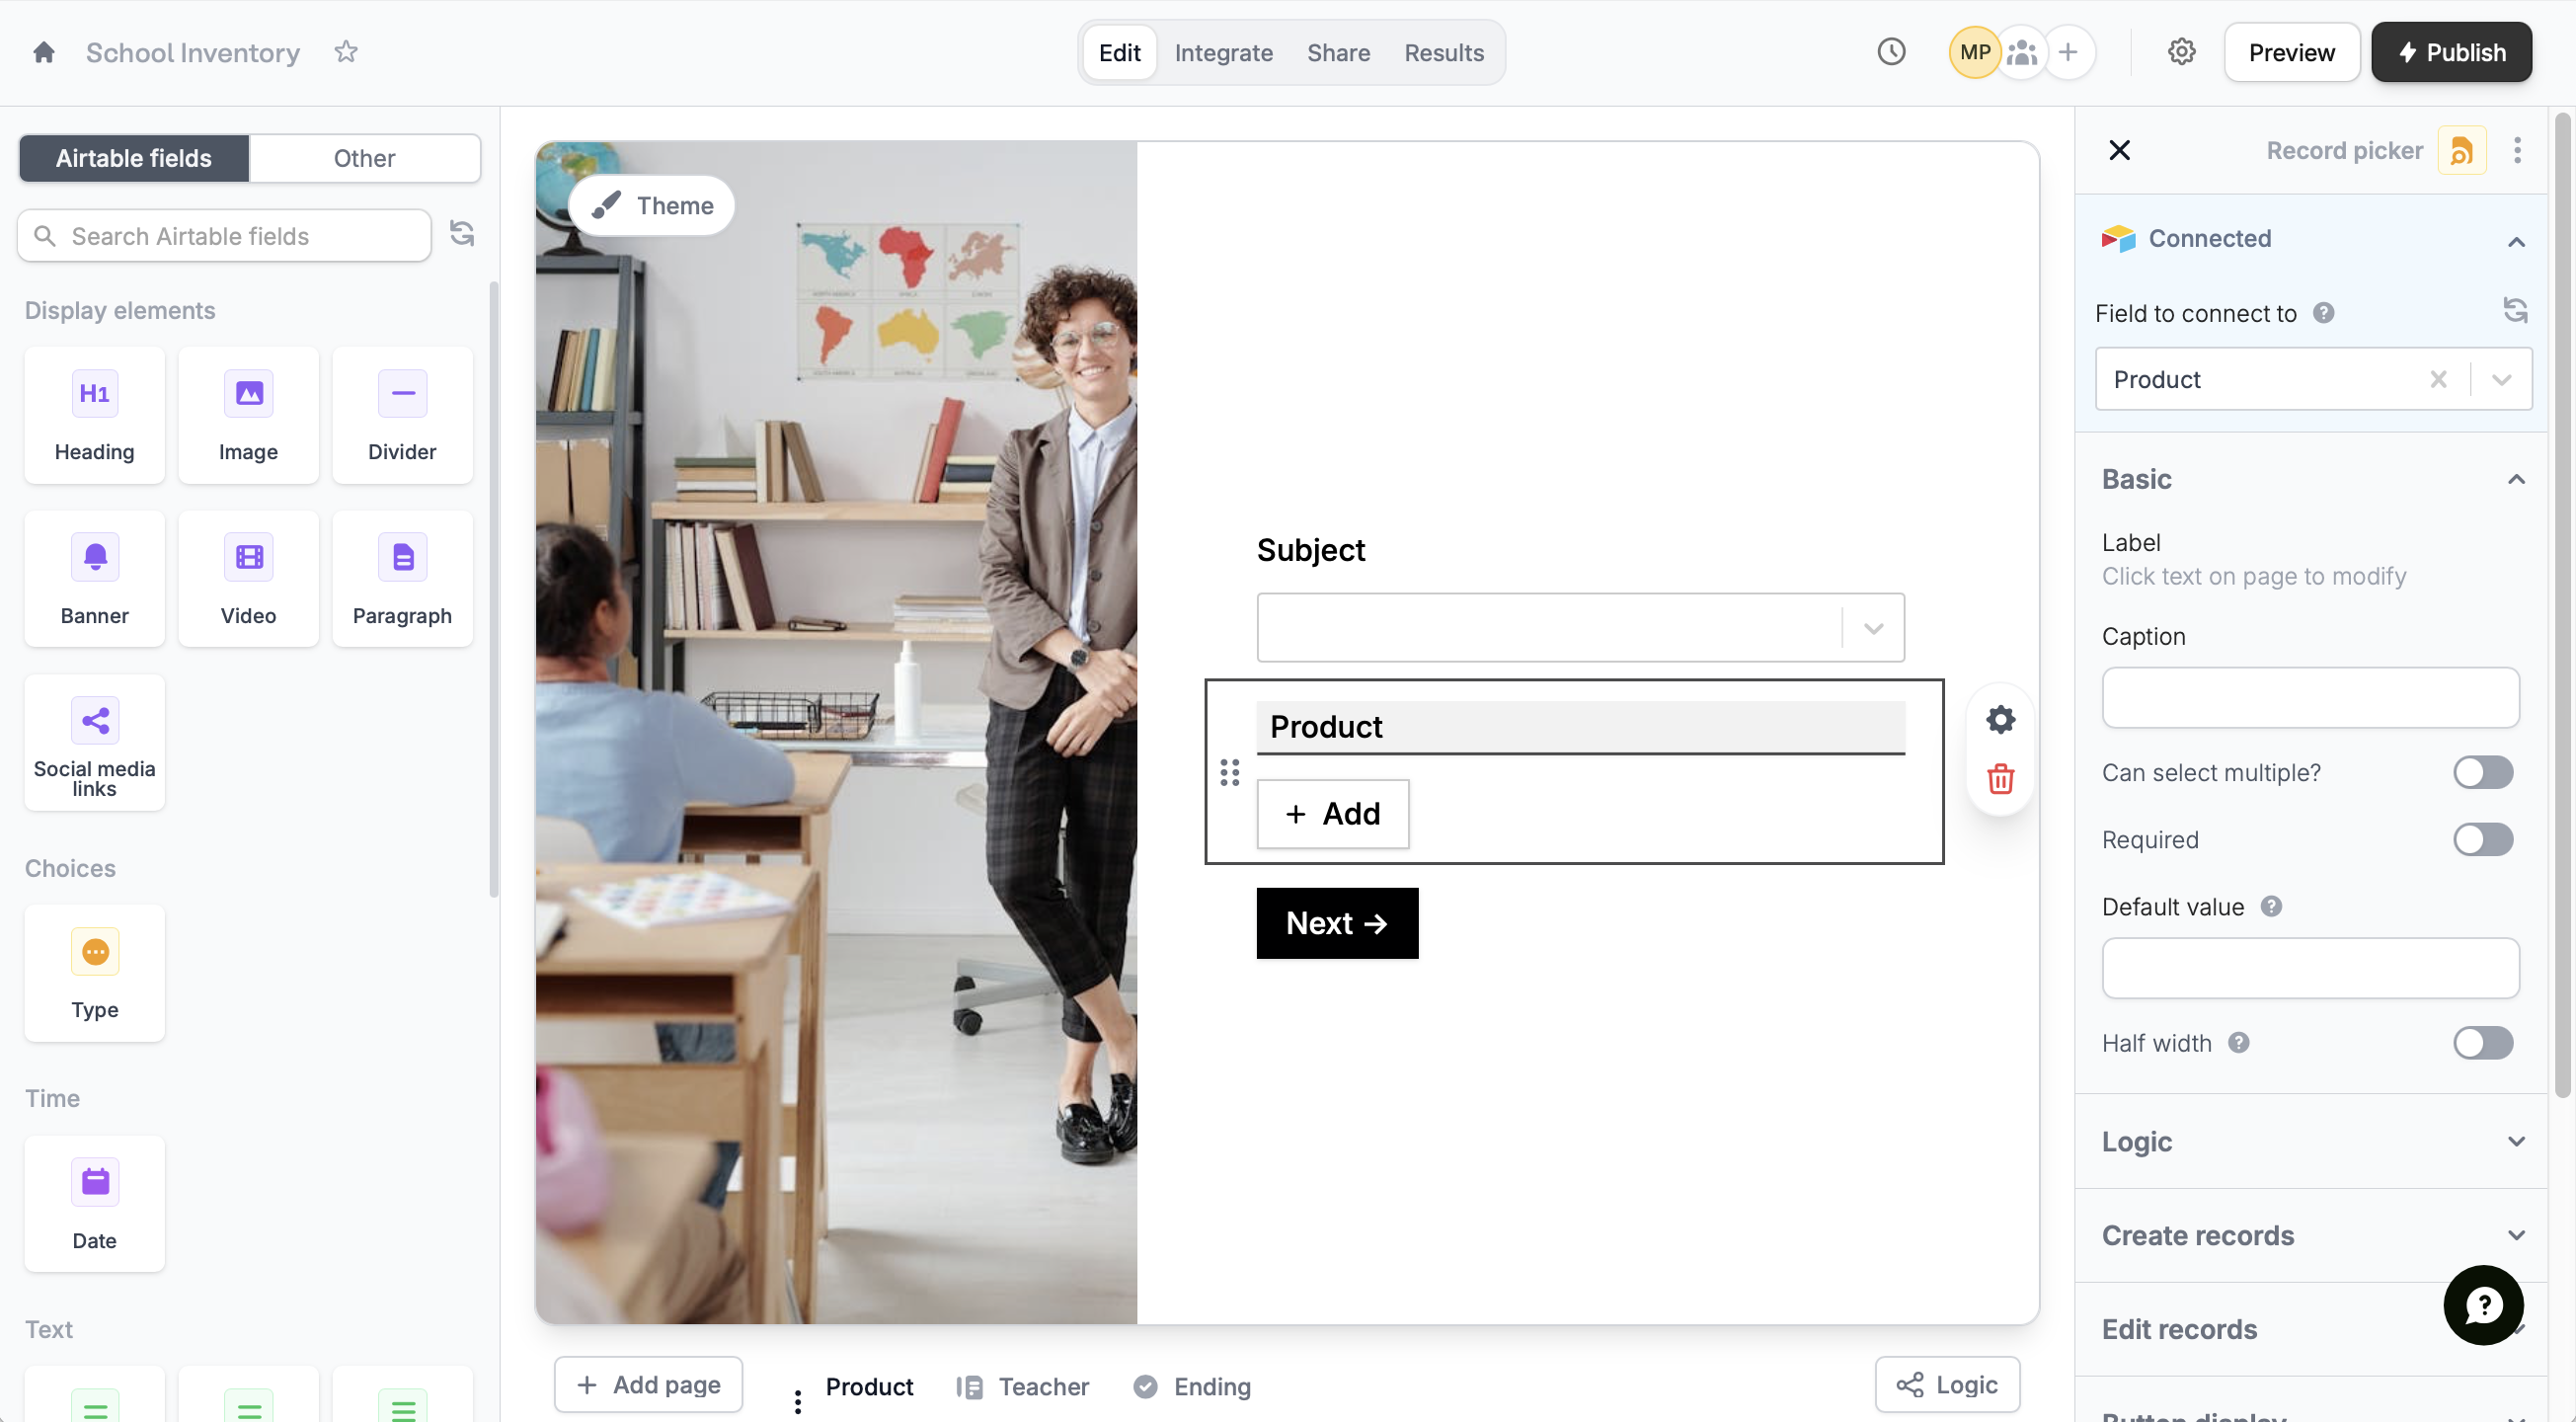
Fillout pulls questions and answer options from your Airtable base. Your `Airtable fields` now appear in the left sidebar. Simply drag & drop to build your form.
When mapping a [ranking field](https://www.fillout.com/help/ranking) from Fillout to a long text field in Airtable, we do not recommend enabling rich text formatting as this causes integration errors.
To connect a new question to your Airtable database, or check an existing connection, open the right-hand panel or go to mappings. Check out [this quick guide](https://www.fillout.com/help/additional-integration-mappings#how-to-map-fields-manually).
To [update your Fillout form](https://www.fillout.com/help/additional-integration-mappings#updating-fields-and-options) after editing your Airtable, click on the left-hand panel.
Once you’ve finished creating your form, you’re ready to go! Simply `Publish` and share. Form responses will now automatically populate inside your Airtable database.
Fillout has many powerful features like [branching](/page-logic) and [conditional hide/appear logic](/conditional-hiding). No matter how complex your needs are, there’s a way to build it in Fillout.
## Specify a condition
You can run your integration only when a specific condition is met. Check out this [guide](/conditional-integration).
## Airtable specific guides
Edit existing records and pre-fill fields.
Let respondents create records from your form.
Stop duplicate entries from being saved to your Airtable bases.
 Give your base a **name**, and create the **fields** you need. You’ll need one field for every question in your form (e.g., Single line text for a short answer, Single select for radio buttons, Multi-select, etc).
 If you are using the Select and Multi-select properties, make sure to type in the options you’d like people to choose from.
Once you’ve added a **field** (and options, when needed) for every response field in your form, 90% of your work is now done.
If you are using the Select and Multi-select properties, make sure to type in the options you’d like people to choose from.
Once you’ve added a **field** (and options, when needed) for every response field in your form, 90% of your work is now done.
 Nice work! Now you’re ready to sync it easily with a new or existing Fillout form.
 Select your theme (don’t worry, you can always change this later). Then, enter your **Account name** and `Connect to Airtable`.