> ## Documentation Index
> Fetch the complete documentation index at: https://fillout.com/help/llms.txt
> Use this file to discover all available pages before exploring further.
# Create new linked records in an Airtable form
> Let respondents create new Airtable records from a record picker in your Fillout form by filling out a child form. The new record will be automatically selected.
## Video tutorial
Below is a tutorial video on how to create new [Airtable records](https://www.airtable.com/guides/build/connect-data-with-linked-records) from a linked record picker in Fillout.
## Create new linked records
Add a `Record picker` field directly from Fillout and map it to the corresponding Airtable field.
 Alternatively, connect to Airtable first so your `Link to another record` field there automatically appears in Fillout. No manual mapping needed.
 Click the field's to enable `Can create new records?`.
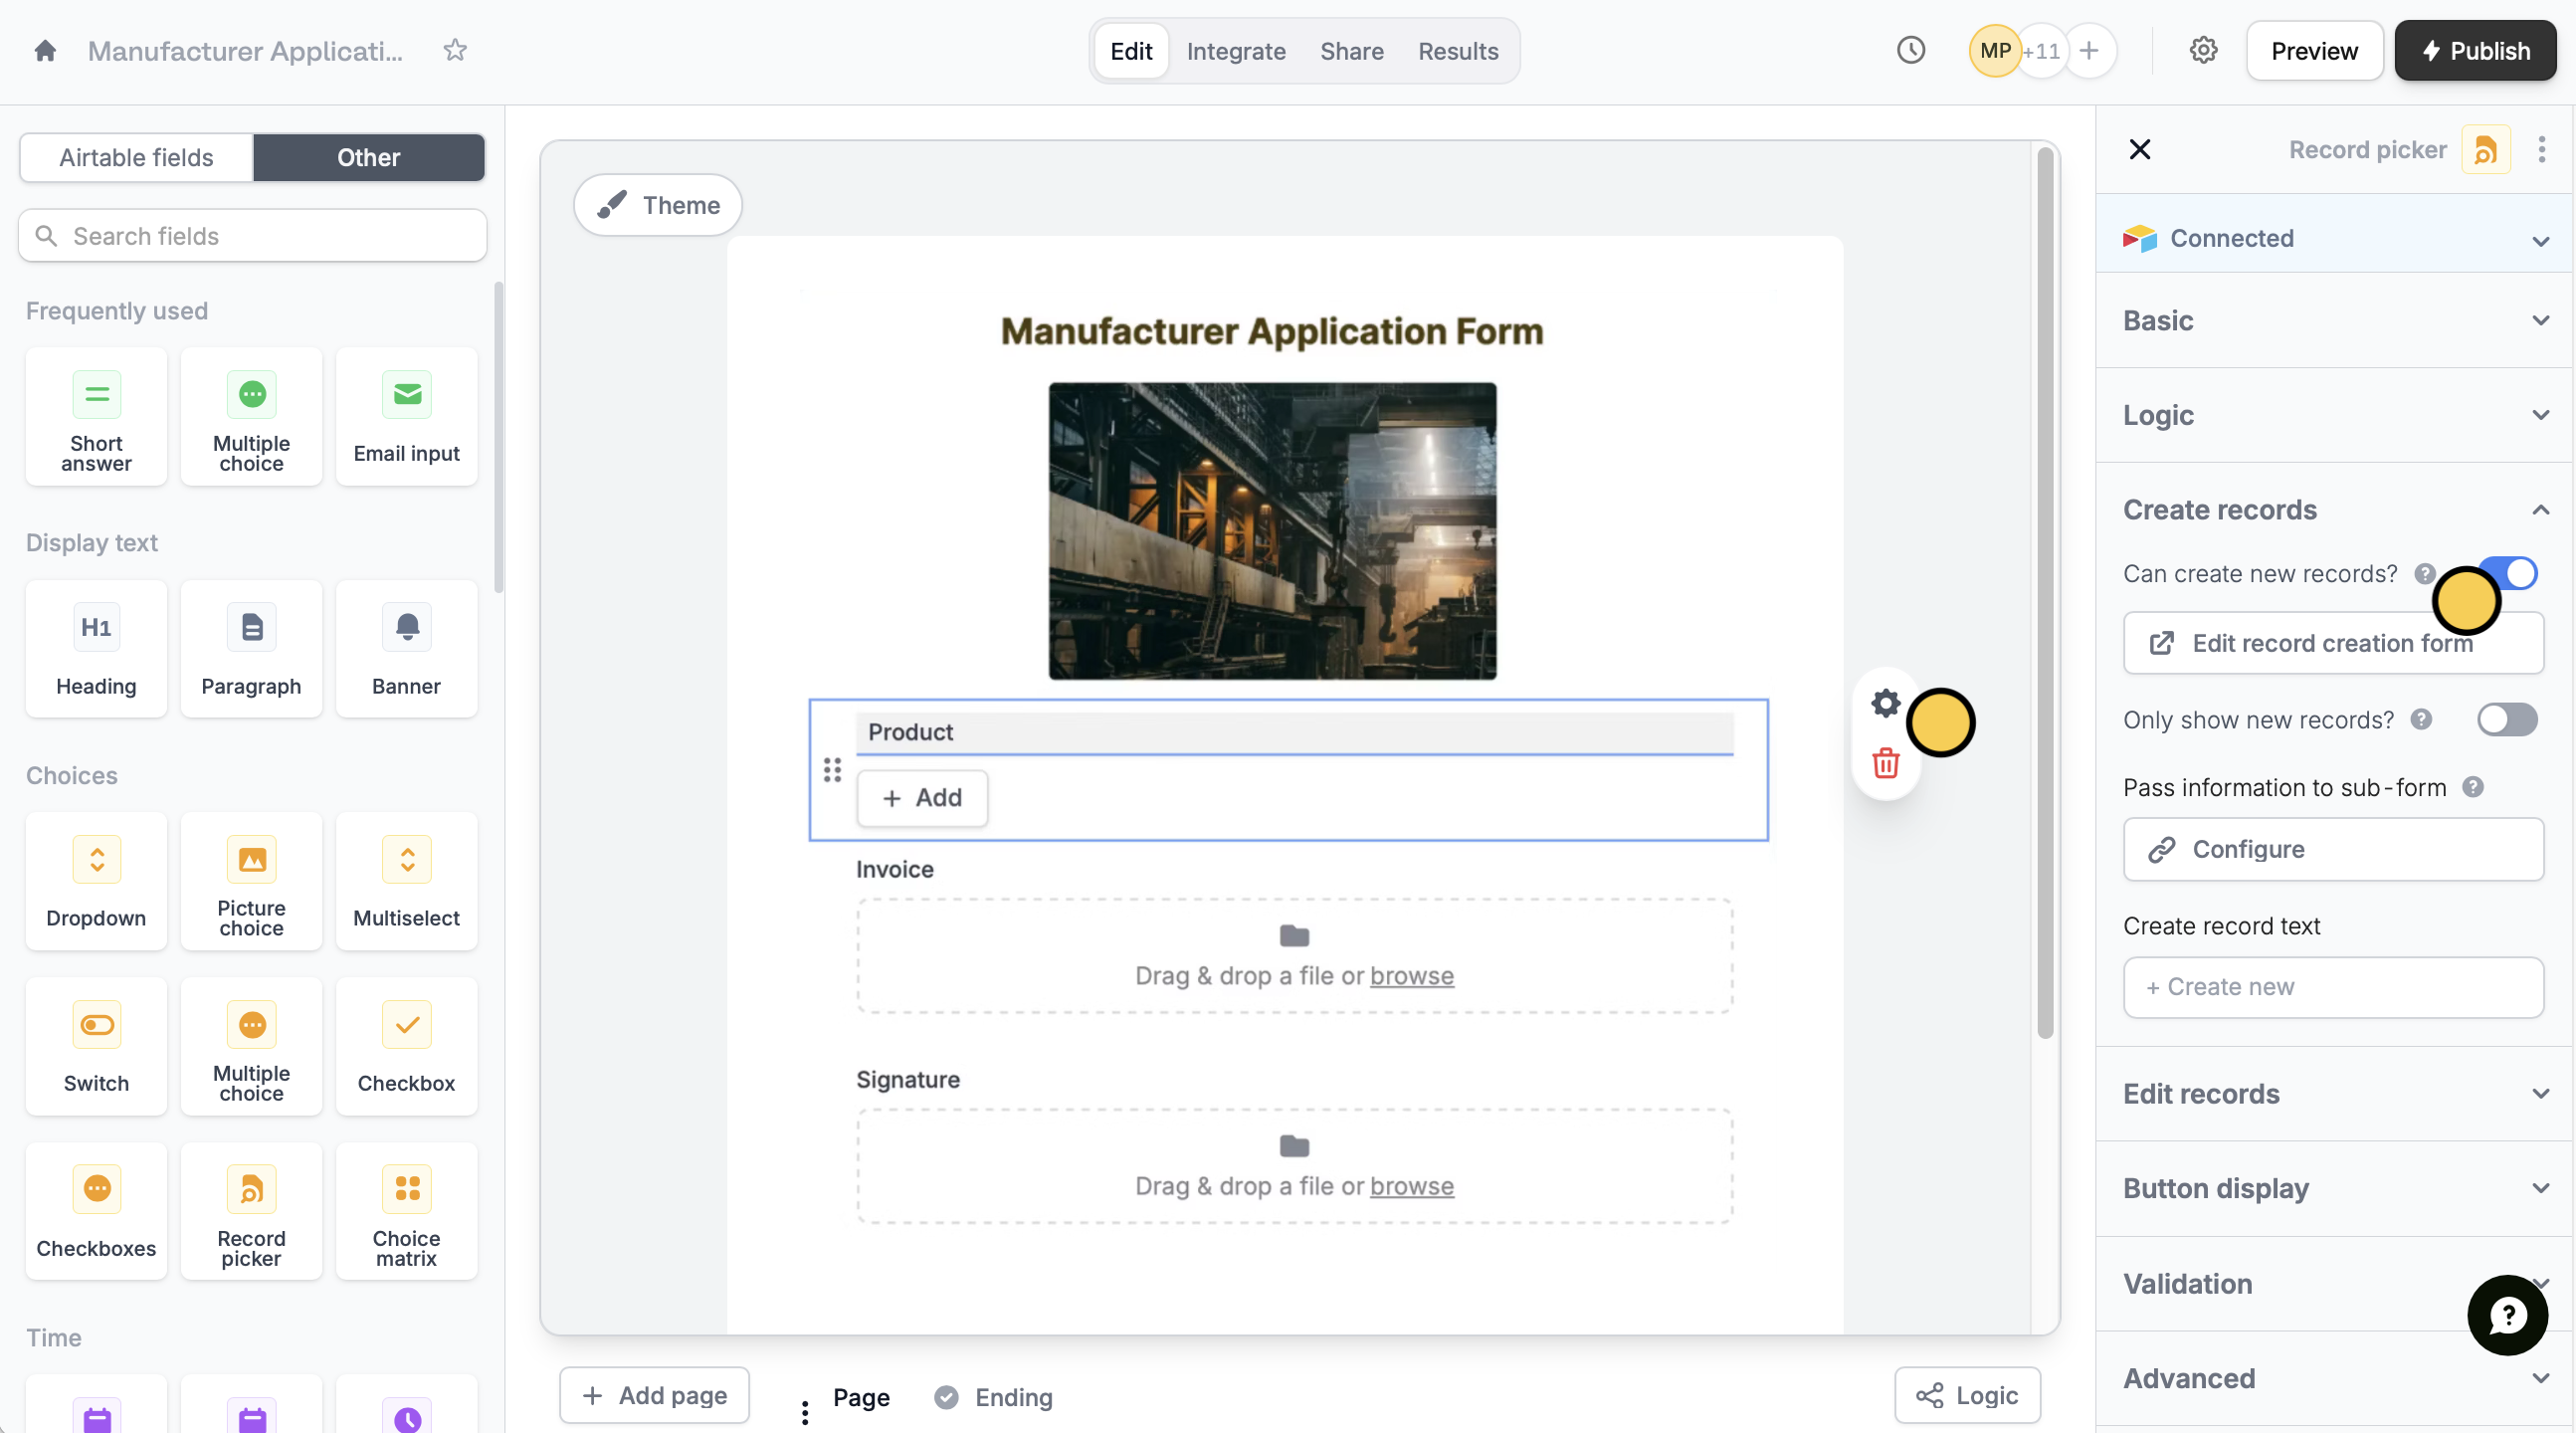 In the right-hand panel, you can also:
* **Edit record creation form** - modify the subform used for creating new records
* **Only show new records** - let respondents create new records, but not select existing records
* **Pass information to subform** - specify fields or info from your main form to the subform
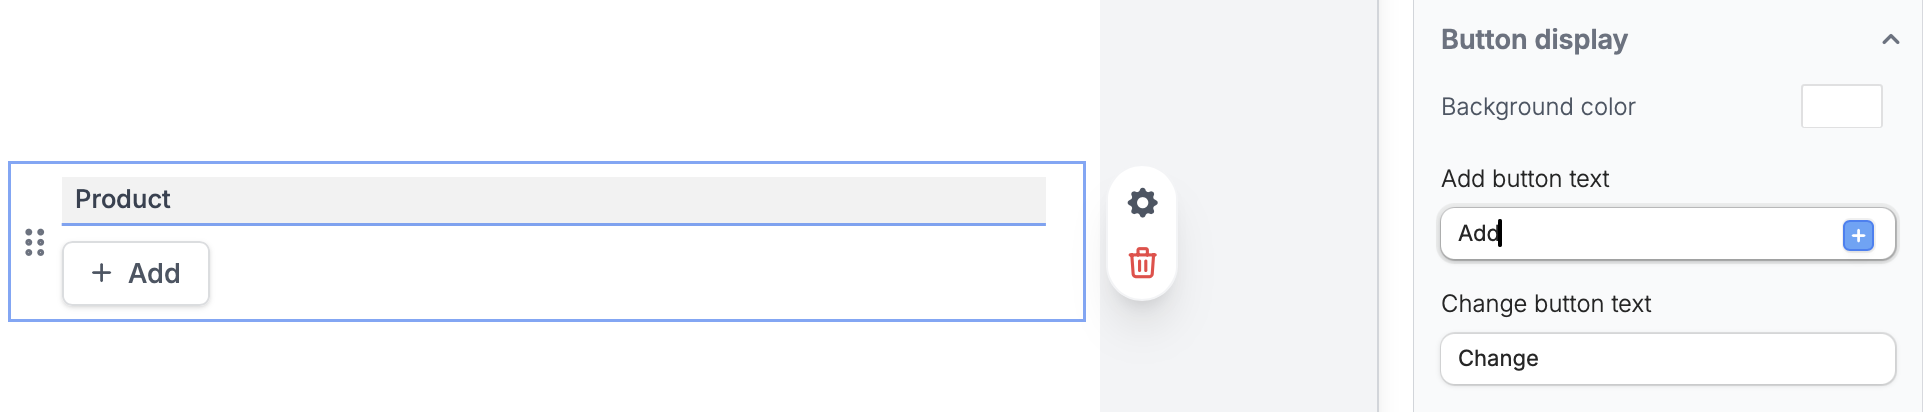
* **Change button labels** - edit the default label for the Add and Change buttons
In the right-hand panel, you can also:
* **Edit record creation form** - modify the subform used for creating new records
* **Only show new records** - let respondents create new records, but not select existing records
* **Pass information to subform** - specify fields or info from your main form to the subform
* **Change button labels** - edit the default label for the Add and Change buttons
 You have to register URL parameters in your subform first. Check out [this short guide](https://www.fillout.com/help/url-parameters#how-to-add-a-url-parameter-or-hidden-field).
When everything's set, click `Publish` to make the changes reflect.
## Airtable specific guides
Edit existing records and pre-fill fields.
Let respondents update linked records.
Set pre-fills, reference fields, and more.
You have to register URL parameters in your subform first. Check out [this short guide](https://www.fillout.com/help/url-parameters#how-to-add-a-url-parameter-or-hidden-field).
When everything's set, click `Publish` to make the changes reflect.
## Airtable specific guides
Edit existing records and pre-fill fields.
Let respondents update linked records.
Set pre-fills, reference fields, and more.