> ## Documentation Index
> Fetch the complete documentation index at: https://fillout.com/help/llms.txt
> Use this file to discover all available pages before exploring further.
# Create Google Docs with a form
> Generate custom Google Docs every time your form is completed. Share your form as a link or embed it on your website.
## What is Google Docs?
[**Google Docs**](https://www.google.com/docs/about/) is a cloud-based word processing tool that allows users to create, edit, and collaborate on documents in real-time from any device. Part of Google Workspace, it's known for its ease of use, seamless collaboration features, and integration with other Google services.
## How it works
Open your Fillout form or create a new one. Under `Integrate` from the top menu, click `Google Docs`.
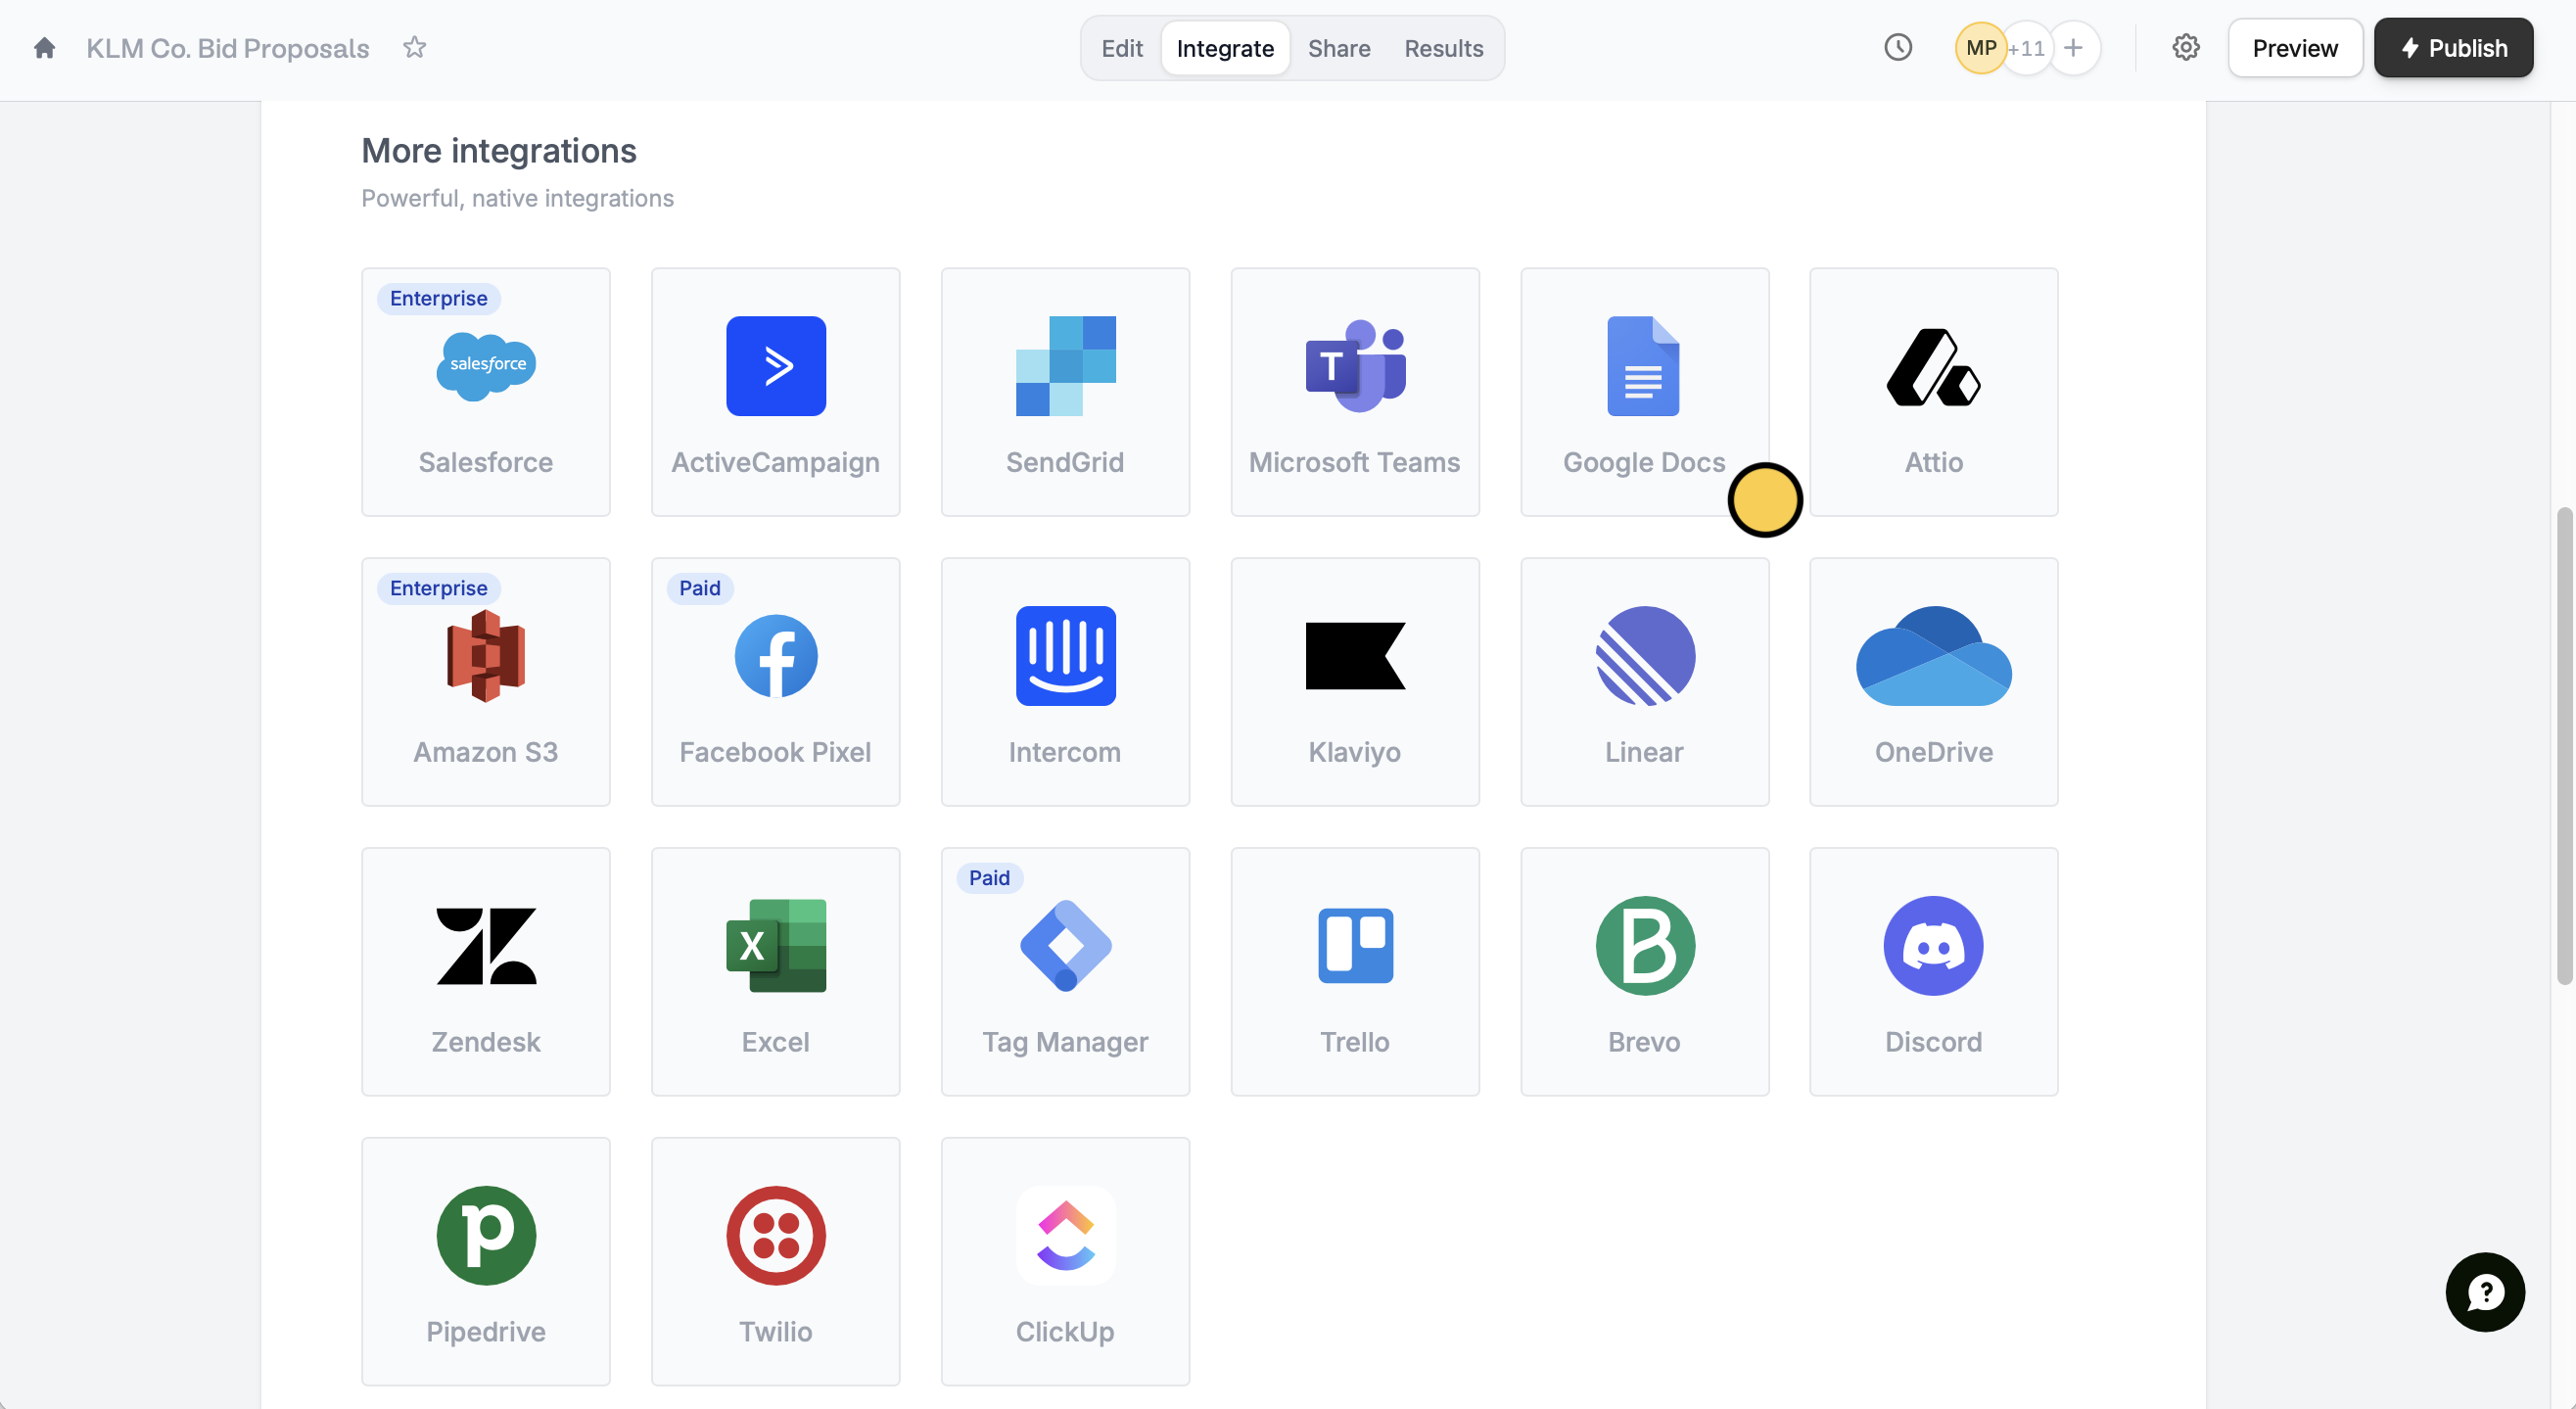 Then, `Sign in with Google` to authorize access.
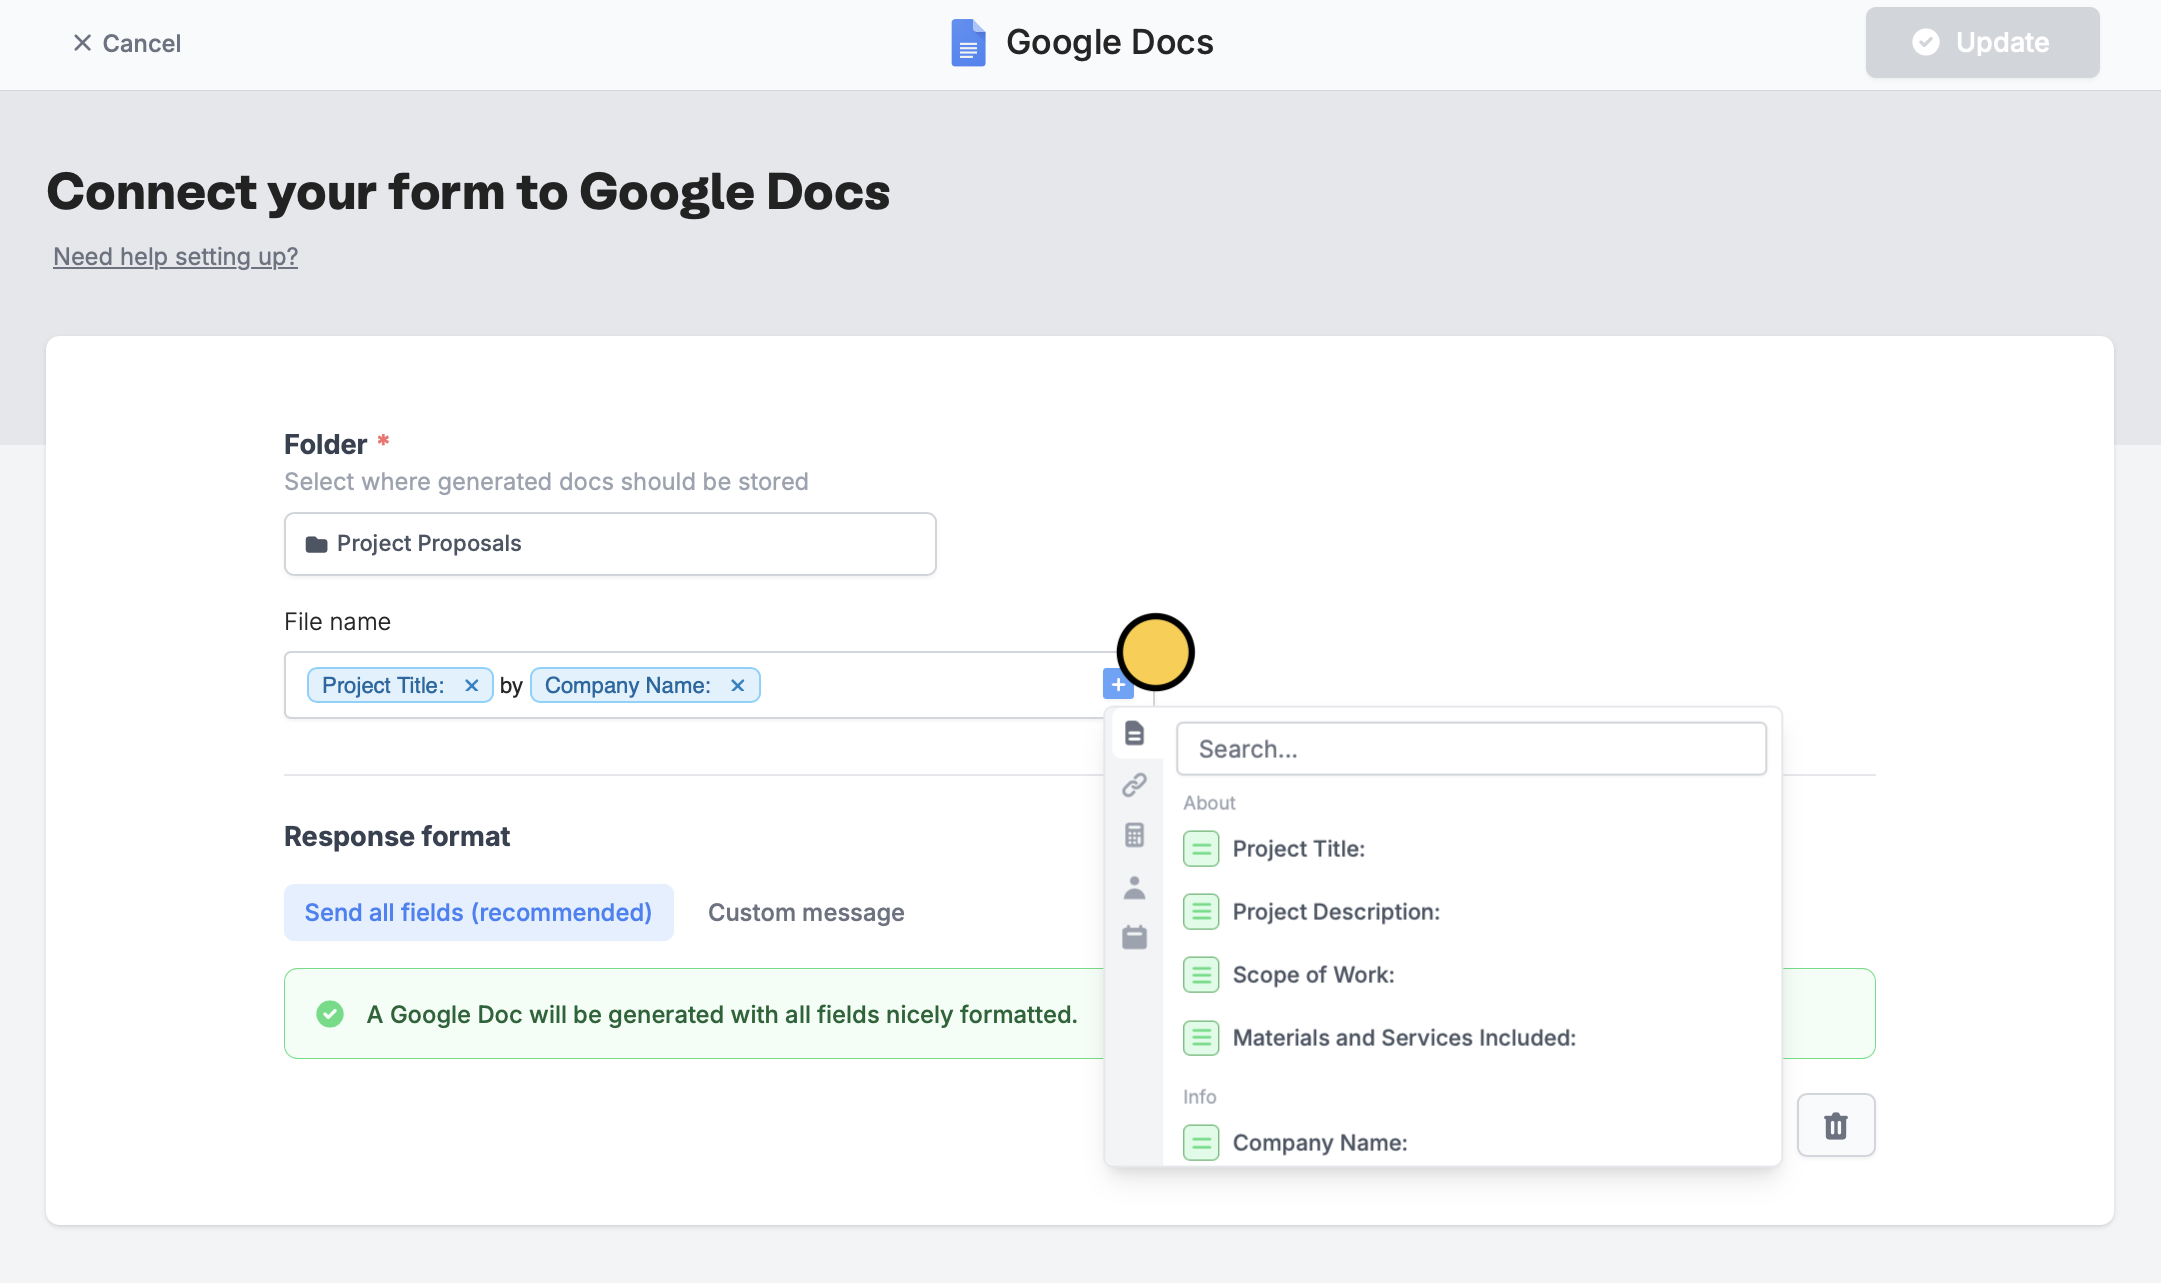
Choose which **Folder** you’d like to store submissions in. Then, type a **File name** or reference fields in your form by clicking or typing **@**.
Then, `Sign in with Google` to authorize access.
Choose which **Folder** you’d like to store submissions in. Then, type a **File name** or reference fields in your form by clicking or typing **@**.
 You can choose to customize the format of the Google Docs by clicking `Custom message` to only include relevant fields. Type keywords and reference fields by clicking or typing **@**.
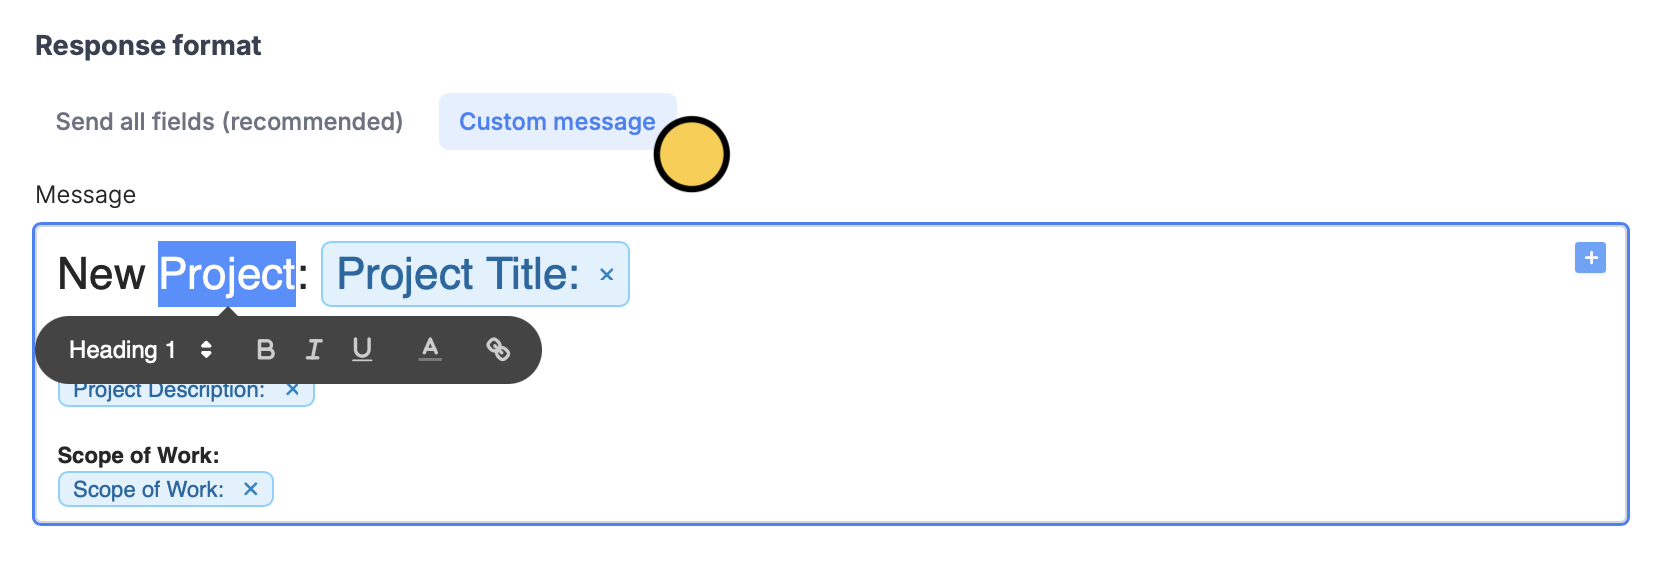 To format the text, **highlight** it. Then, click `Finish setup` in the upper right corner.
`Preview` your form to test it out. Once everything’s set, click `Publish` and share the link or embed your form anywhere.
That’s it! Now every time a form is submitted, a new Google Doc will appear in your chosen folder.
## Create a Doc only when a condition is met
You can choose to generate docs only under a specified condition. Check out this [quick guide](/conditional-integration#bbe44591cc624d09b3cf1198e66b75e0).
## Other Google integrations
Automatically upload files with a form.
Sync form responses to a Google Sheet.
Check conversions and ROI through responses.
To format the text, **highlight** it. Then, click `Finish setup` in the upper right corner.
`Preview` your form to test it out. Once everything’s set, click `Publish` and share the link or embed your form anywhere.
That’s it! Now every time a form is submitted, a new Google Doc will appear in your chosen folder.
## Create a Doc only when a condition is met
You can choose to generate docs only under a specified condition. Check out this [quick guide](/conditional-integration#bbe44591cc624d09b3cf1198e66b75e0).
## Other Google integrations
Automatically upload files with a form.
Sync form responses to a Google Sheet.
Check conversions and ROI through responses.