> ## Documentation Index
> Fetch the complete documentation index at: https://fillout.com/help/llms.txt
> Use this file to discover all available pages before exploring further.
# How to create a HubSpot form
> Use a Fillout form to create or update your HubSpot contacts. Embed your forms or share them anywhere.
## What is HubSpot?
[**HubSpot**](https://www.hubspot.com/) functions as a comprehensive CRM platform that incorporates a variety of software, integrations, and tools, enabling seamless connectivity between marketing, sales, content management, and customer service.
## Video tutorial
## How it works
On your [Fillout](https://build.fillout.com/home) dashboard, [create a form](https://www.fillout.com/help/make-a-form). Choose to `Connect` to HubSpot.
Choose your theme (don’t worry, you can always change this later). Then, choose a **HubSpot** **account** to connect your contacts table to Fillout.
Unable to connect? Try ensuring that you’re logged into the correct HubSpot account before connecting, and try again. Contact [support@fillout.com](mailto:support@fillout.com) for help.
Fillout will pull HubSpot properties that will be shown on the left-hand panel of the form editor. Simply drag and drop these into your form.
Custom properties created in HubSpot should be marked to **Use in forms, and bots**, to use in Fillout forms.
To connect a new question or field to HubSpot, open the right-hand panel or go to mappings. Check out [this quick guide](https://www.fillout.com/help/additional-integration-mappings#how-to-map-fields-manually).
To [update your Fillout form](https://www.fillout.com/help/additional-integration-mappings#updating-fields-and-options) with changes from your HubSpot contacts table, click .
Once you’ve finished creating your form, you’re ready to go! Simply `Publish` and share. Form responses will now automatically populate inside your HubSpot table. You can share the link directly, or embed the form on your site.
Fillout has many powerful features like [**branching**](/page-logic) and [conditional hide/appear logic](/conditional-hiding). No matter how complex your needs are, there’s a way to build it in Fillout.
## Update existing contacts
Existing contacts will automatically be updated if the form is re-submitted with the same email as an existing contact in your HubSpot CRM.
You can pre-fill your form if you already know information about your existing contact. For more info, see this [help article](/prefill-fields).
## Specify a condition
You can run your integration only when a specific condition is met. Check out this [guide](/conditional-integration).
## HubSpot specific guide
Add new records with a form.
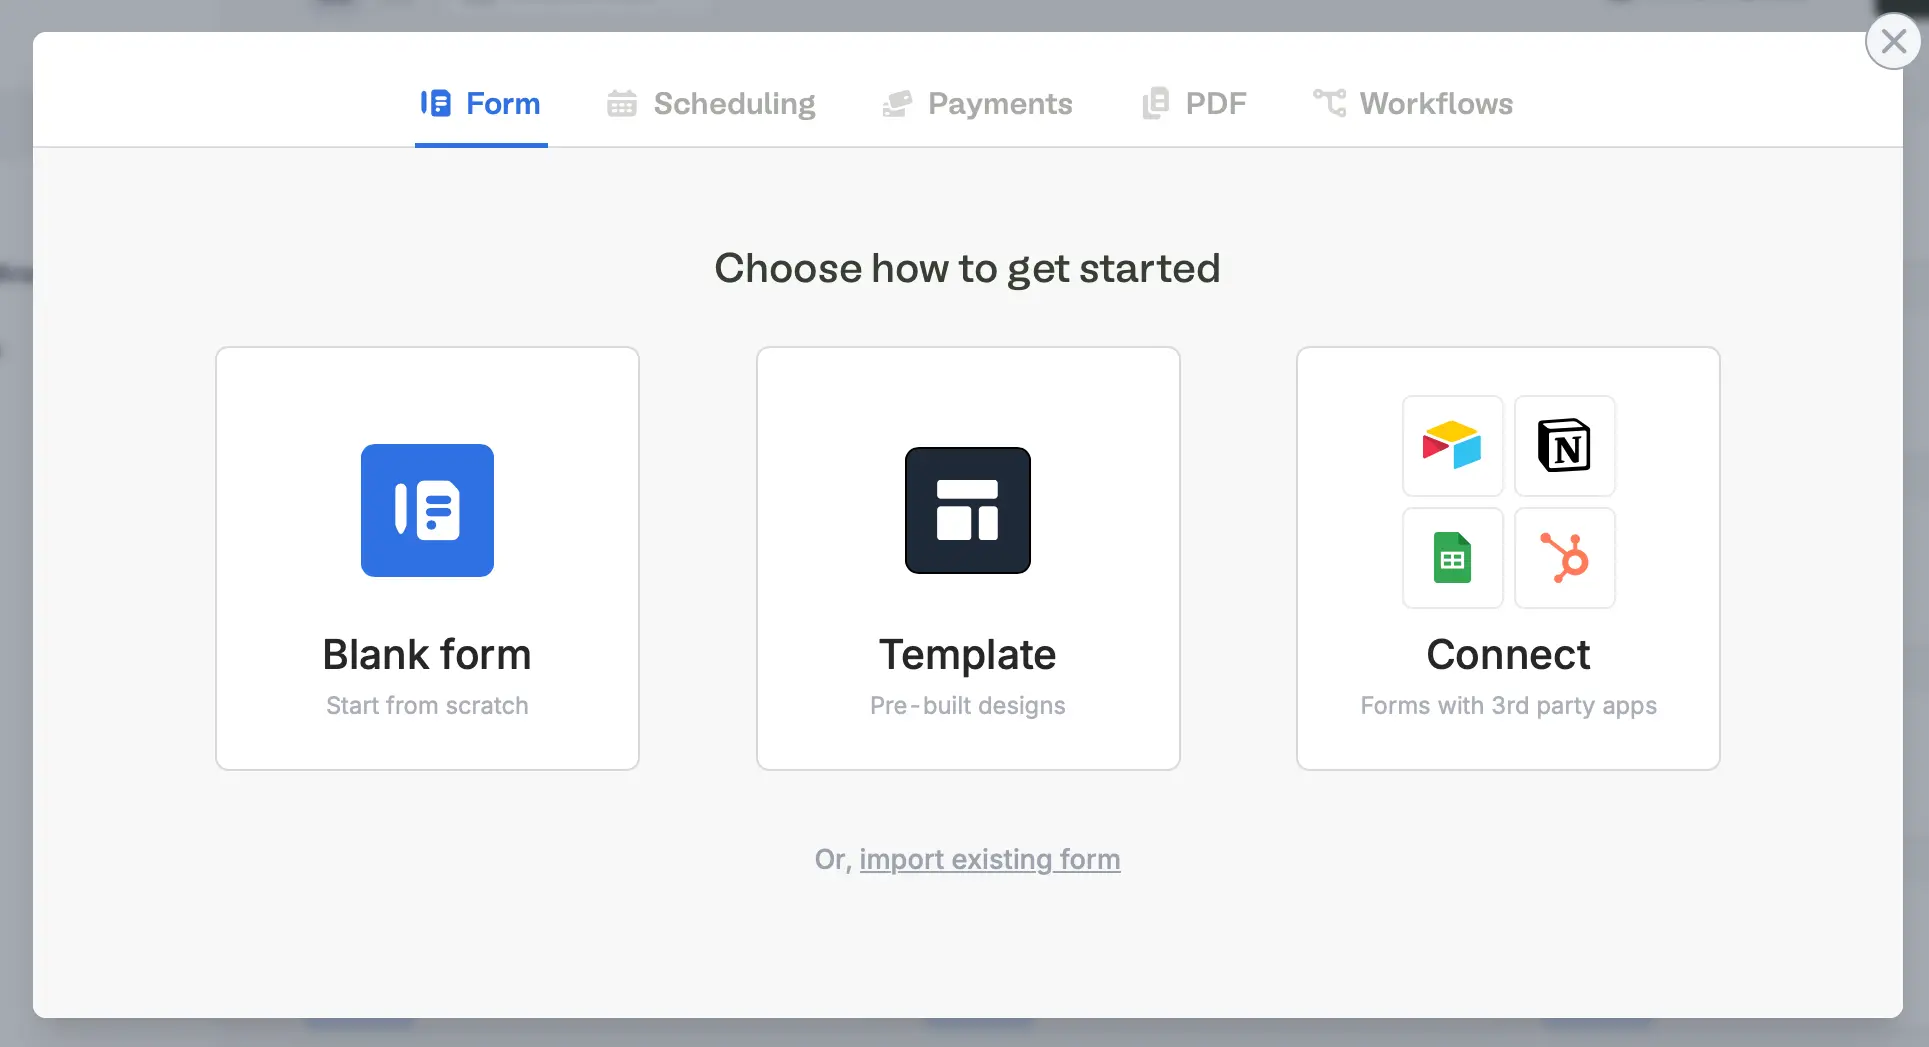 Choose your theme (don’t worry, you can always change this later). Then, choose a **HubSpot** **account** to connect your contacts table to Fillout.
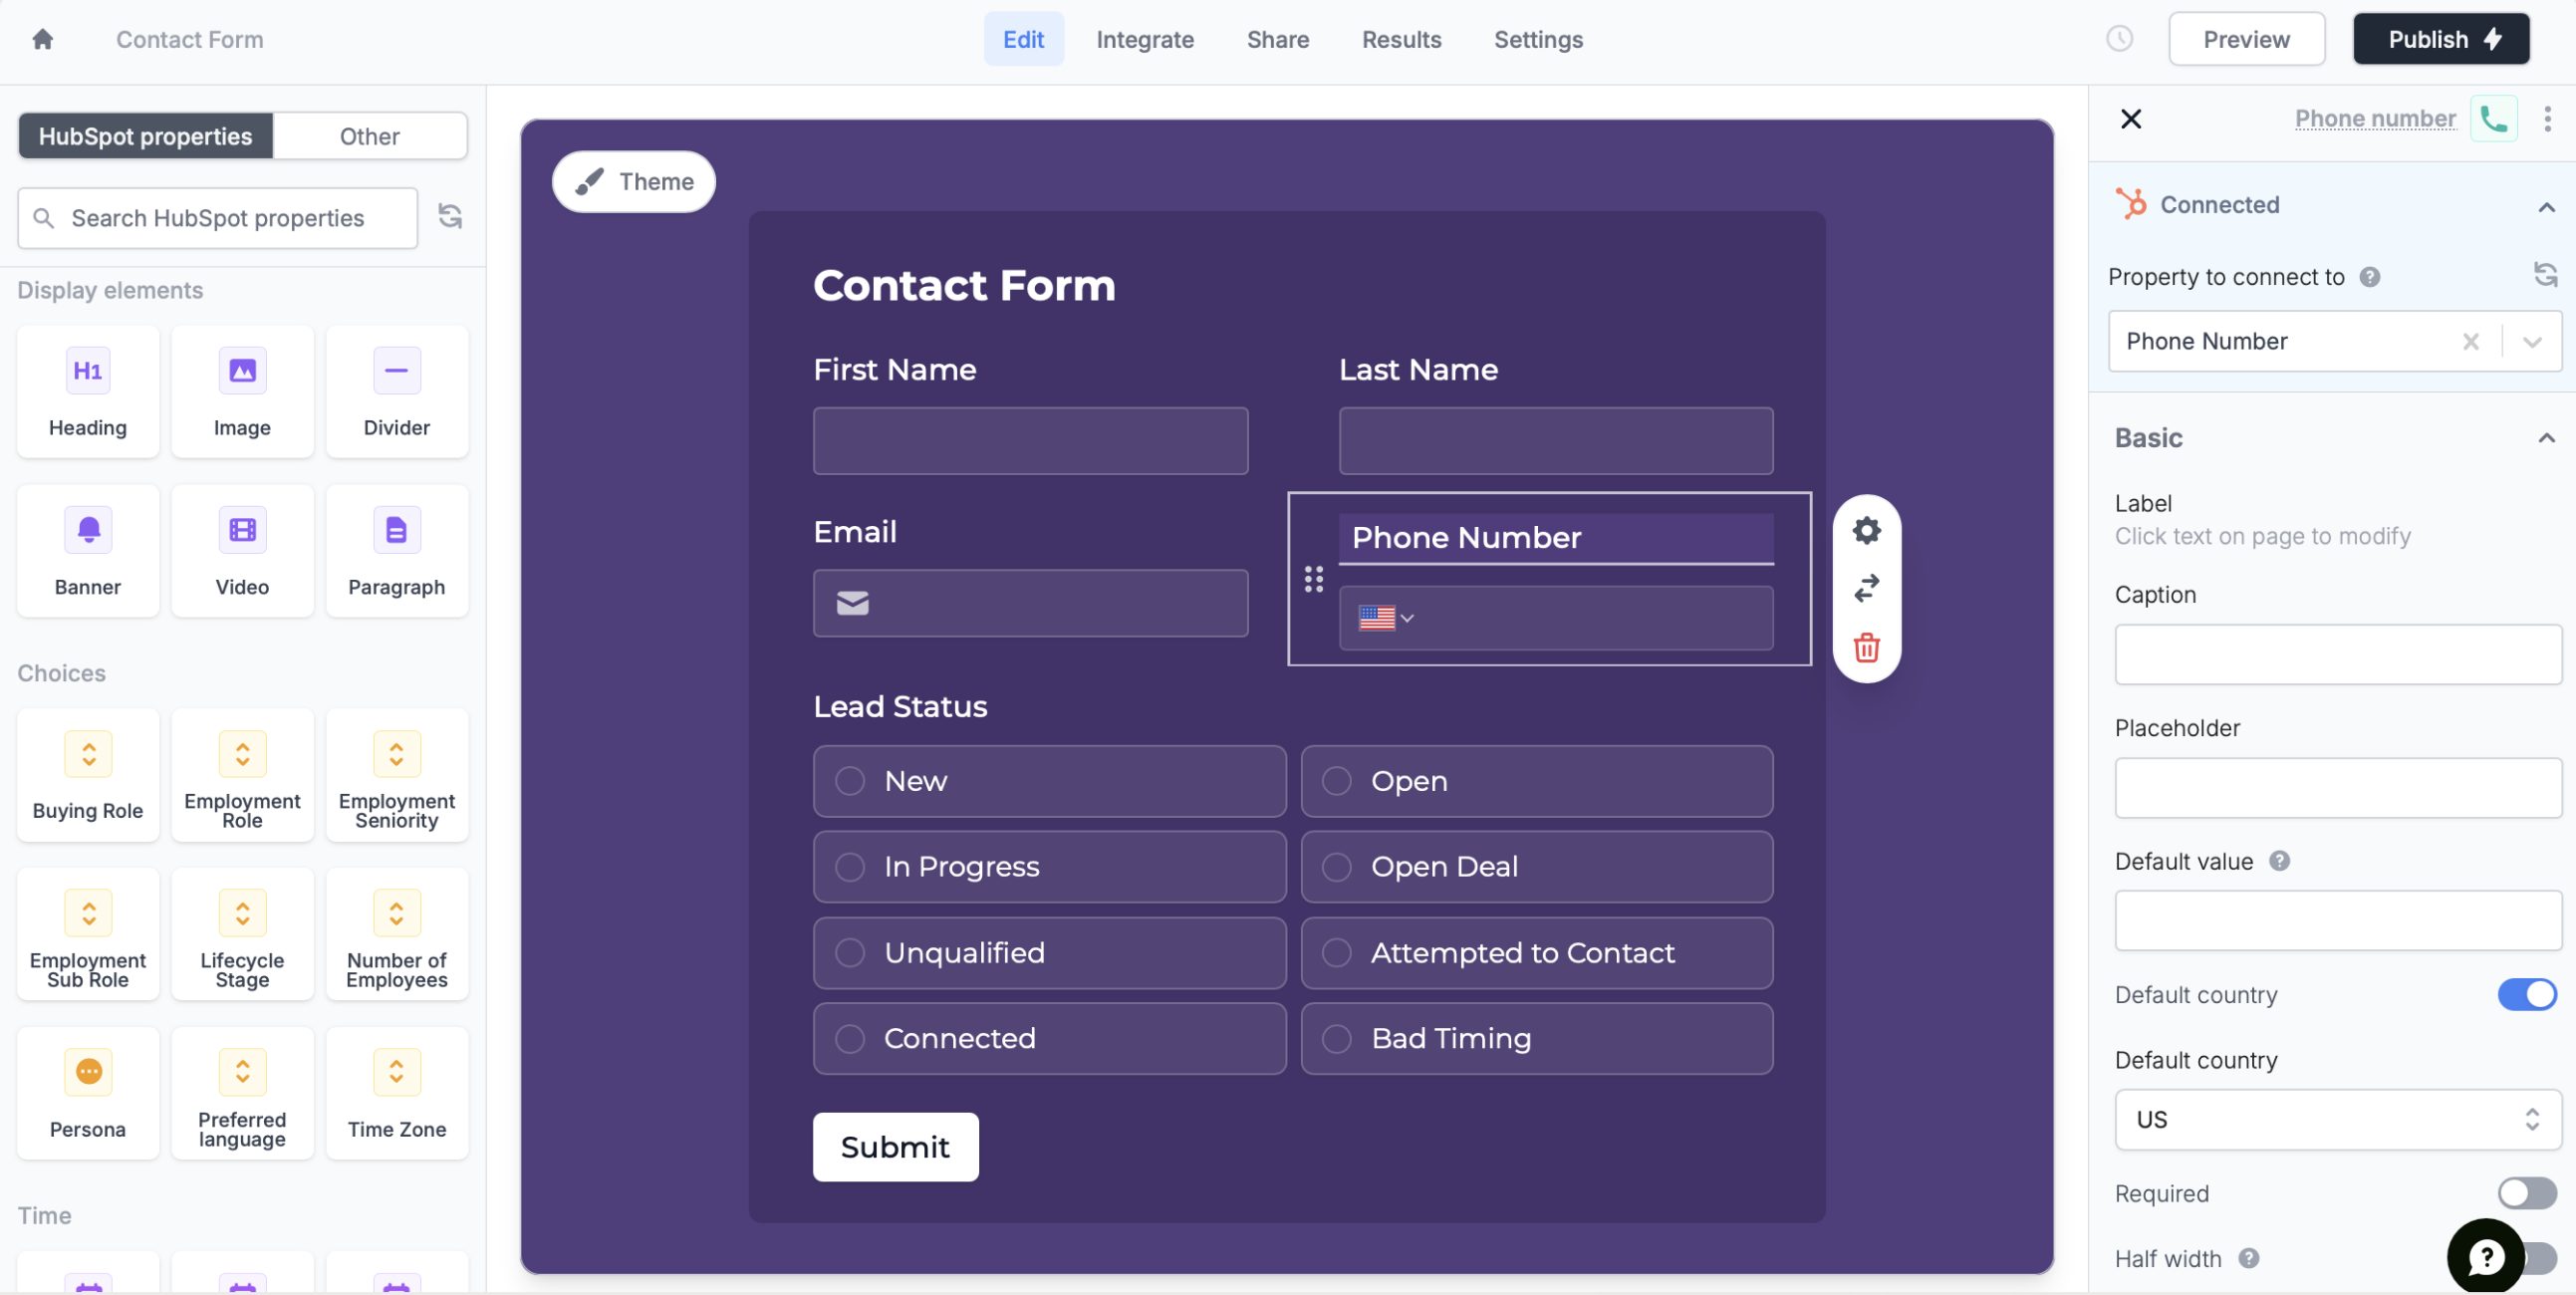 To connect a new question or field to HubSpot, open the right-hand panel or go to mappings. Check out [this quick guide](https://www.fillout.com/help/additional-integration-mappings#how-to-map-fields-manually).