> ## Documentation Index
> Fetch the complete documentation index at: https://fillout.com/help/llms.txt
> Use this file to discover all available pages before exploring further.
# Sync form responses to Microsoft Excel
> Enable automatic syncing of form responses from your Fillout form to an Excel sheet online. Share your form link or embed it anywhere.
## What is Excel?
[Microsoft Excel](https://www.microsoft.com/en-us/microsoft-365/excel) is a powerful spreadsheet software that enables users to organize, analyze, and visualize data using functions, formulas, and charts. Part of the Microsoft 365 suite, Excel is widely used for tasks ranging from simple calculations to complex financial modeling and data analysis.
## How it works
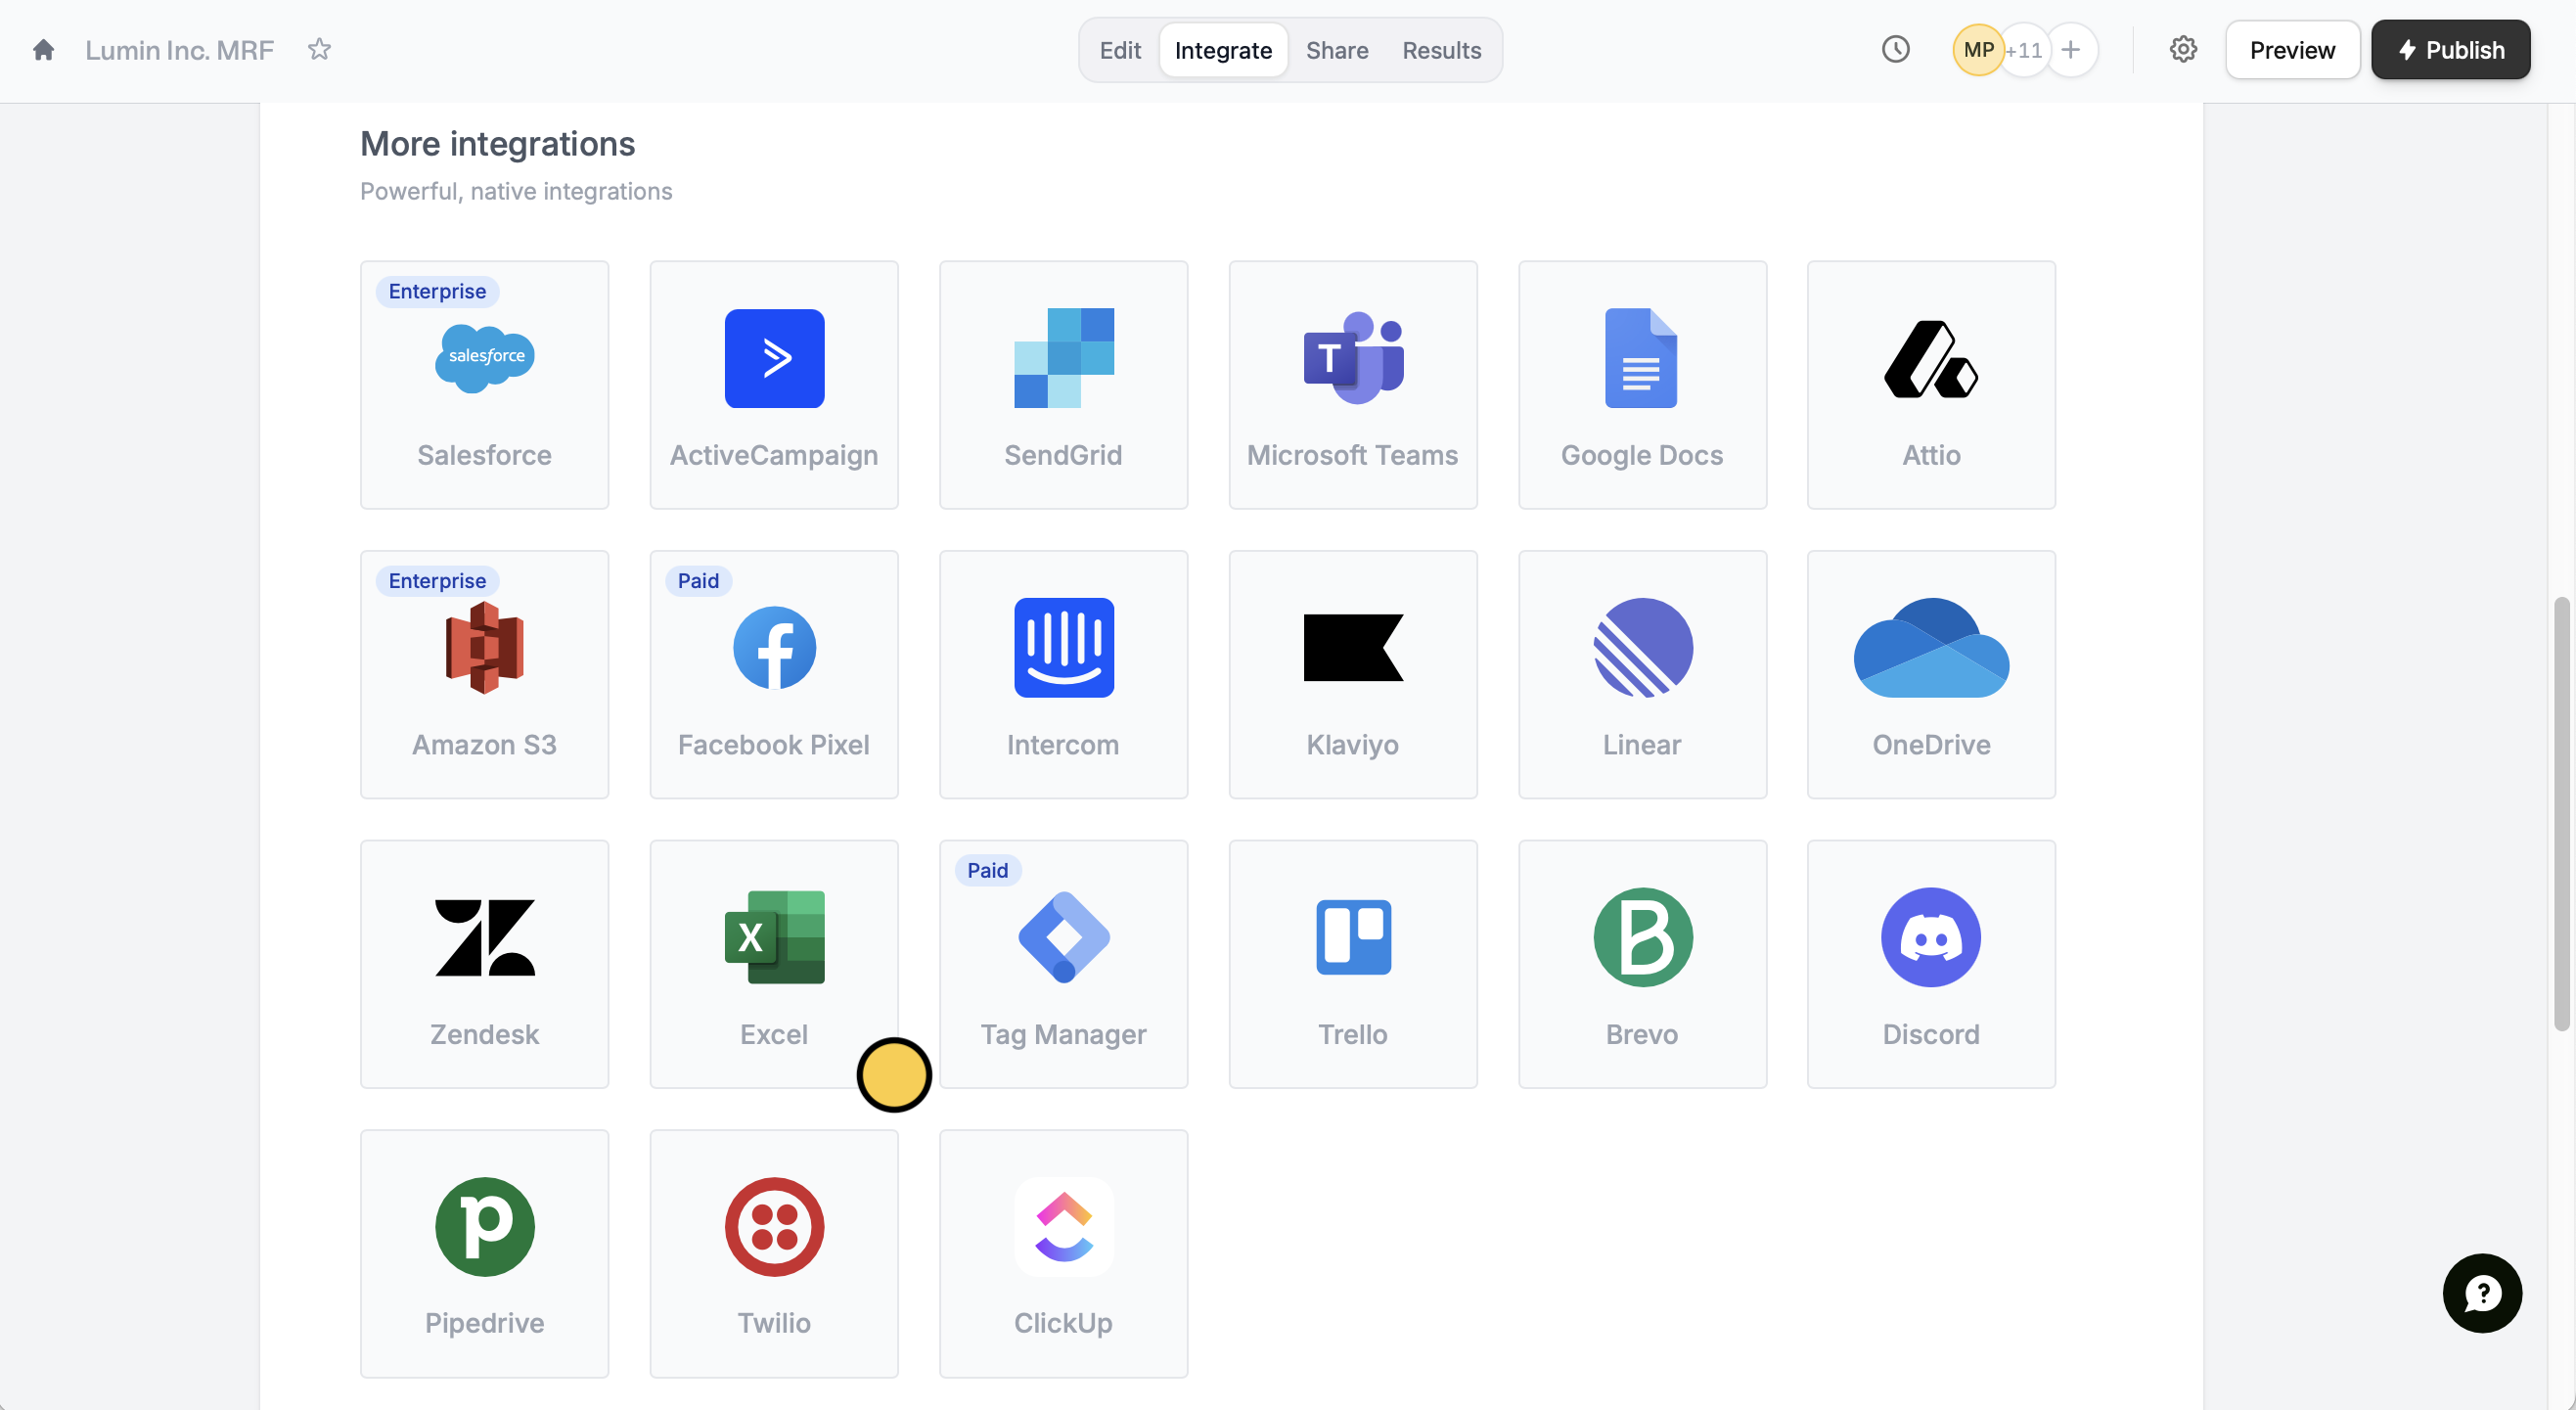
Head to the `Integrate` page from the top menu, and click `Excel`.
 You will be redirected to Microsoft's log in page. Sign in, and click `Accept` to allow Fillout to create a new sheet that will automatically be populated with form responses.
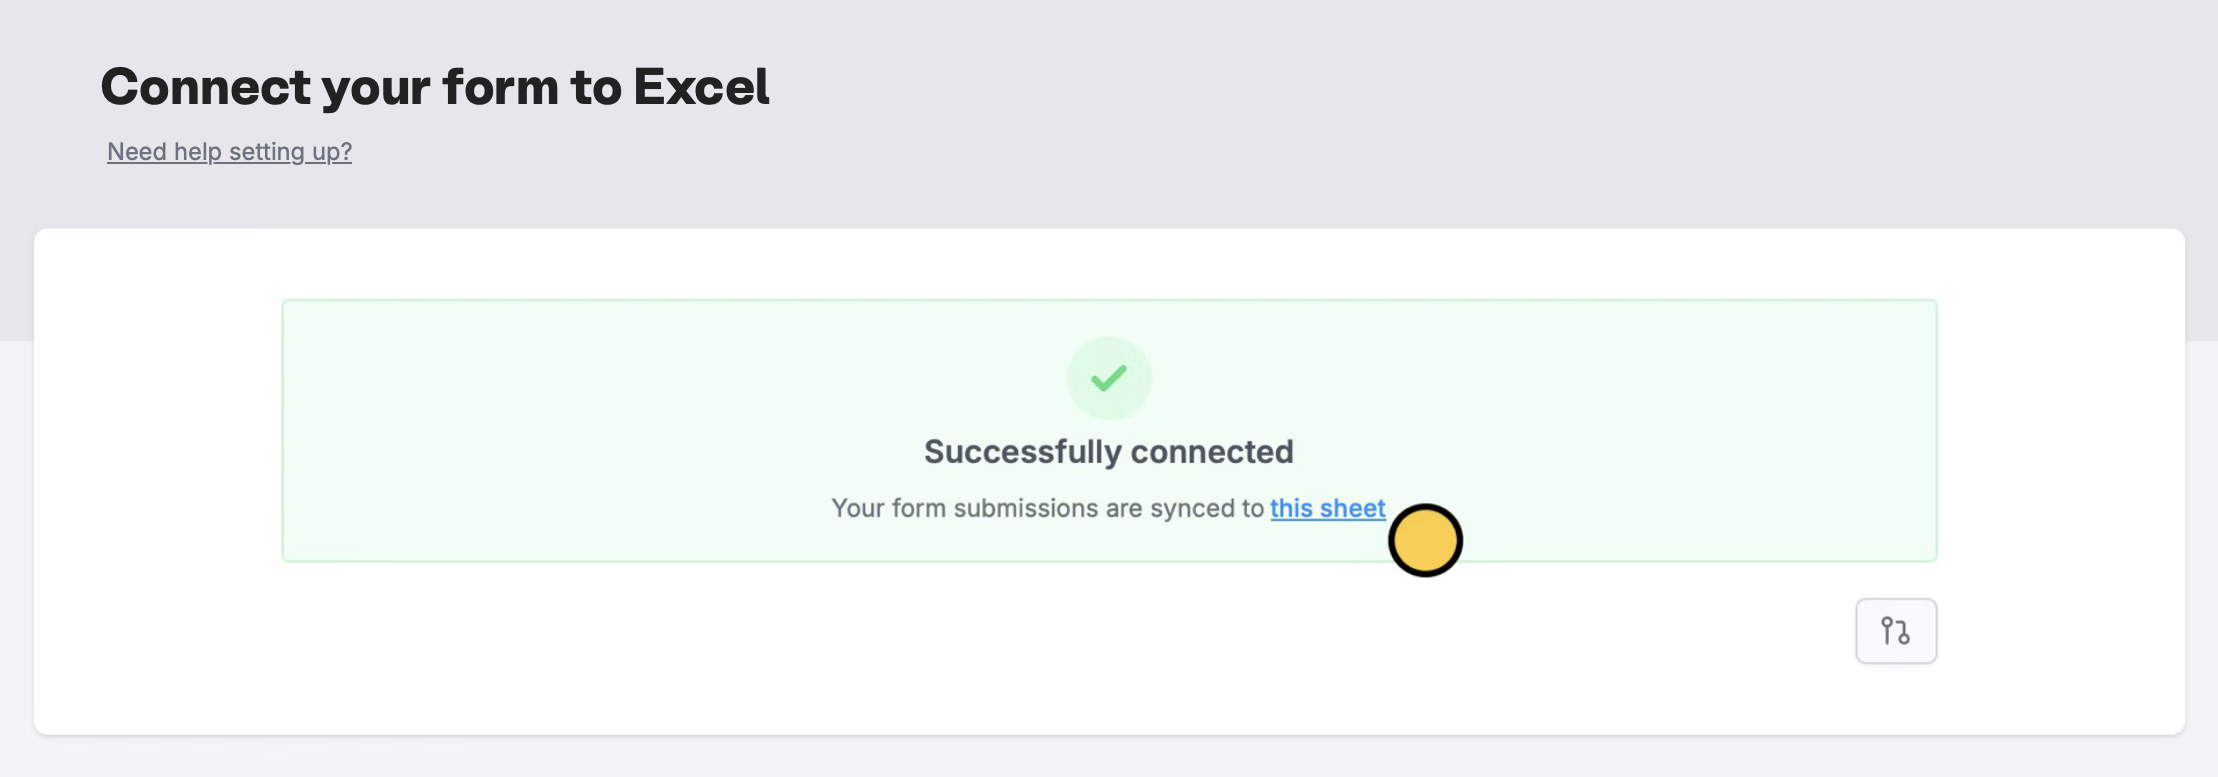
Click `this sheet` to open the sheet linked to your form. Every question or field you add to your form will automatically become a column in your sheet.
You will be redirected to Microsoft's log in page. Sign in, and click `Accept` to allow Fillout to create a new sheet that will automatically be populated with form responses.
Click `this sheet` to open the sheet linked to your form. Every question or field you add to your form will automatically become a column in your sheet.
 If you disconnect and later reconnect Excel, new entries will go to a completely new sheet, not the original one.
That's it! Once you're done with the set up, you're good to go. Click `Publish` on the upper right corner, then share your form. Every time someone submits your form, a new row will be created with their answers.
## **Specify a condition**
You can run your integration only when a specific condition is met. Check out this [**guide**](/conditional-integration).
## **Other Microsoft integrations**
Automatically upload files with a form.
Get response summaries on Teams.
If you disconnect and later reconnect Excel, new entries will go to a completely new sheet, not the original one.
That's it! Once you're done with the set up, you're good to go. Click `Publish` on the upper right corner, then share your form. Every time someone submits your form, a new row will be created with their answers.
## **Specify a condition**
You can run your integration only when a specific condition is met. Check out this [**guide**](/conditional-integration).
## **Other Microsoft integrations**
Automatically upload files with a form.
Get response summaries on Teams.