> ## Documentation Index
> Fetch the complete documentation index at: https://fillout.com/help/llms.txt
> Use this file to discover all available pages before exploring further.
# Sync files to OneDrive with a form
> Let respondents upload files to your Microsoft OneDrive folder using a Fillout form. Optionally set a dynamic file path to organize submissions into nested folders.
### **What is OneDrive?**
[Microsoft OneDrive](https://www.microsoft.com/en-us/microsoft-365/onedrive/onedrive-for-business?ref=filloutforms-helparticle) is a cloud storage service that allows users to store, share, and access files from anywhere. With seamless integration across devices and robust security features, it provides a convenient solution for storing and collaborating on documents, photos, and more.
## How it works
Click `Integrate` from the top menu followed by `OneDrive`.
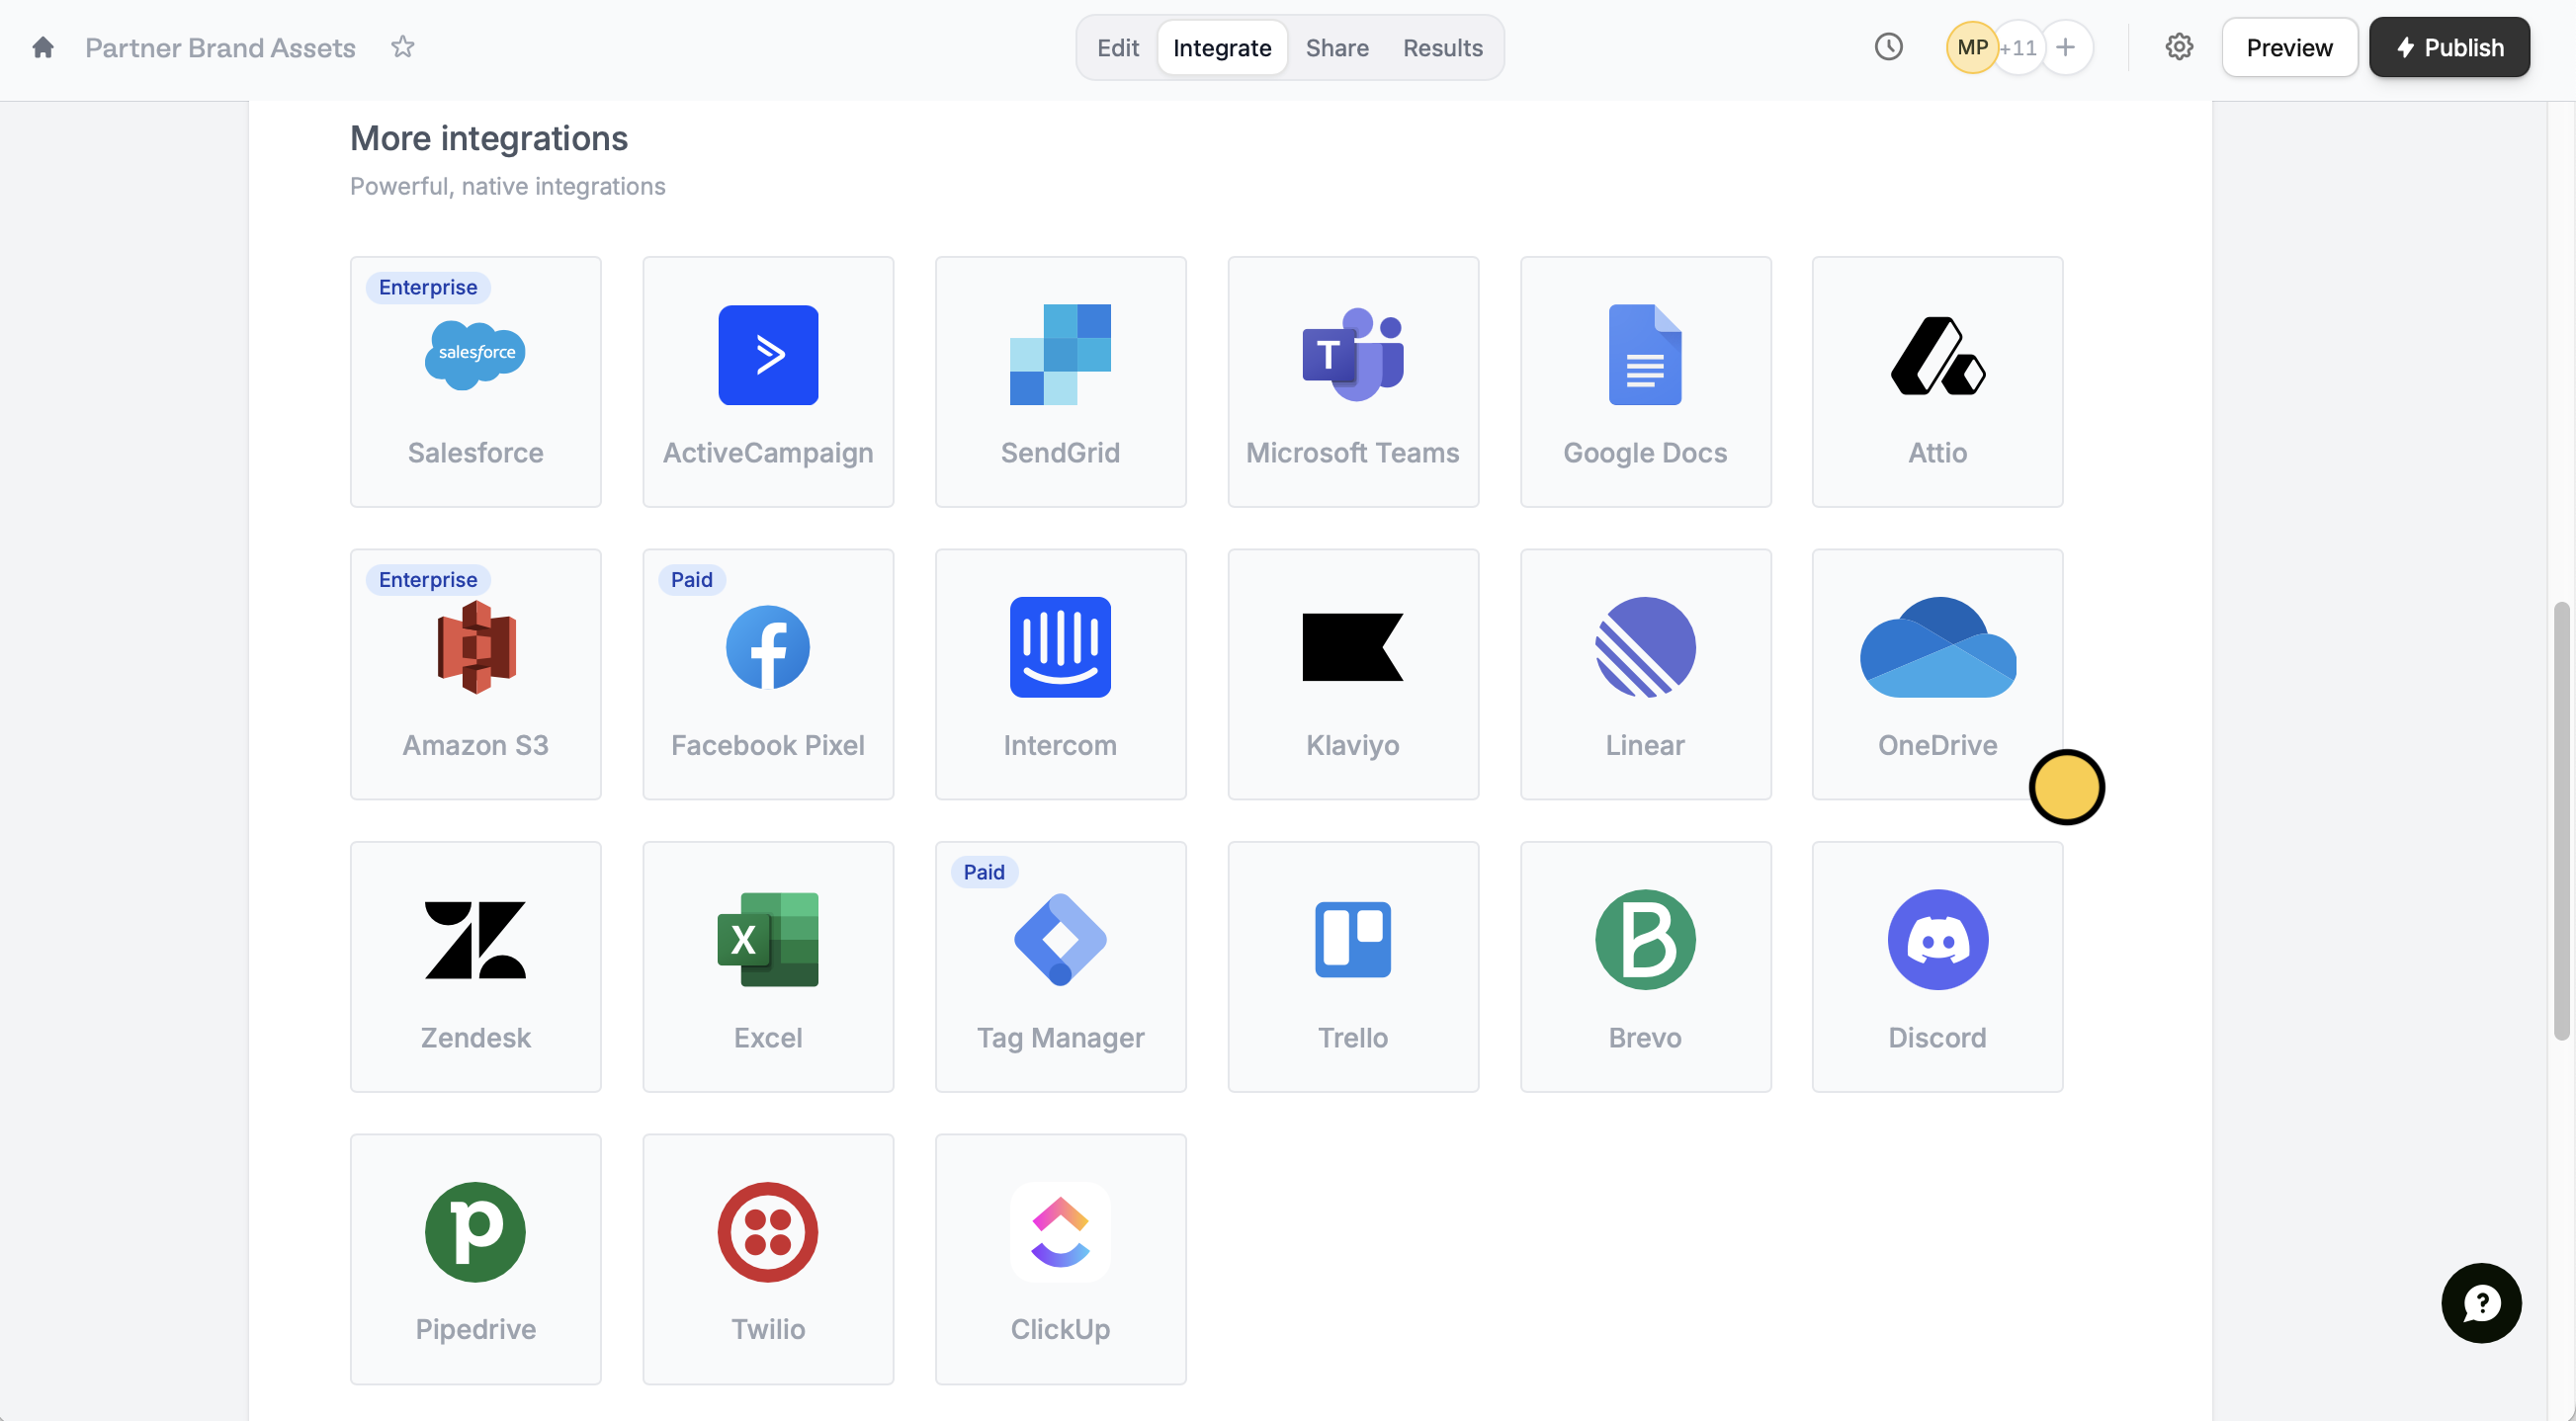 `Connect to OneDrive` and enter the login credentials of your Microsoft account. Choose a `Folder` you would like respondents to upload their files to.
This integration can only be linked to Microsoft organizations, work and school accounts, not personal accounts.
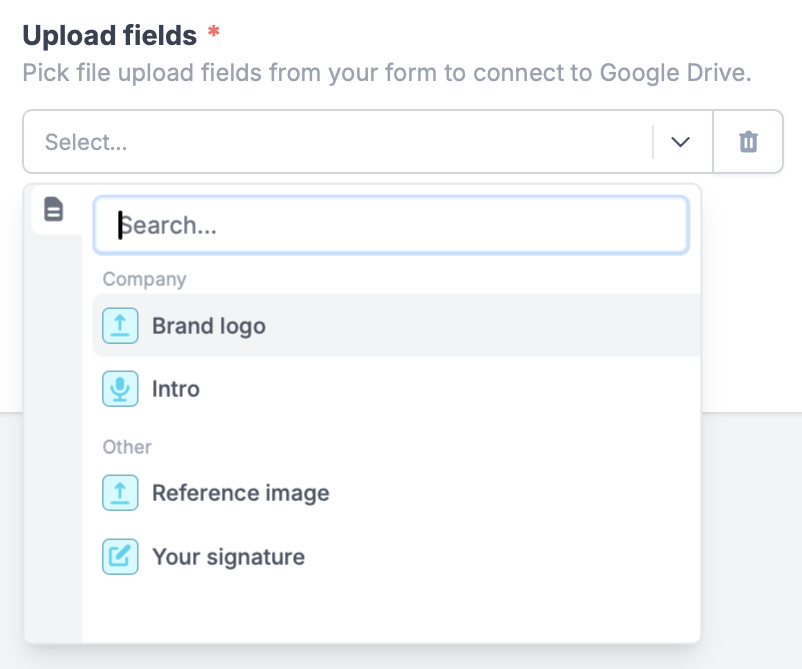
Under **Upload fields**, click `+ Add new` followed by a file uploader, voice recording, or PDF field.
`Connect to OneDrive` and enter the login credentials of your Microsoft account. Choose a `Folder` you would like respondents to upload their files to.
This integration can only be linked to Microsoft organizations, work and school accounts, not personal accounts.
Under **Upload fields**, click `+ Add new` followed by a file uploader, voice recording, or PDF field.
 Click `Finish setup` followed by `Publish` on the upper right corner, and you're all set!
## Add a dynamic file path
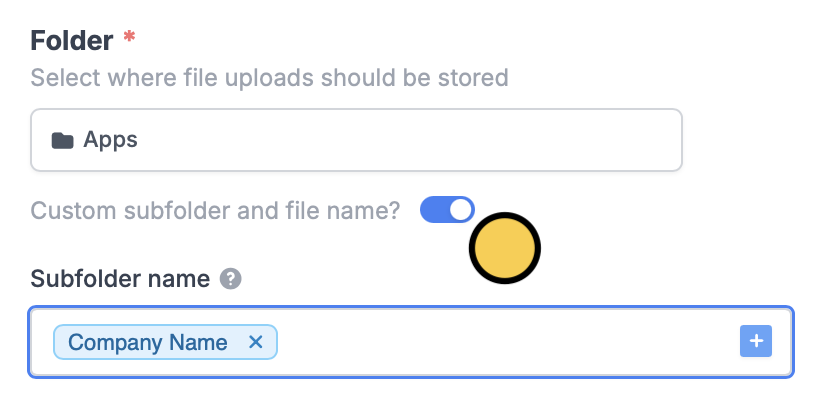
You can categorize file uploads into folders based on your respondents’ answers. Toggle the `Custom subfolder and file name?` switch, then enter a name or click to reference a field as the **Subfolder name**.
Click `Finish setup` followed by `Publish` on the upper right corner, and you're all set!
## Add a dynamic file path
You can categorize file uploads into folders based on your respondents’ answers. Toggle the `Custom subfolder and file name?` switch, then enter a name or click to reference a field as the **Subfolder name**.
 ## Add subfolders
You can add a subfolder by typing `/` followed by your chosen subfolder name or clicking to reference a form field.
## Add subfolders
You can add a subfolder by typing `/` followed by your chosen subfolder name or clicking to reference a form field.
 ## Enter a custom filename prefix
You can enter a **Filename prefix** to add specific characters at the beginning of each file name upon form submission or click to reference a form field.
## Enter a custom filename prefix
You can enter a **Filename prefix** to add specific characters at the beginning of each file name upon form submission or click to reference a form field.
 ## Specify a condition
You can run your integration only when a specific condition is met. Check out this [guide](/conditional-integration).
## Other similar integrations
Automatically upload files with a form.
Automatically upload files with a form.
Automatically upload files with a form.
## Specify a condition
You can run your integration only when a specific condition is met. Check out this [guide](/conditional-integration).
## Other similar integrations
Automatically upload files with a form.
Automatically upload files with a form.
Automatically upload files with a form.