> ## Documentation Index
> Fetch the complete documentation index at: https://fillout.com/help/llms.txt
> Use this file to discover all available pages before exploring further.
# How to create a Salesforce form
> Add or update your Salesforce records with a Fillout form. Embed your forms or share them anywhere via link or QR code.
## What is Salesforce?
[Salesforce](https://www.salesforce.com/ap/?ref=filloutforms-helparticle) is a cloud-based platform that provides customer relationship management (CRM) software solutions to help businesses manage and analyze customer interactions and improve sales and marketing efforts.
## Video tutorial
## How it works
On the form editor, click `Integrate` on the top menu followed by `Salesforce`.
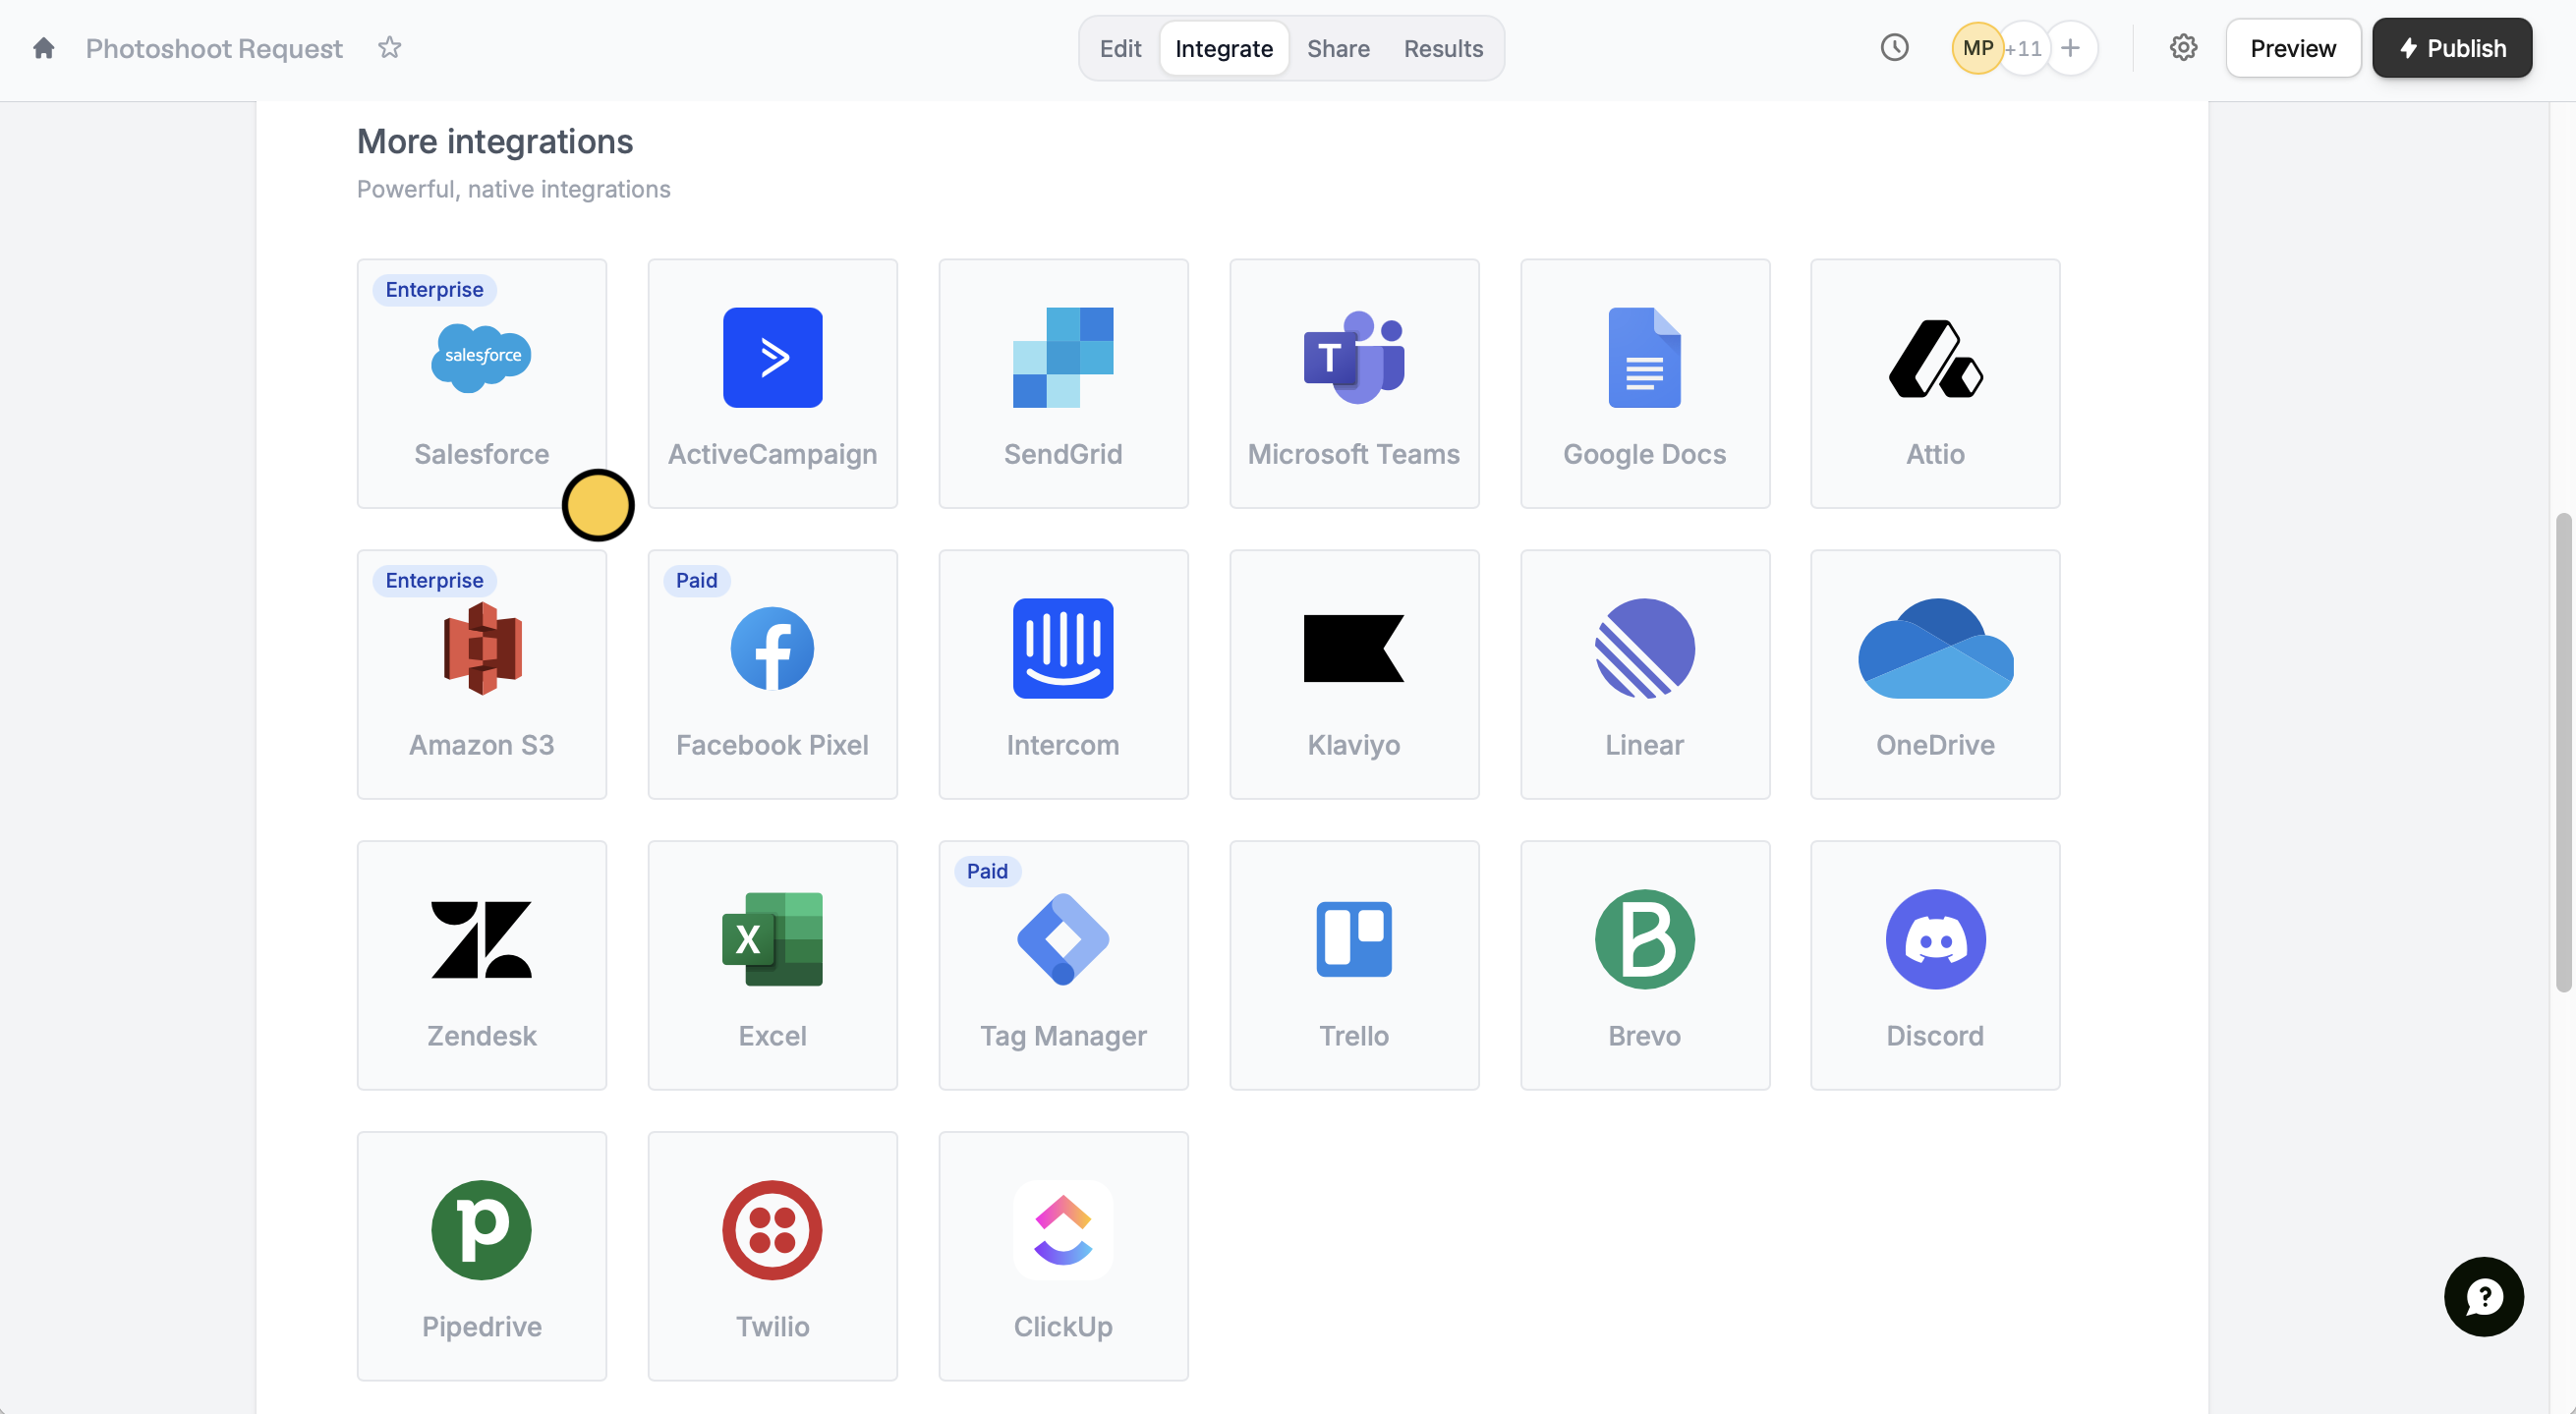 Click `Connect to Salesforce` to sign in with your Salesforce account. Then, choose an **object** where you would like to store responses to.
After finishing the setup, Salesforce fields will automatically appear as Fillout fields on the form editor. Simply drag these to your form from the left-hand panel.
Click `Connect to Salesforce` to sign in with your Salesforce account. Then, choose an **object** where you would like to store responses to.
After finishing the setup, Salesforce fields will automatically appear as Fillout fields on the form editor. Simply drag these to your form from the left-hand panel.
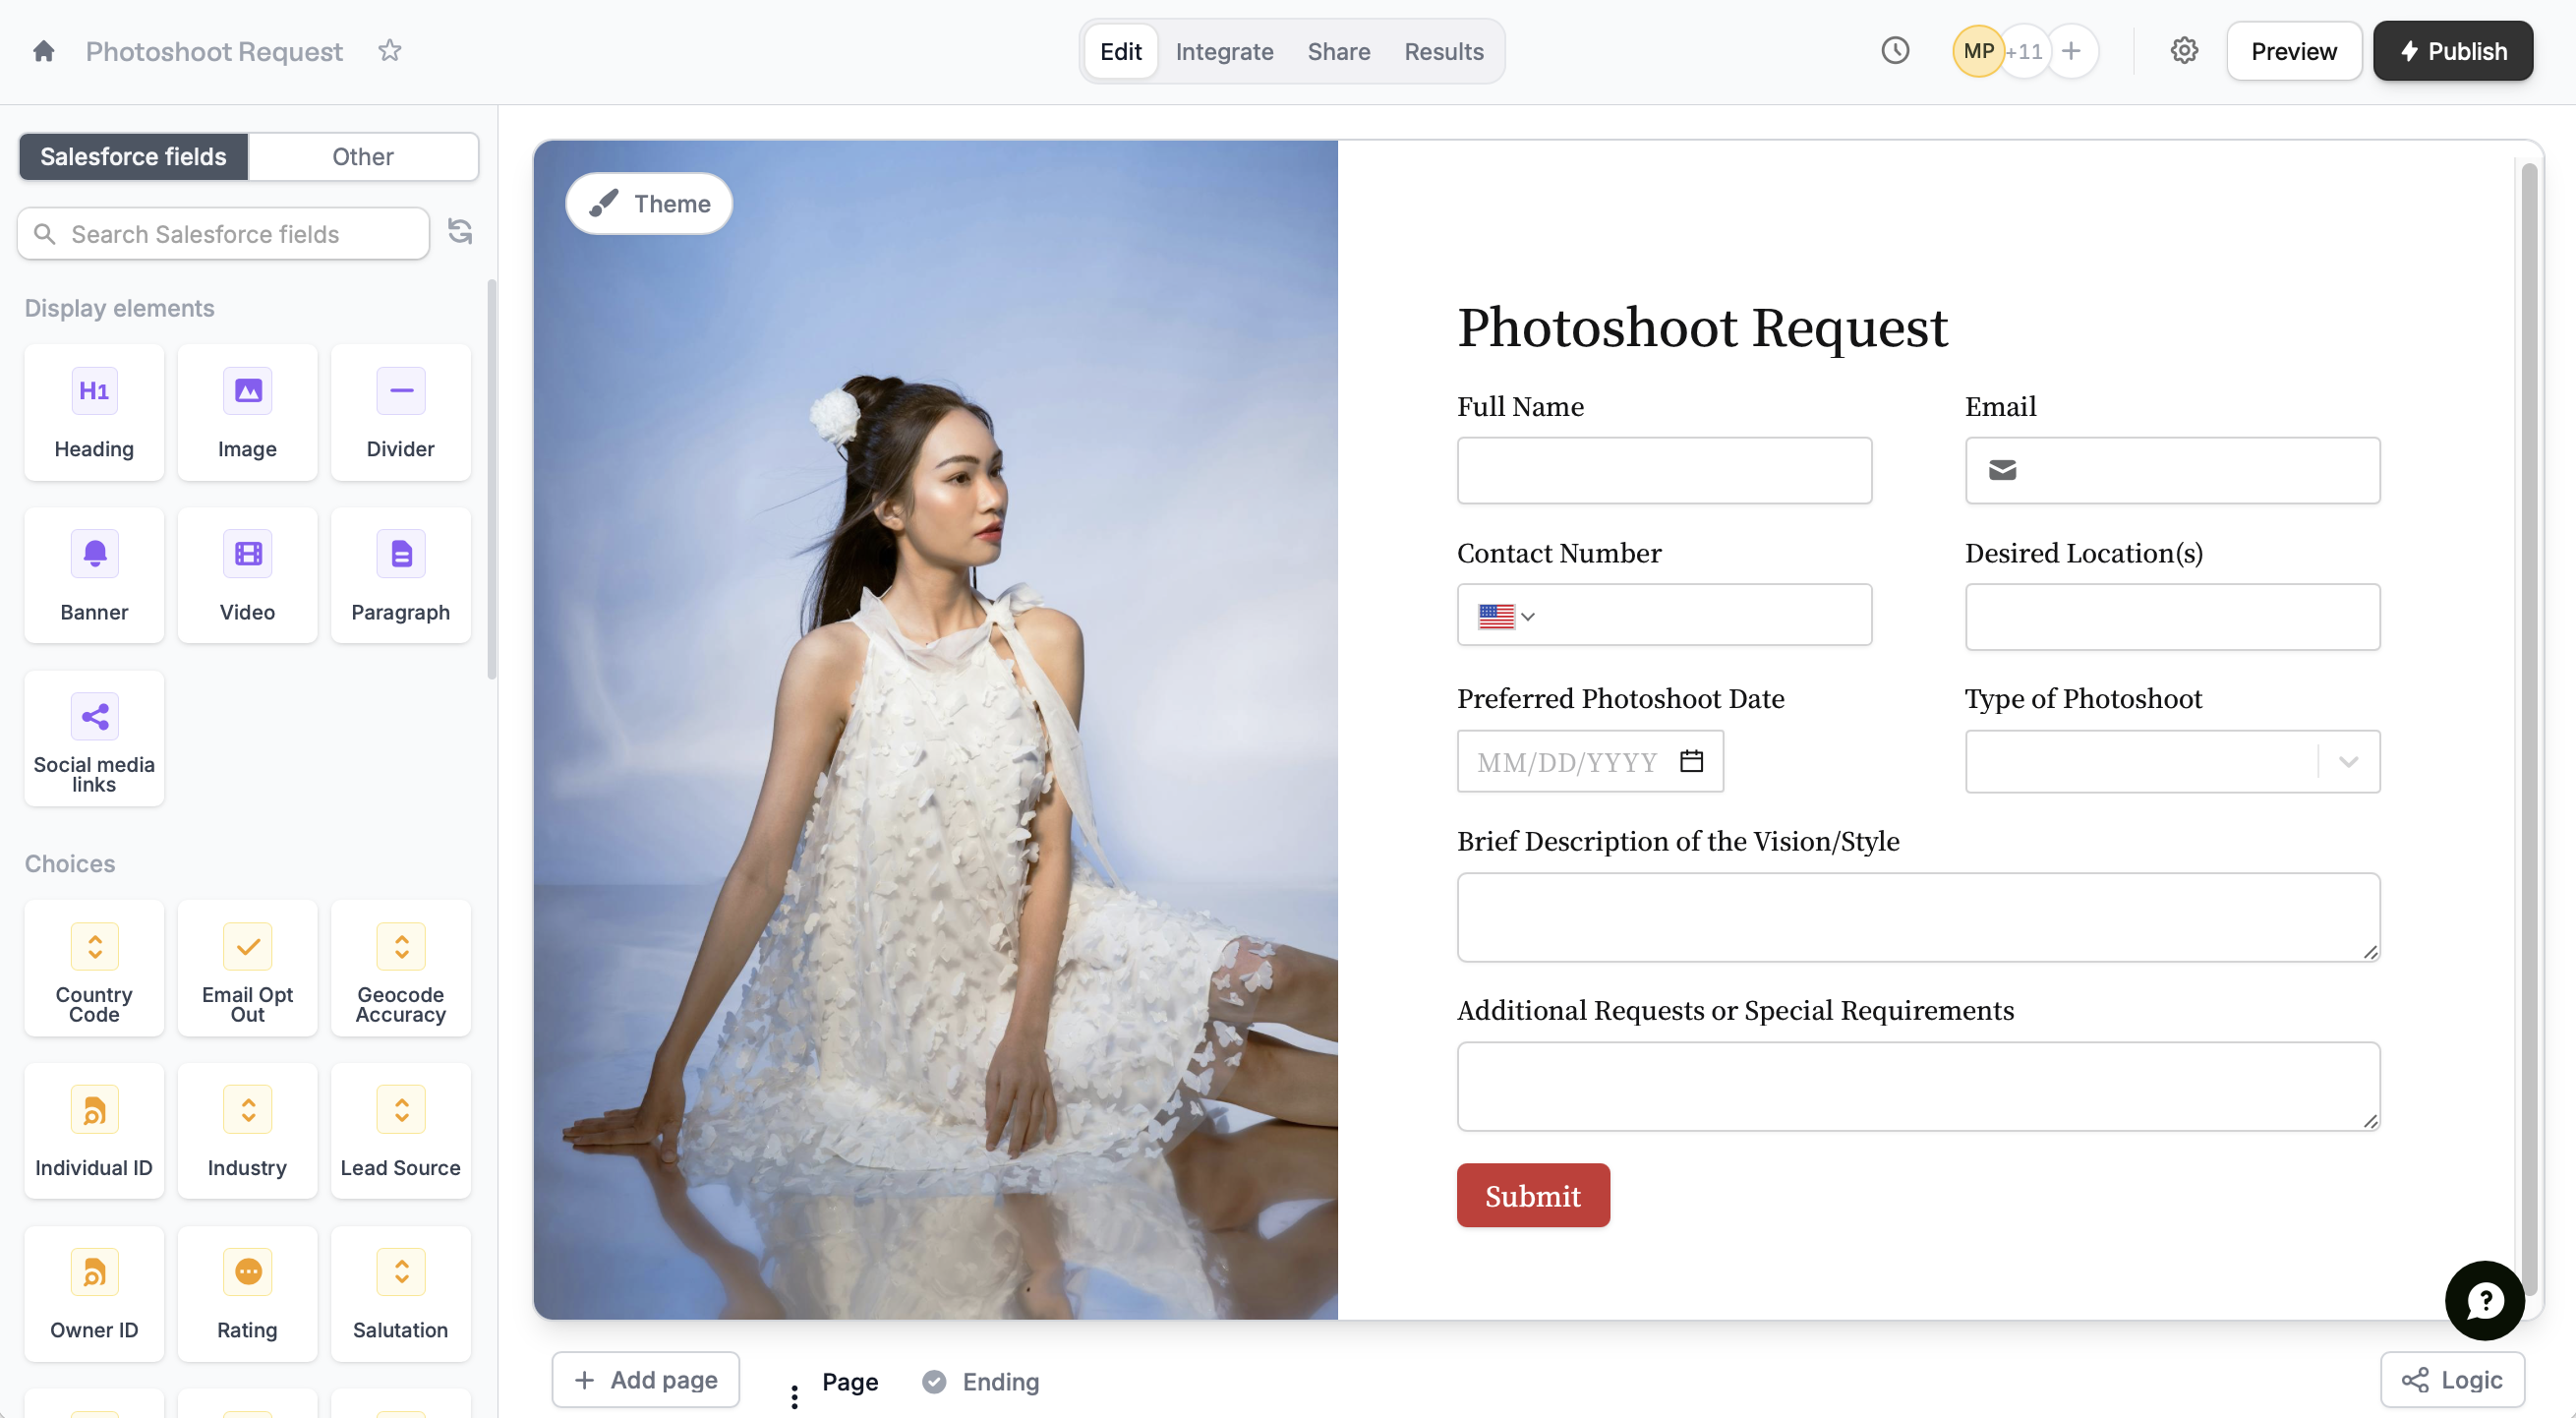 To [update your Fillout form](https://www.fillout.com/help/additional-integration-mappings#updating-fields-and-options) after editing your Salesforce object, click on the left-hand panel.
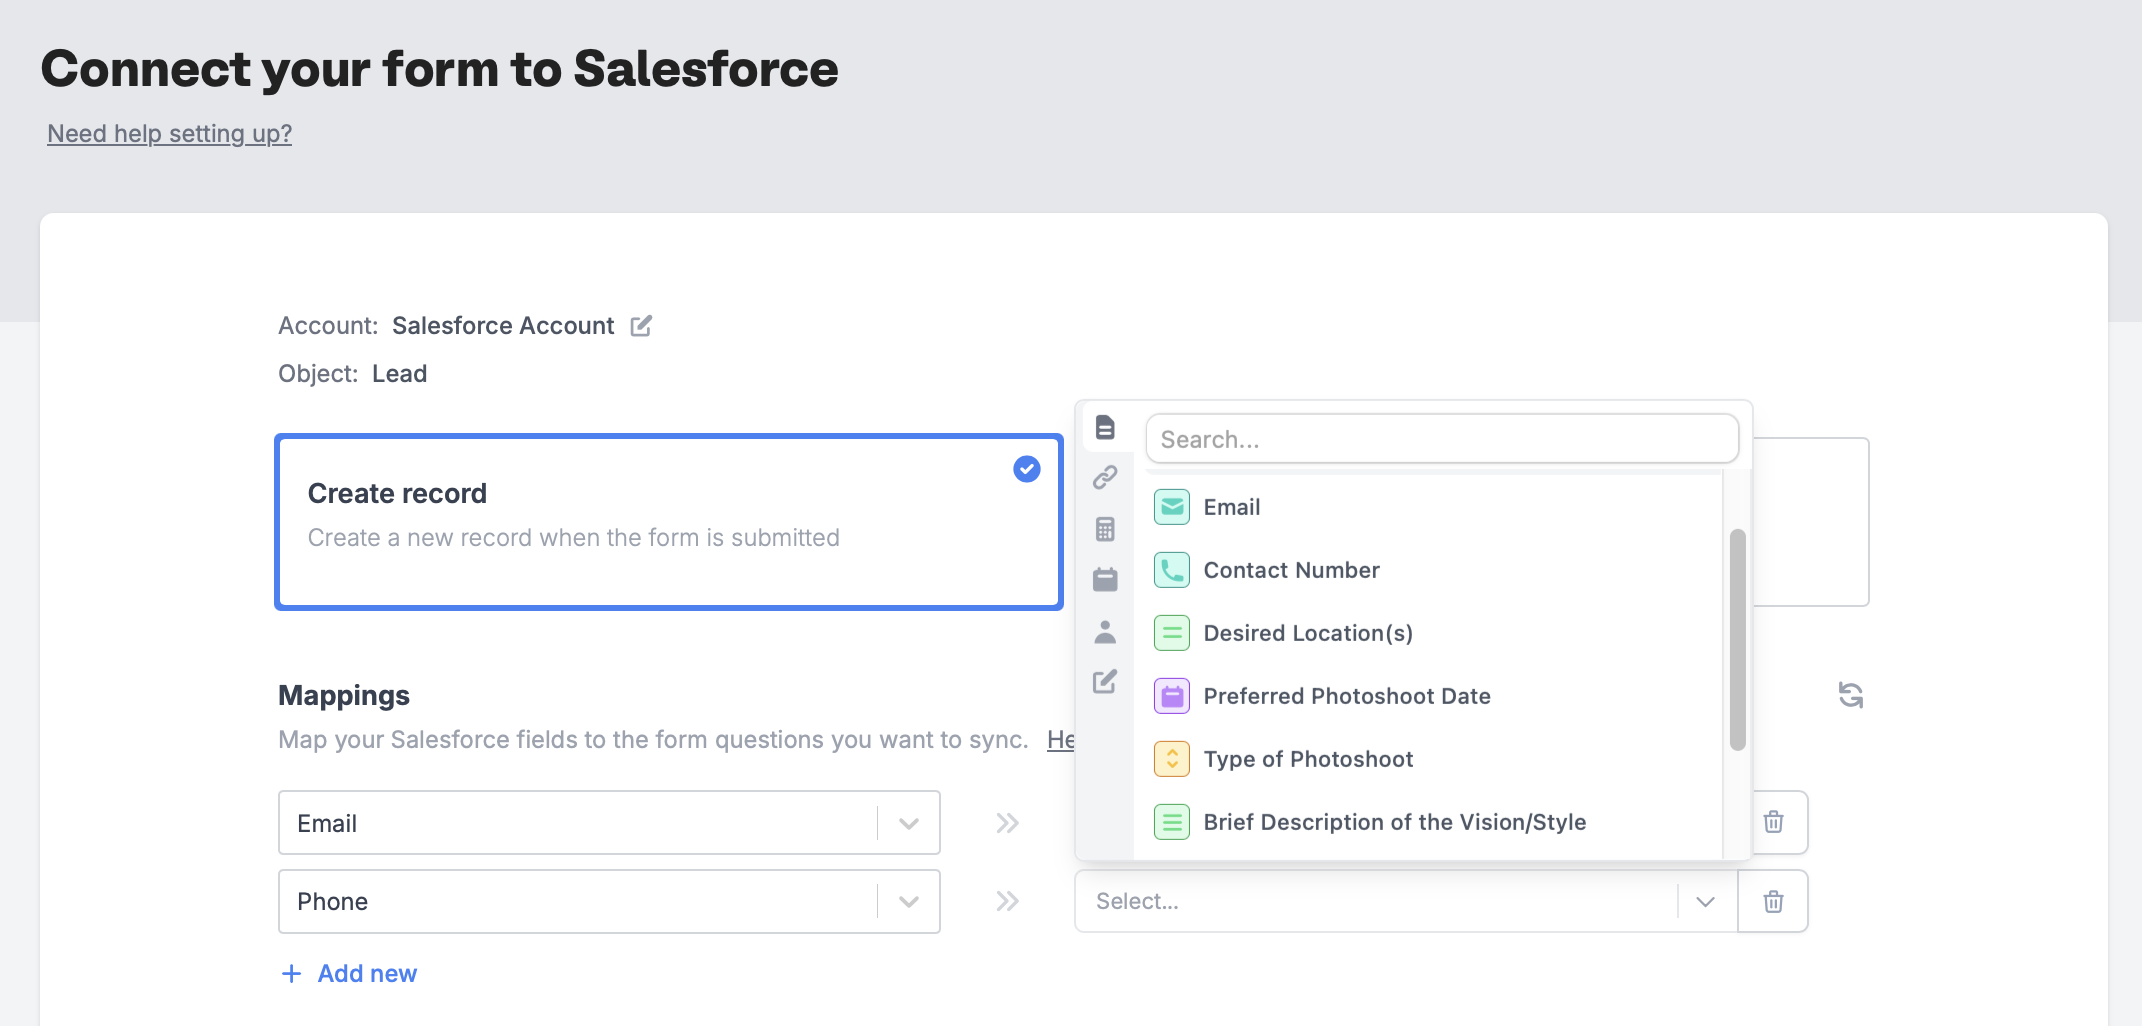
Alternatively, you can go to the Salesforce connection in the `Integrate` page and [manually map](https://www.fillout.com/help/additional-integration-mappings#how-to-map-fields-manually) them. `+ Add new` Salesforce on the left and select the corresponding Fillout field on the right.
To [update your Fillout form](https://www.fillout.com/help/additional-integration-mappings#updating-fields-and-options) after editing your Salesforce object, click on the left-hand panel.
Alternatively, you can go to the Salesforce connection in the `Integrate` page and [manually map](https://www.fillout.com/help/additional-integration-mappings#how-to-map-fields-manually) them. `+ Add new` Salesforce on the left and select the corresponding Fillout field on the right.
 That's it! Click `Publish` in the upper right corner and share your link. Form responses will now automatically populate inside your Salesforce database.
The Salesforce integration is available on the **Team** and **Enterprise** plans. Learn more about the [Team plan](/team-plan).
## Connect to a salesforce sandbox
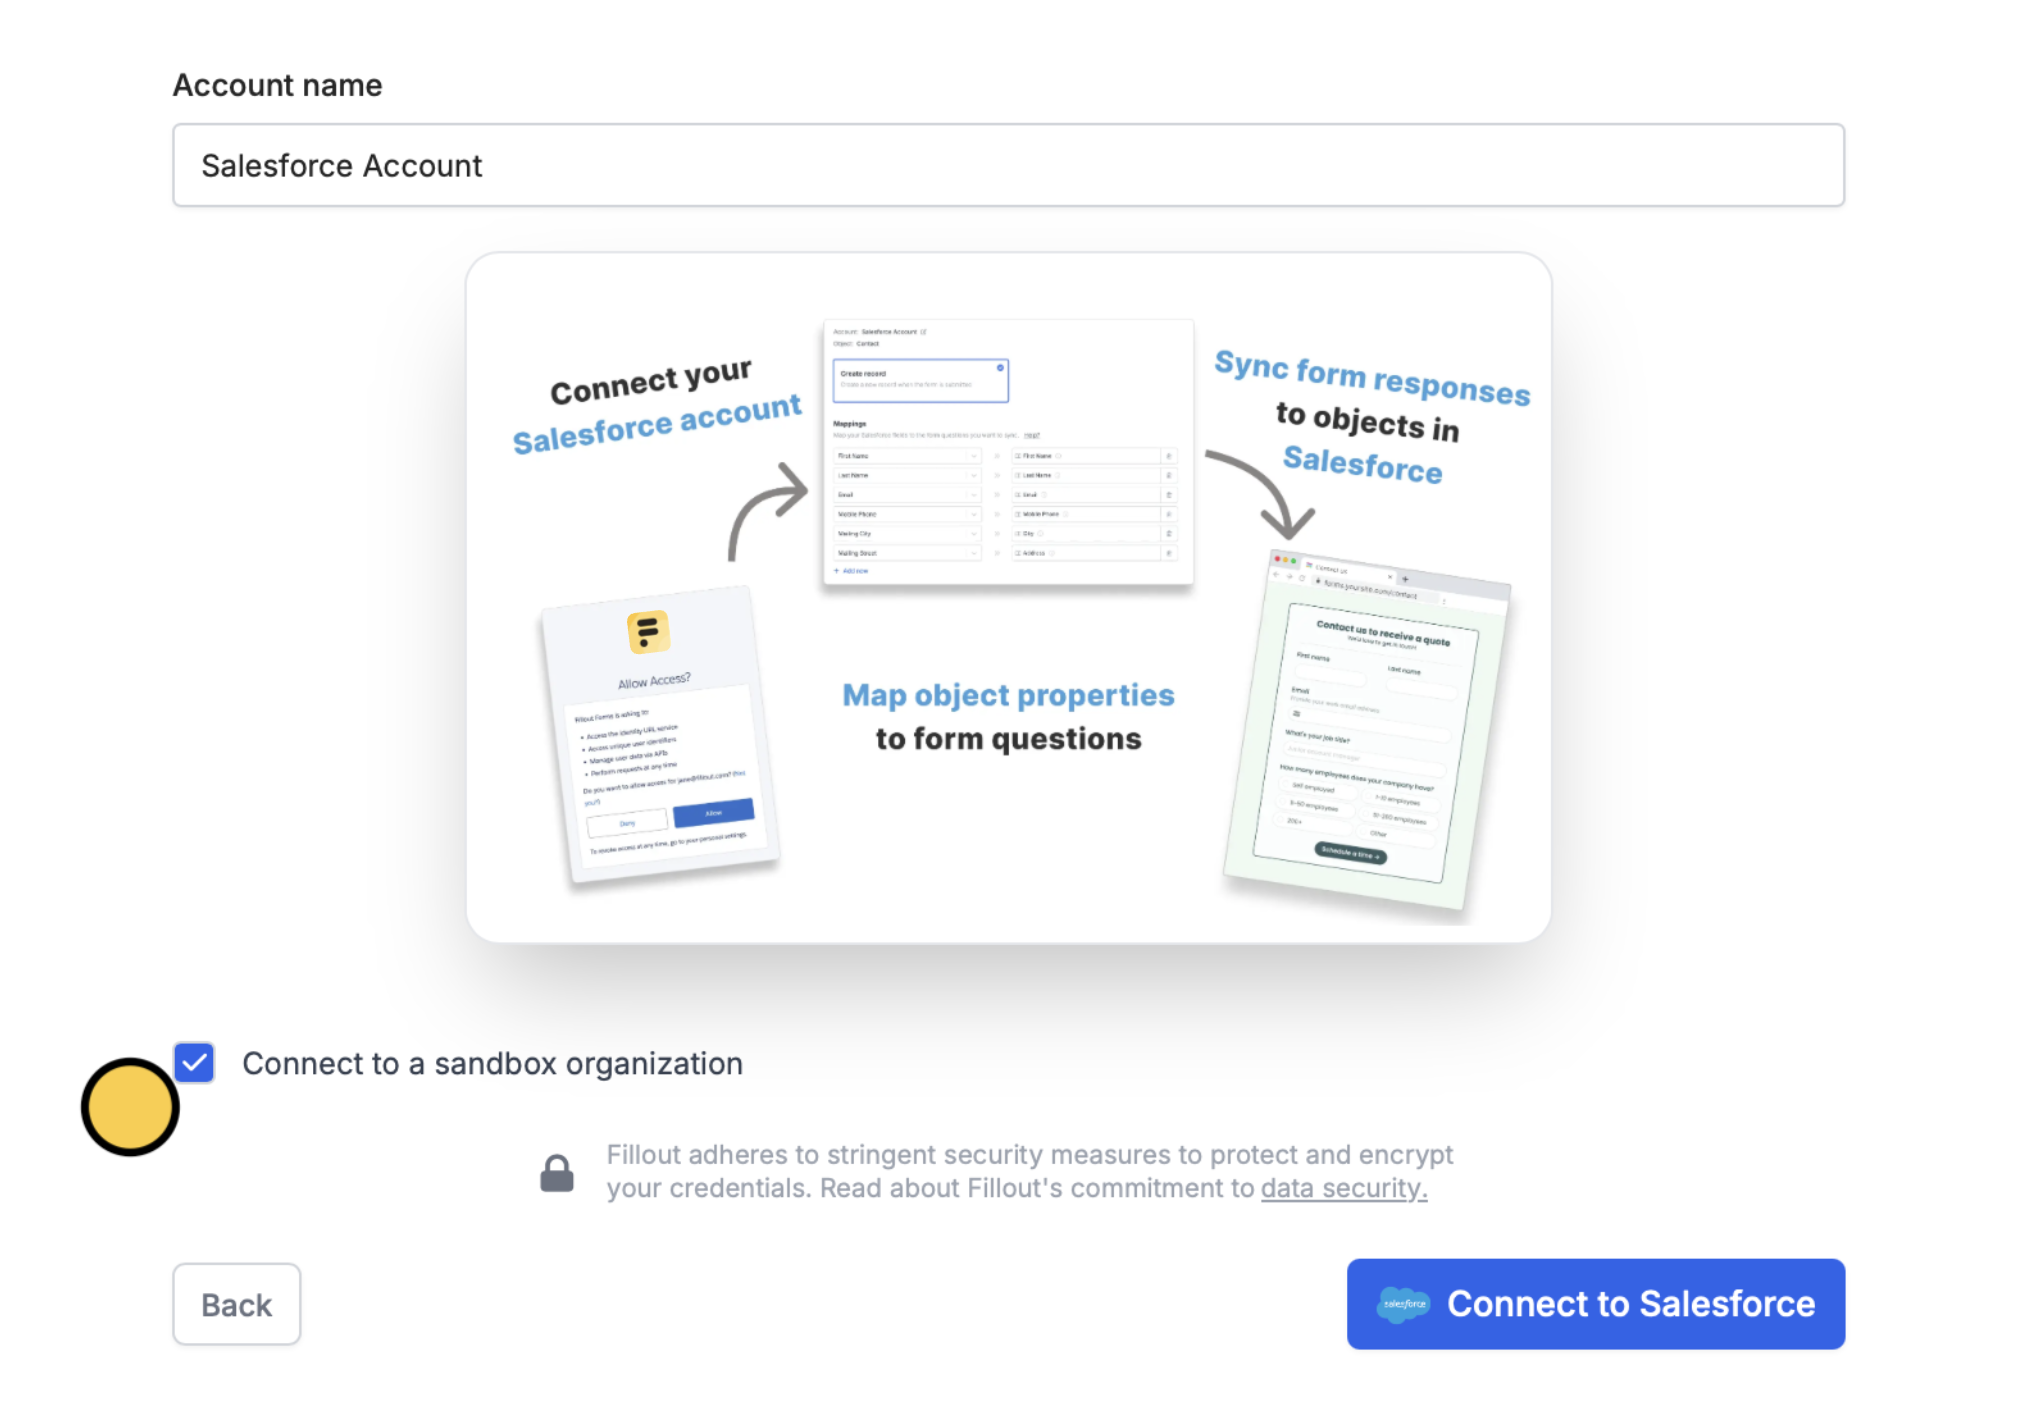
After selecting `Salesforce`, tick the `Connect to a sandbox organization` checkbox. Then, `Connect to Salesforce`.
That's it! Click `Publish` in the upper right corner and share your link. Form responses will now automatically populate inside your Salesforce database.
The Salesforce integration is available on the **Team** and **Enterprise** plans. Learn more about the [Team plan](/team-plan).
## Connect to a salesforce sandbox
After selecting `Salesforce`, tick the `Connect to a sandbox organization` checkbox. Then, `Connect to Salesforce`.
 ## IPs to whitelist
If your Salesforce organization restricts IP addresses for 3rd party app connections, you’ll want to whitelist the following IPs:
```
35.160.120.126
44.233.151.27
34.211.200.85
74.220.48.0/24
74.220.56.0/24
```
## Update records from a form
You can also create a form that pre-fills with Salesforce data and updates an existing record when submitted. Check out [this guide](/salesforce-update-form).
## Related article
Edit existing records and pre-fill fields.
## IPs to whitelist
If your Salesforce organization restricts IP addresses for 3rd party app connections, you’ll want to whitelist the following IPs:
```
35.160.120.126
44.233.151.27
34.211.200.85
74.220.48.0/24
74.220.56.0/24
```
## Update records from a form
You can also create a form that pre-fills with Salesforce data and updates an existing record when submitted. Check out [this guide](/salesforce-update-form).
## Related article
Edit existing records and pre-fill fields.