> ## Documentation Index
> Fetch the complete documentation index at: https://fillout.com/help/llms.txt
> Use this file to discover all available pages before exploring further.
# Send messages with Twilio
> Automate updates and notifications to respondents or customers by connecting your Fillout form to Twilio.
## What is Twilio?
[Twilio](https://www.twilio.com/) is a cloud communications platform that enables businesses to integrate SMS, voice calls, video conferencing, and email across multiple channels into their applications via APIs. It lets users create solutions for customer support, marketing, security notifications, and more.
## How it works
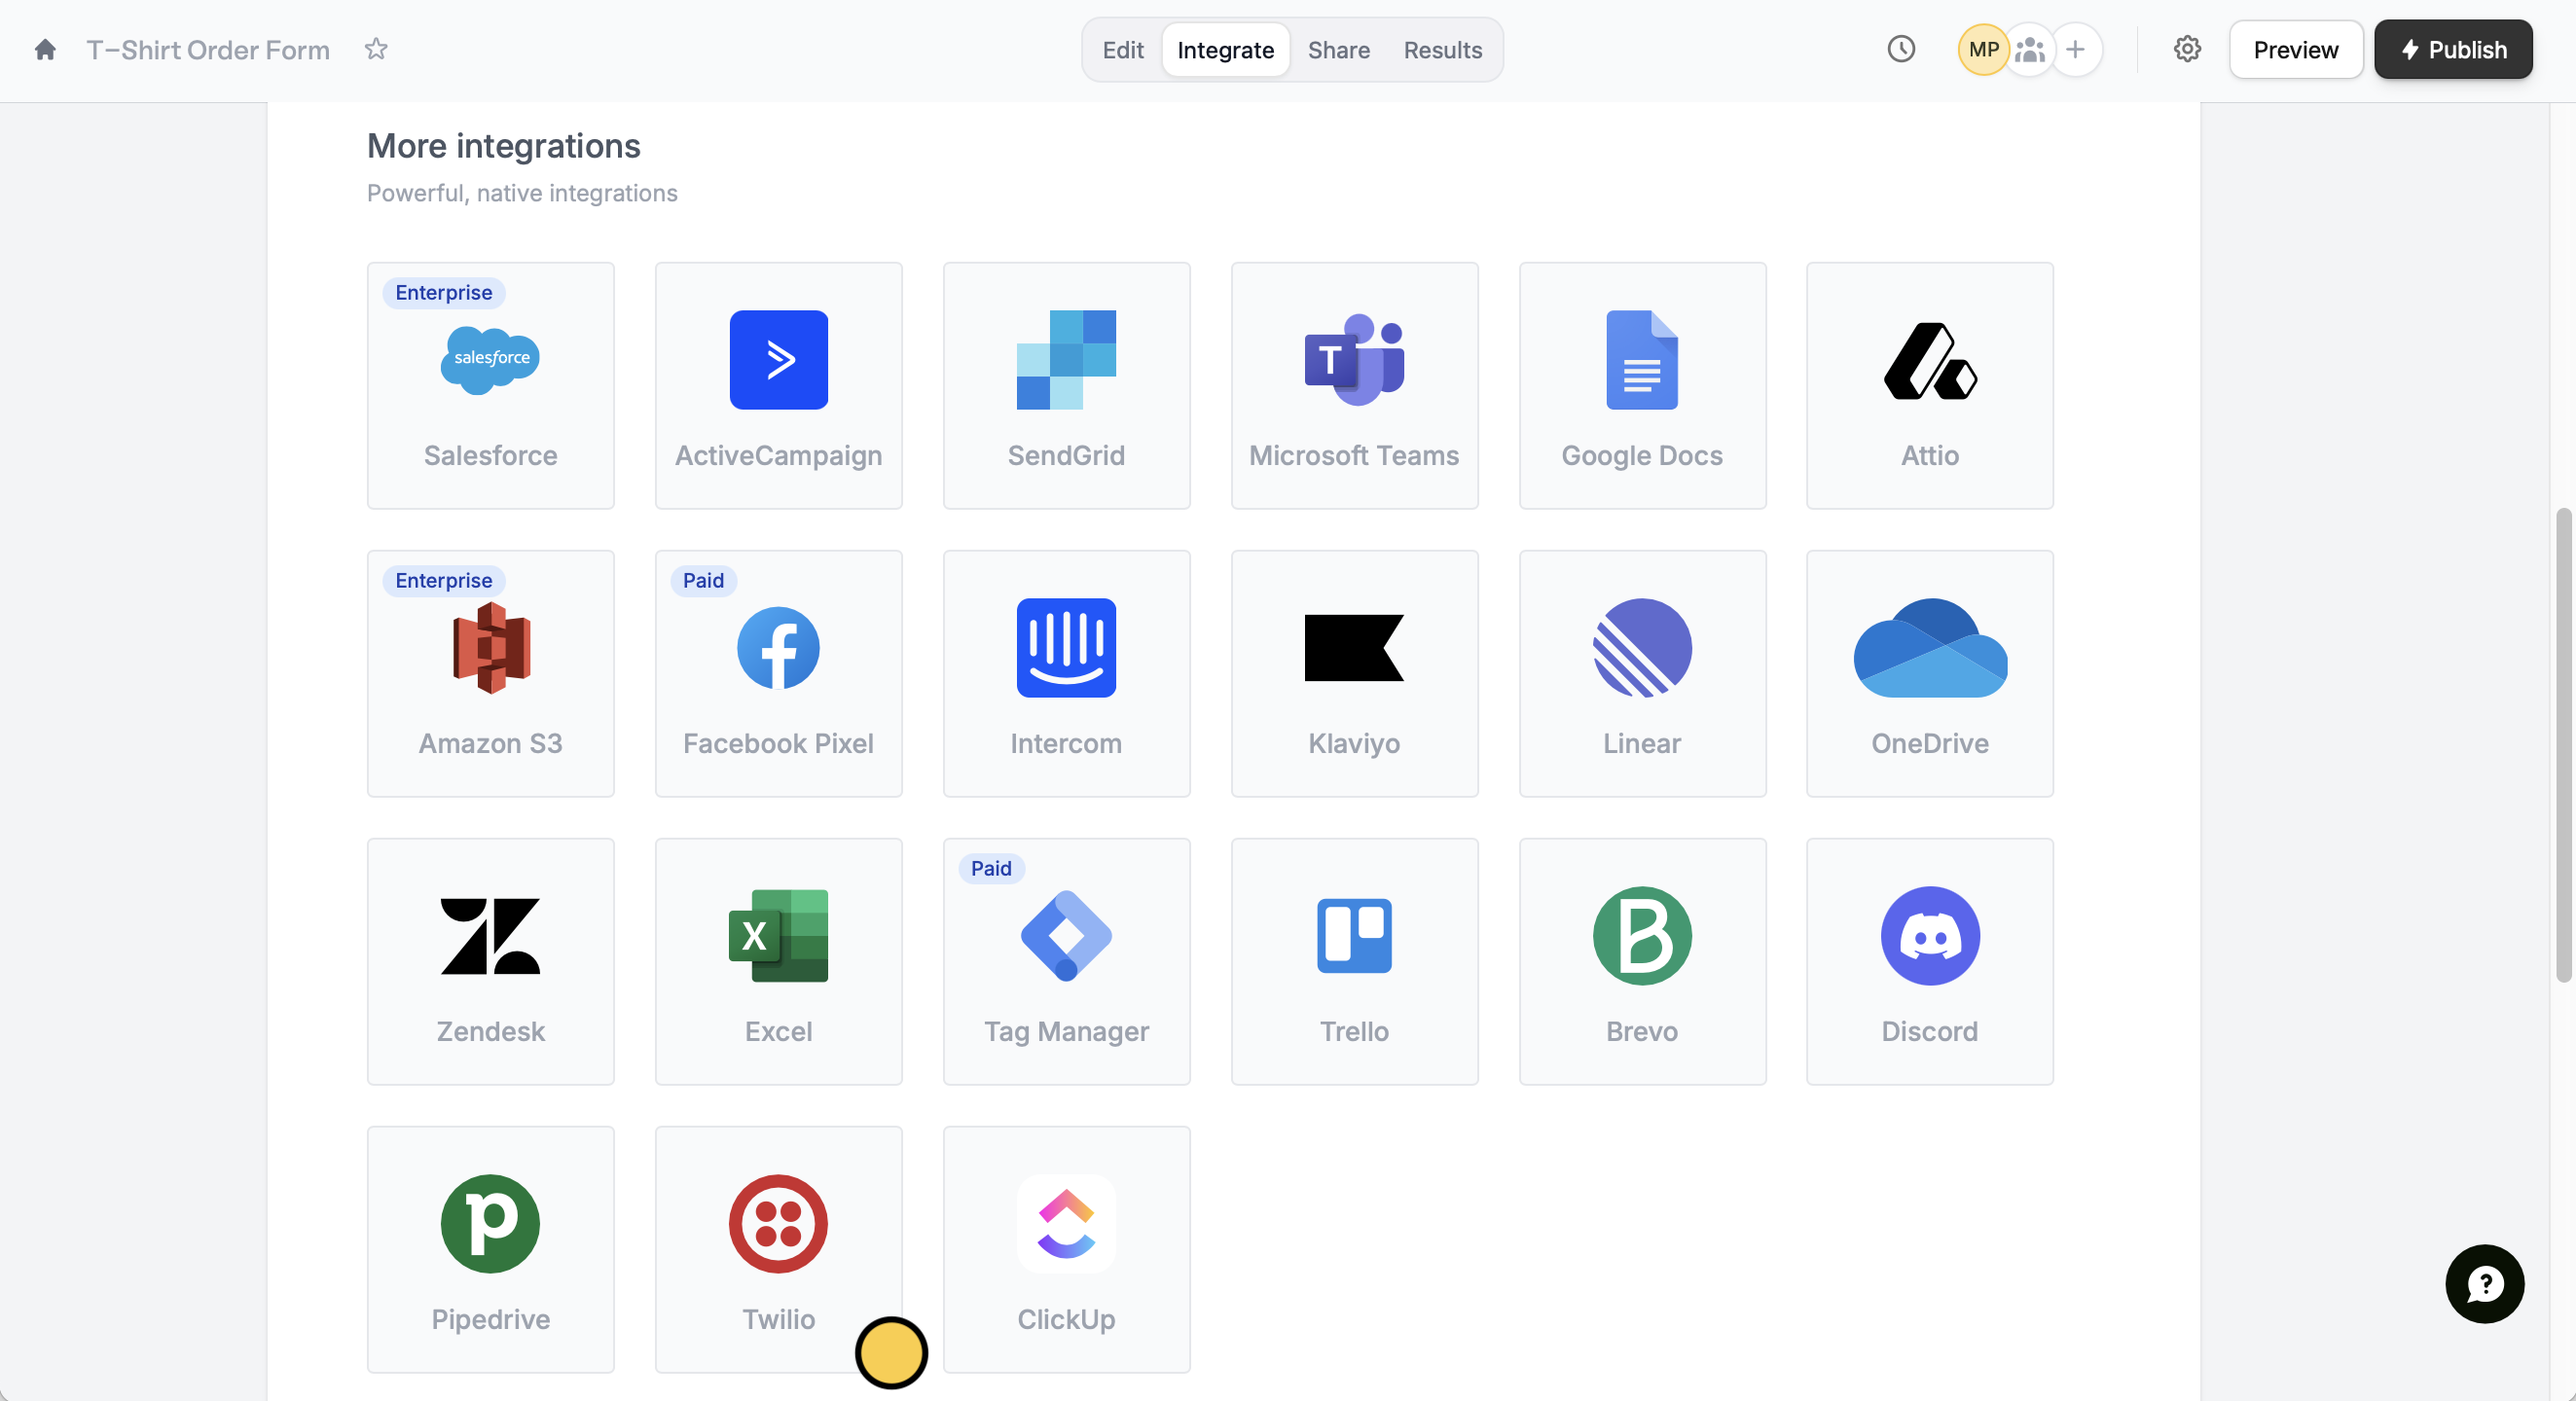
Click `Integrate` in the top menu, and look for `Twilio`.
 You must set up a virtual phone number in Twilio to be able to send and receive SMS messages.
Enter your **Twilio Account SID** and **Twilio Auth Token**. You will find both in your **Account Dashboard** under **Account Info**. Then, select a **Phone Number** from the dropdown menu.
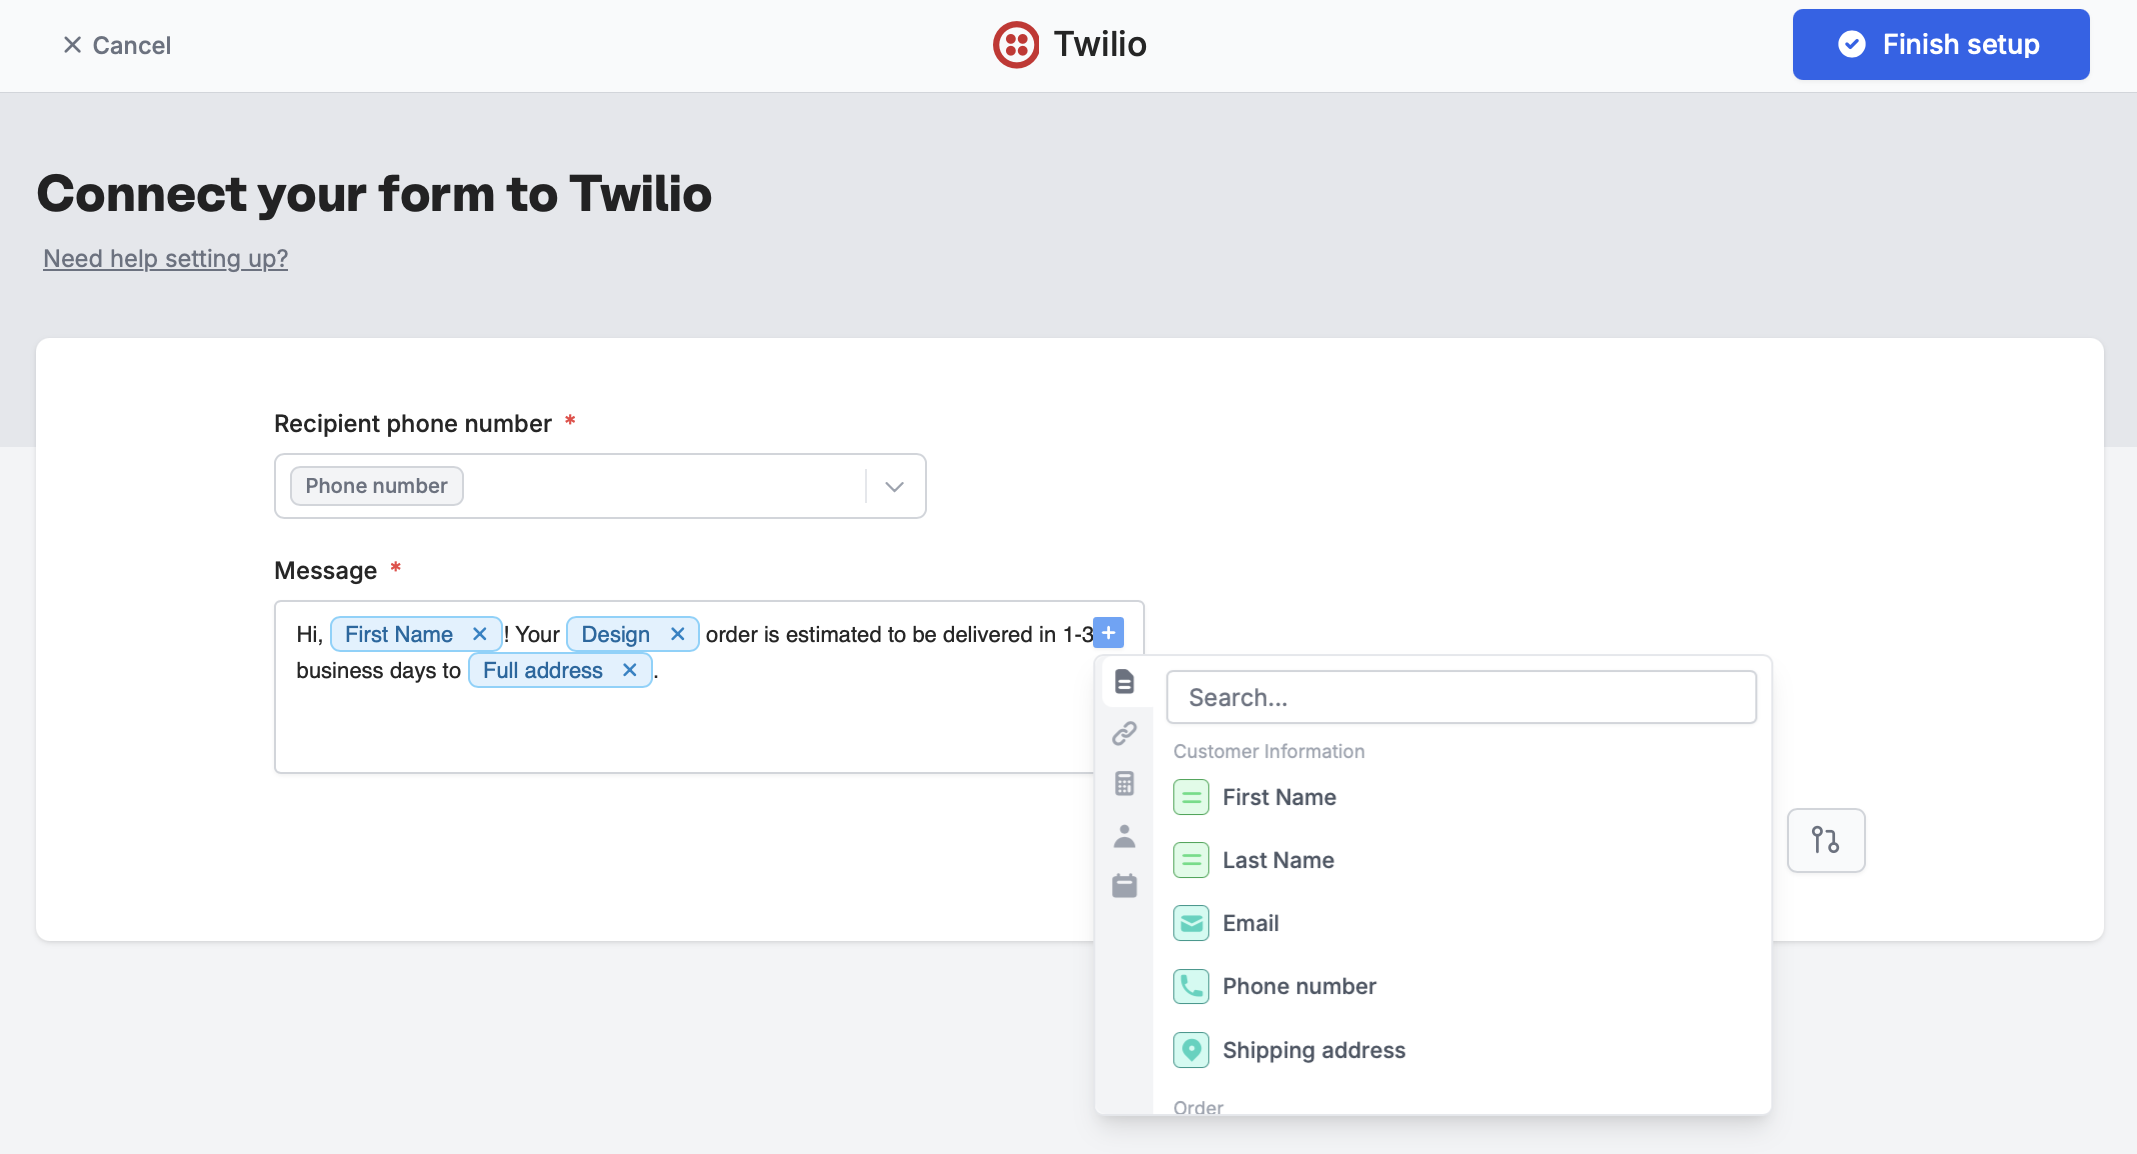
Select the **Recipient phone number** field, and add your message. Reference contact details, order specifics, and other form fields by clicking or typing **@**.
You must set up a virtual phone number in Twilio to be able to send and receive SMS messages.
Enter your **Twilio Account SID** and **Twilio Auth Token**. You will find both in your **Account Dashboard** under **Account Info**. Then, select a **Phone Number** from the dropdown menu.
Select the **Recipient phone number** field, and add your message. Reference contact details, order specifics, and other form fields by clicking or typing **@**.
 `Finish setup` and test your form via `Preview` mode in the upper right corner.
Once everything’s set `Publish` and share your form link or embed it on a website. That’s it! Now, every time someone completes your form, a message will be sent to them.
## Specify a condition
You can choose to send a message only under certain conditions. Read this quick [guide](/conditional-integration).
## Related articles
Perform an integration only when a certain condition is met.
Send customizable emails after form submissions.
`Finish setup` and test your form via `Preview` mode in the upper right corner.
Once everything’s set `Publish` and share your form link or embed it on a website. That’s it! Now, every time someone completes your form, a message will be sent to them.
## Specify a condition
You can choose to send a message only under certain conditions. Read this quick [guide](/conditional-integration).
## Related articles
Perform an integration only when a certain condition is met.
Send customizable emails after form submissions.