Import to the same table
1
Navigate to your database
Open your Zite app and click 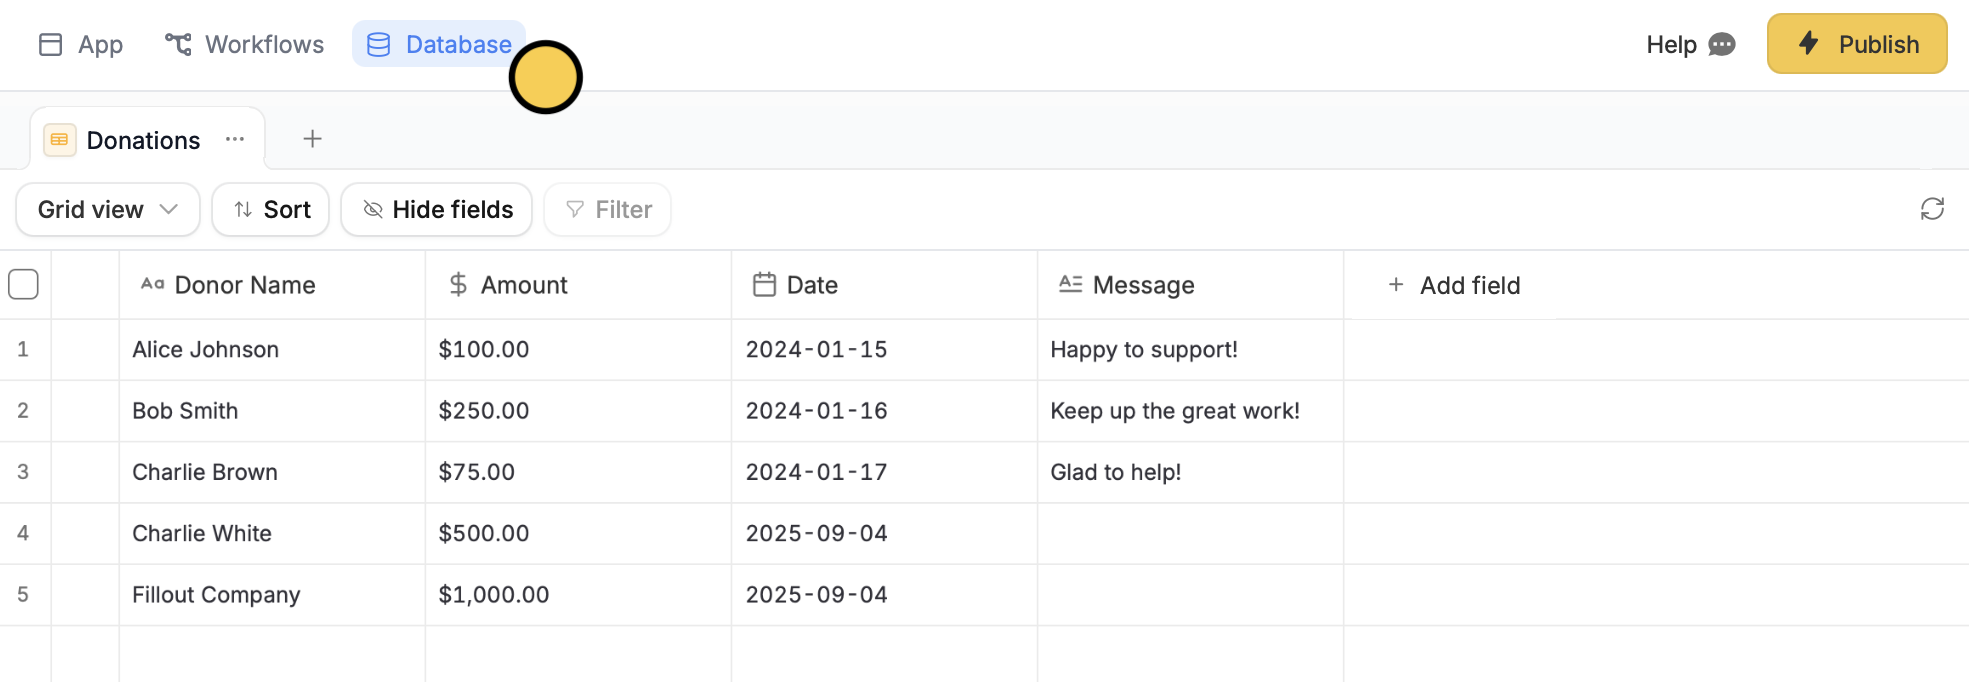
Database on the top menu.2
Choose an external source
Click next to the name of your table followed by 
Import data and select your database source.3
Choose your database
Upload your CSV file

4
Review and edit
You’ll see a preview of the columns to be imported. Here, you can 
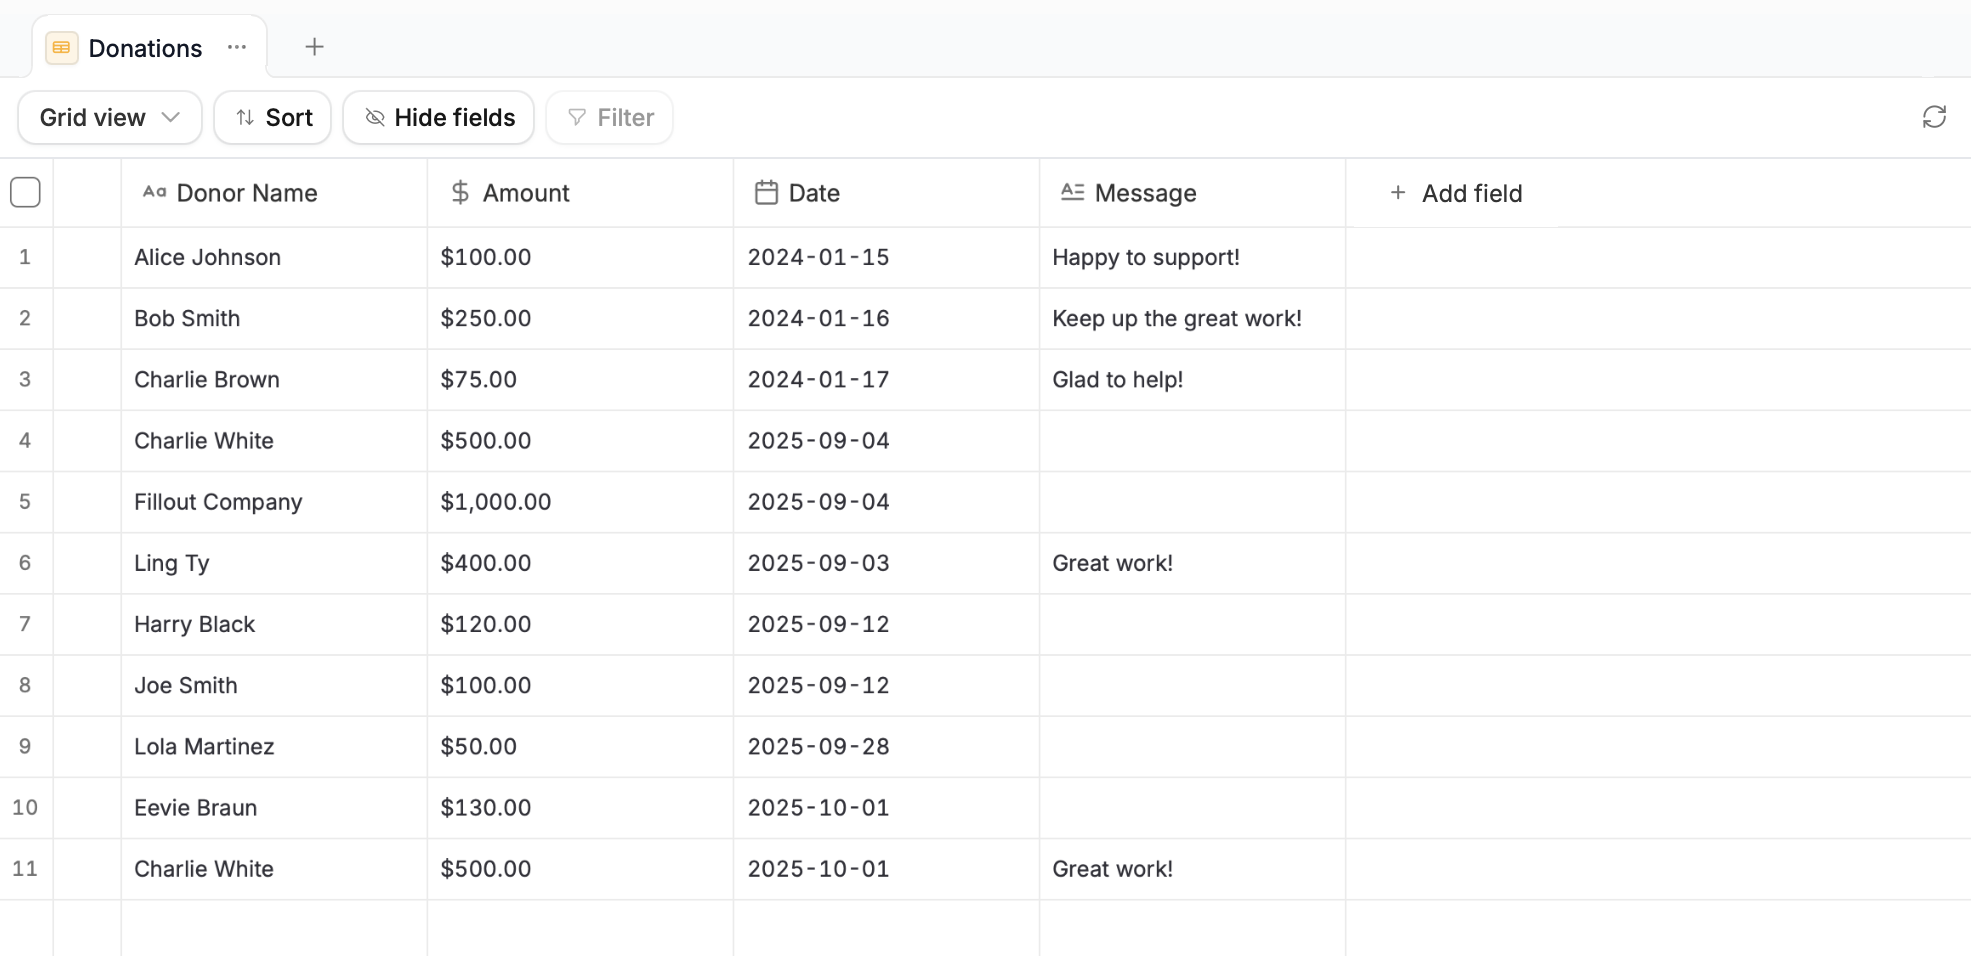
Edit mapping to change which columns on your external file you’d like to match with columns on your existing Zite database. Import database when the mapping’s all set.5
Refresh and publish
Go back to your 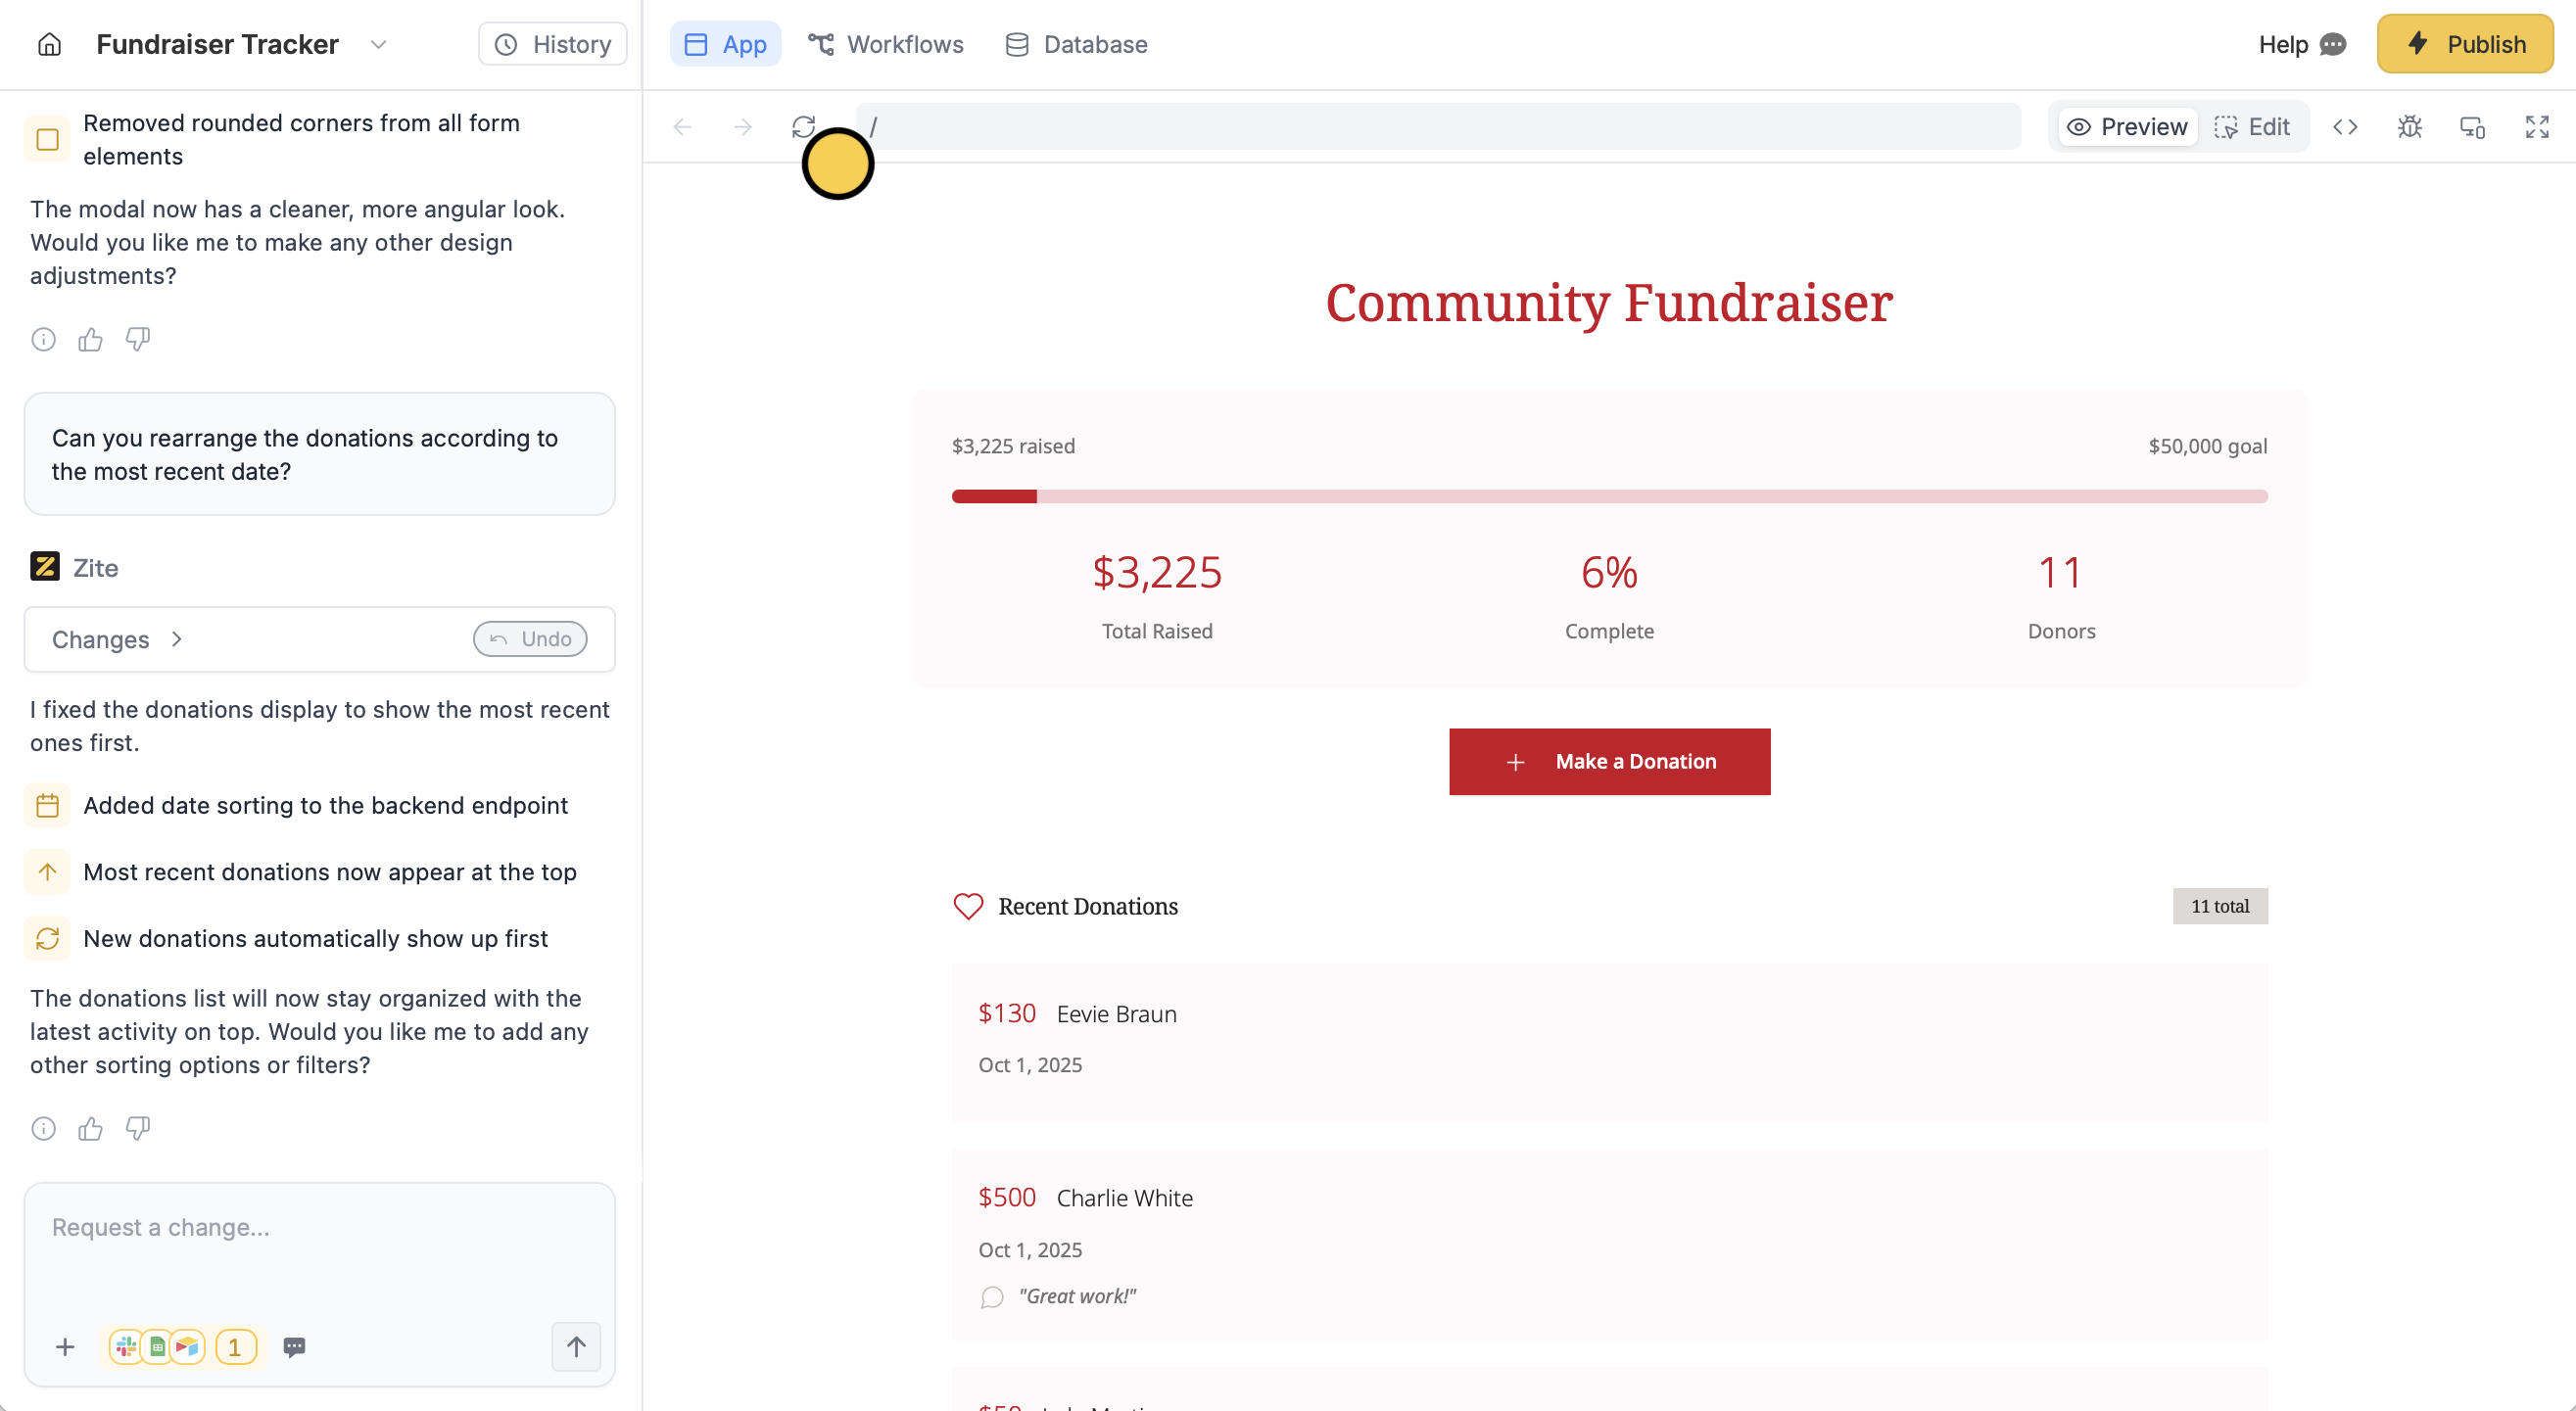
App and click . Changes will now be reflected to your app. Finally, click Publish in the upper right corner.Import to a new table
1
Navigate to your database
Open your Zite app and click 
Database on the top menu.2
Choose an external source
Click + followed by your database source.
3
Choose your database
Upload your CSV file
4
Review and edit
View a sample of your data and change field types before importing by clicking the column header. When everything’s all set, 
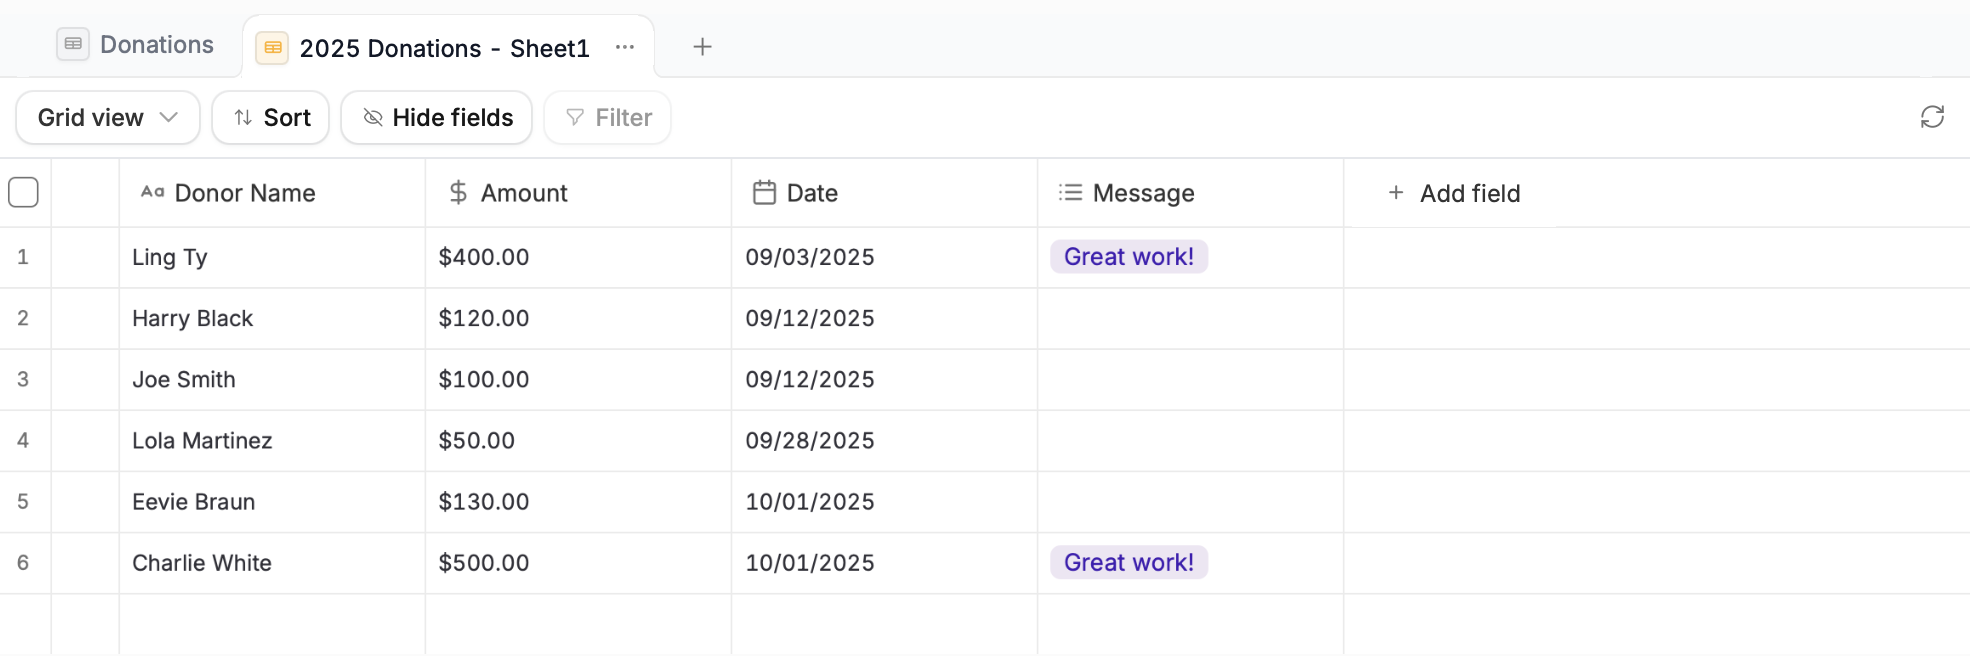
Import database.5
Publish
Go back to your
App and click Publish in the upper right corner.