Documentation Index
Fetch the complete documentation index at: https://fillout.com/help/llms.txt
Use this file to discover all available pages before exploring further.
How to set up via settings
On your dashboard, openScheduling settings from the left-hand panel to edit your default Working hours.
Edit each day’s availability individually, or click + beside a day to split your availability and leave a buffer for a lunch break, for example. You can quickly copy your availability to a different day by clicking and change your preferred Timezone.

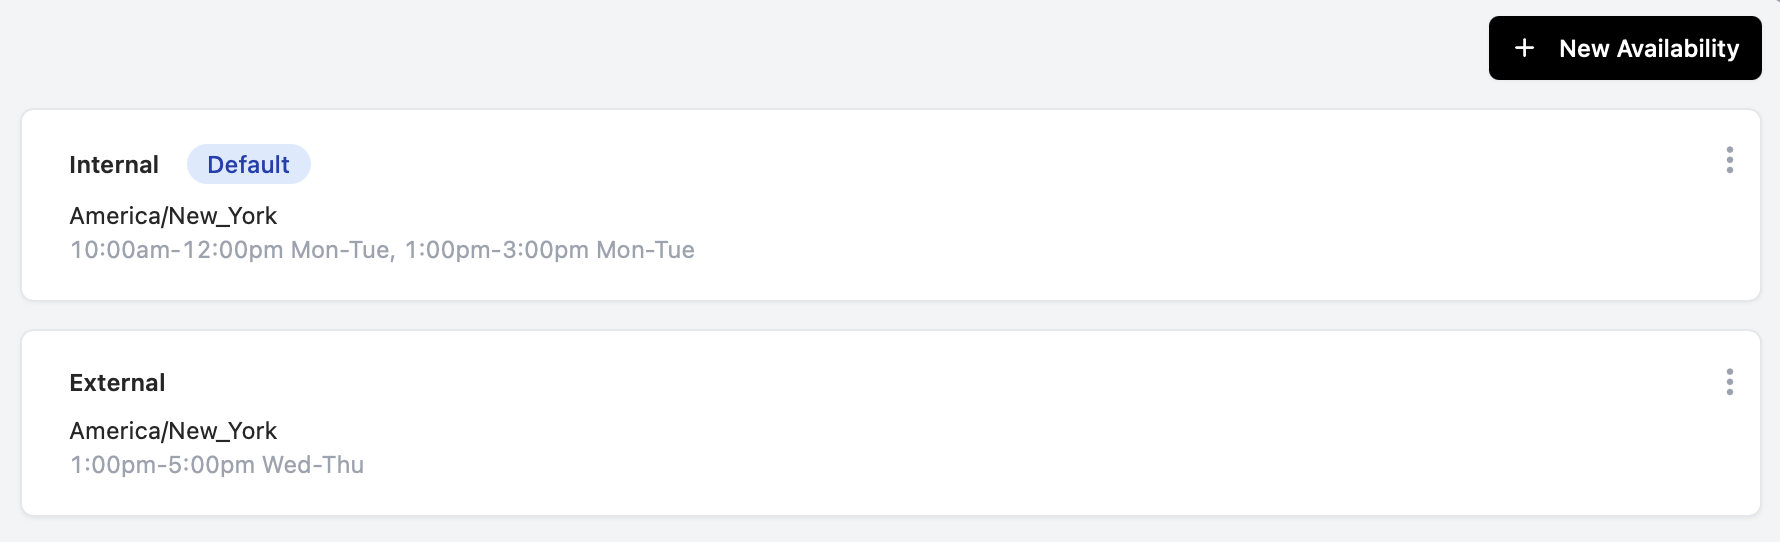
Add multiple availabilities
You can add more availabilities to organize your time better. In yourScheduling settings, click + New Availability to get started.
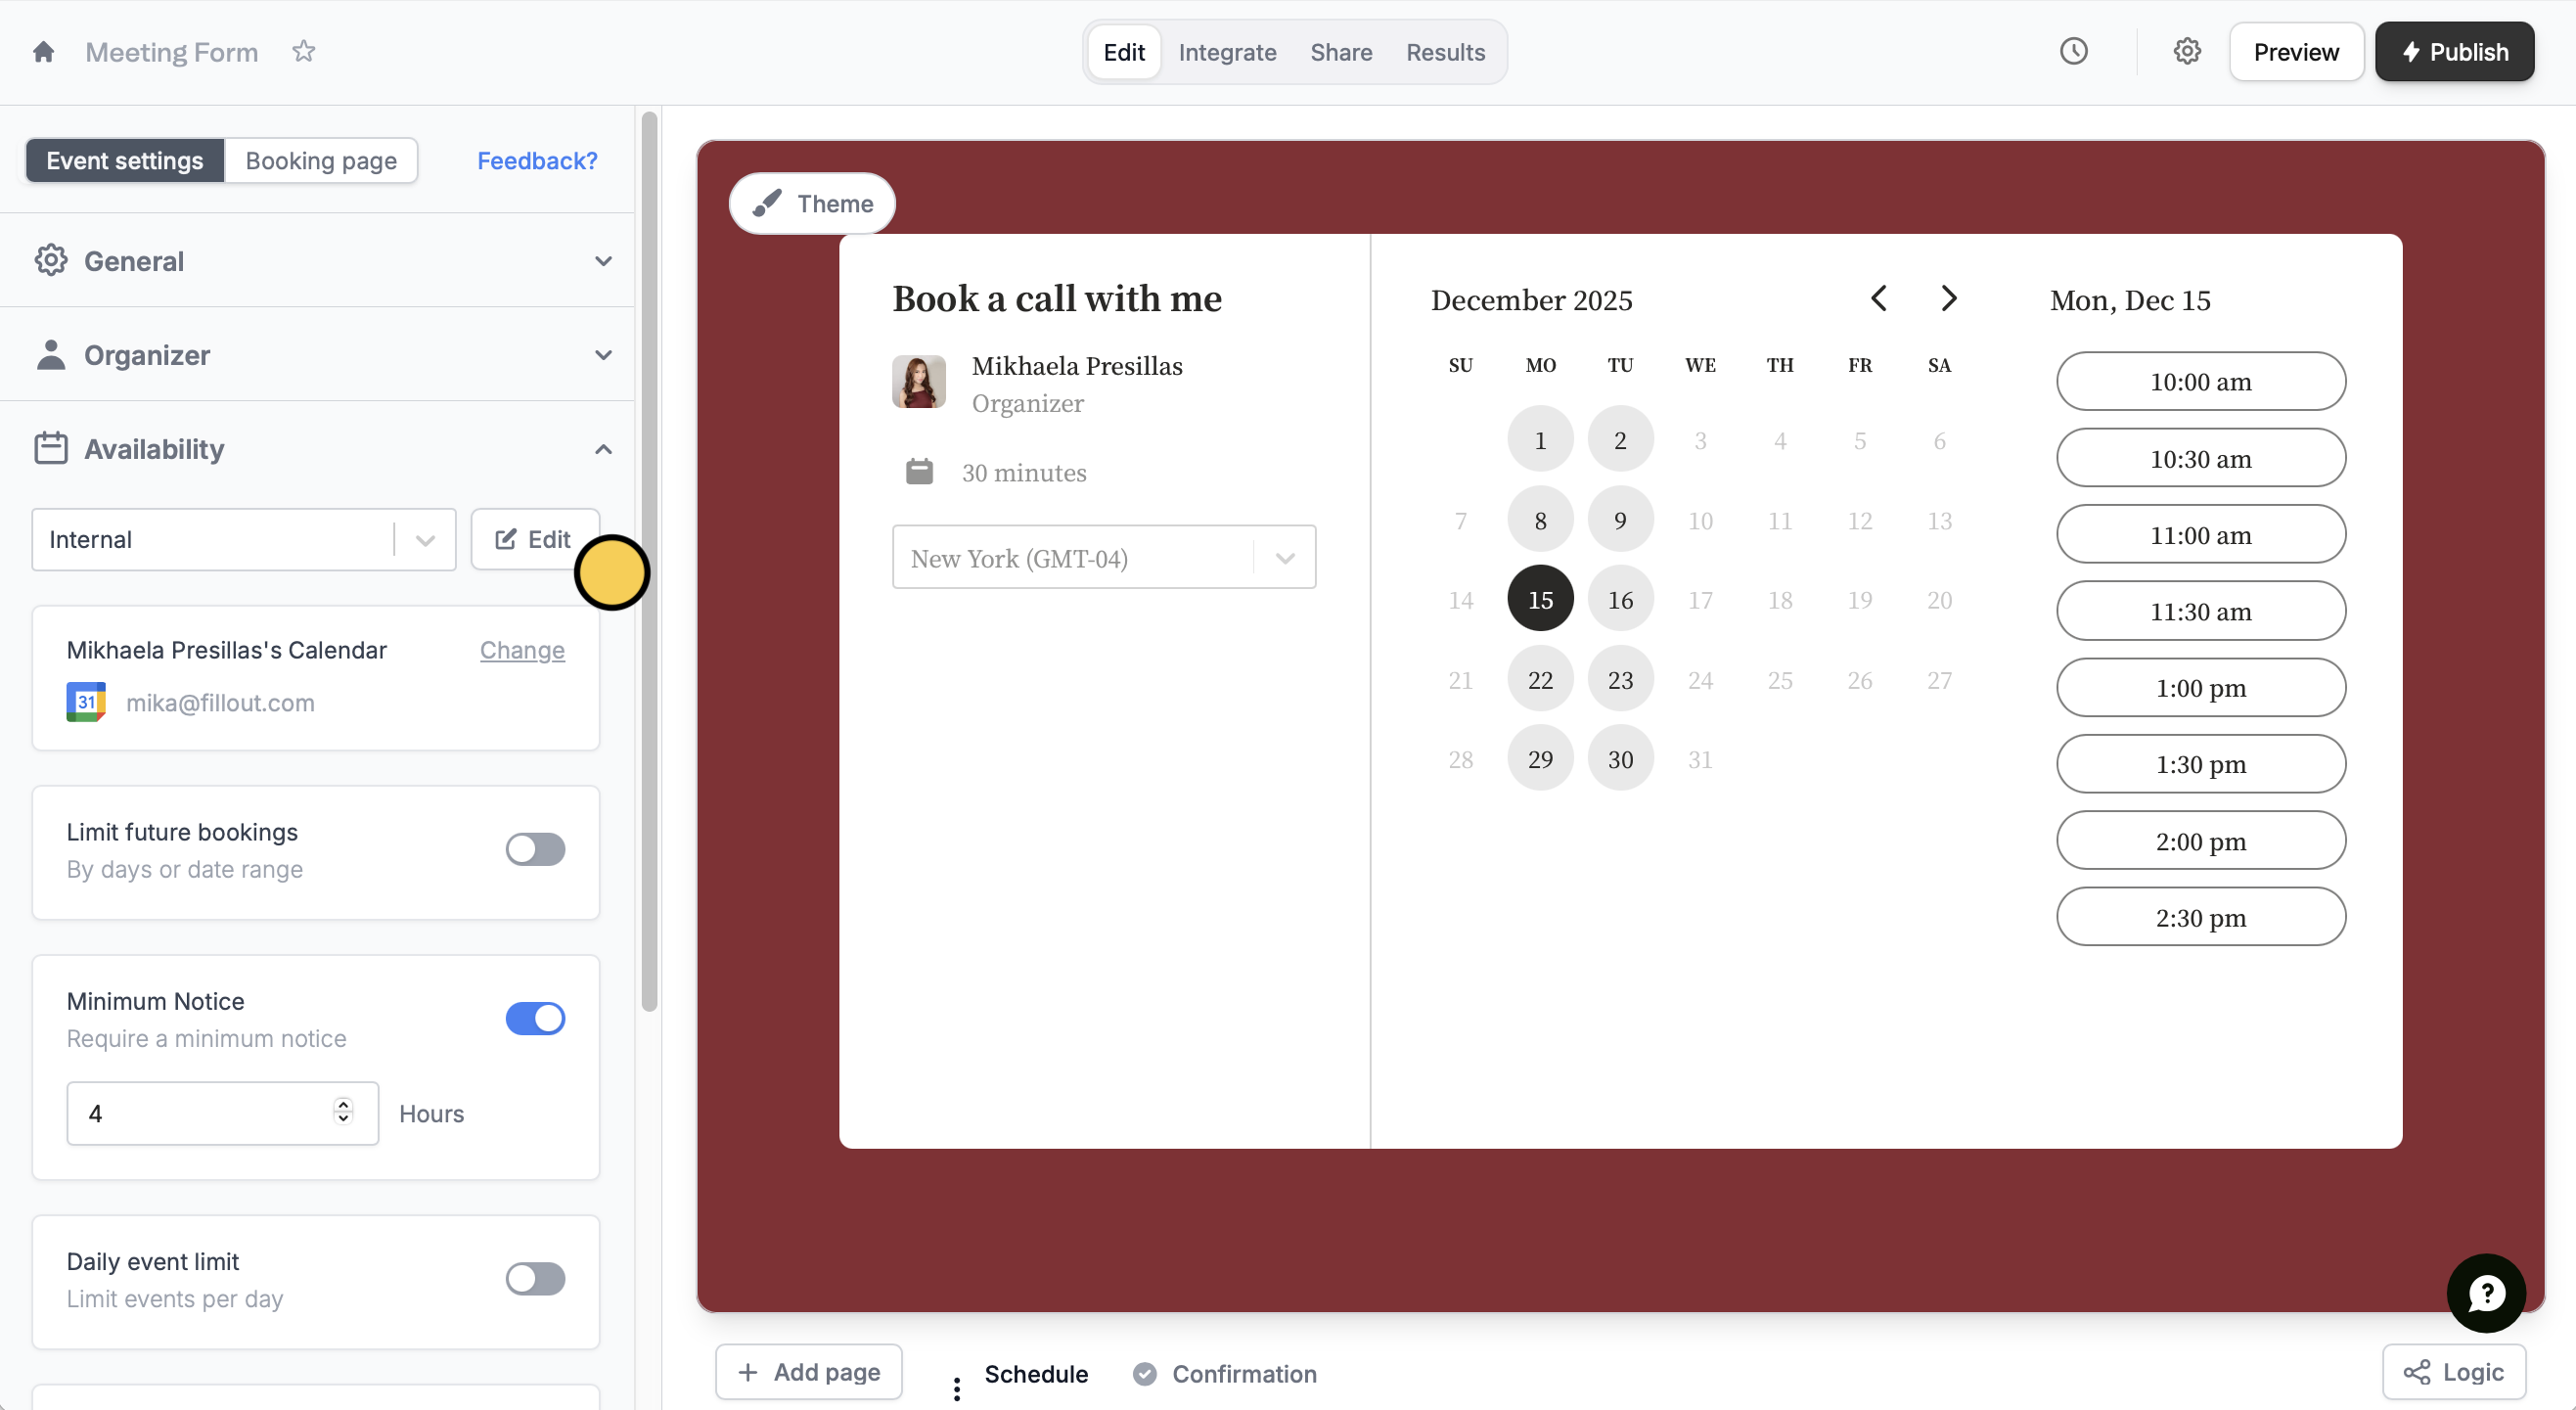
Set up via form editor
You can also tweak your schedule preferences while building a form. On the left-hand panel,Edit your availability.
Related article
Limit bookings
Set the farthest available date, and add more limitations.