What is Dropbox?
Dropbox allows users to store documents, photos, videos, and more in your personal cloud storage space, eliminating the need for physical storage devices.Video tutorial
How it works
1
Link your Fillout form to Dropbox
Go to 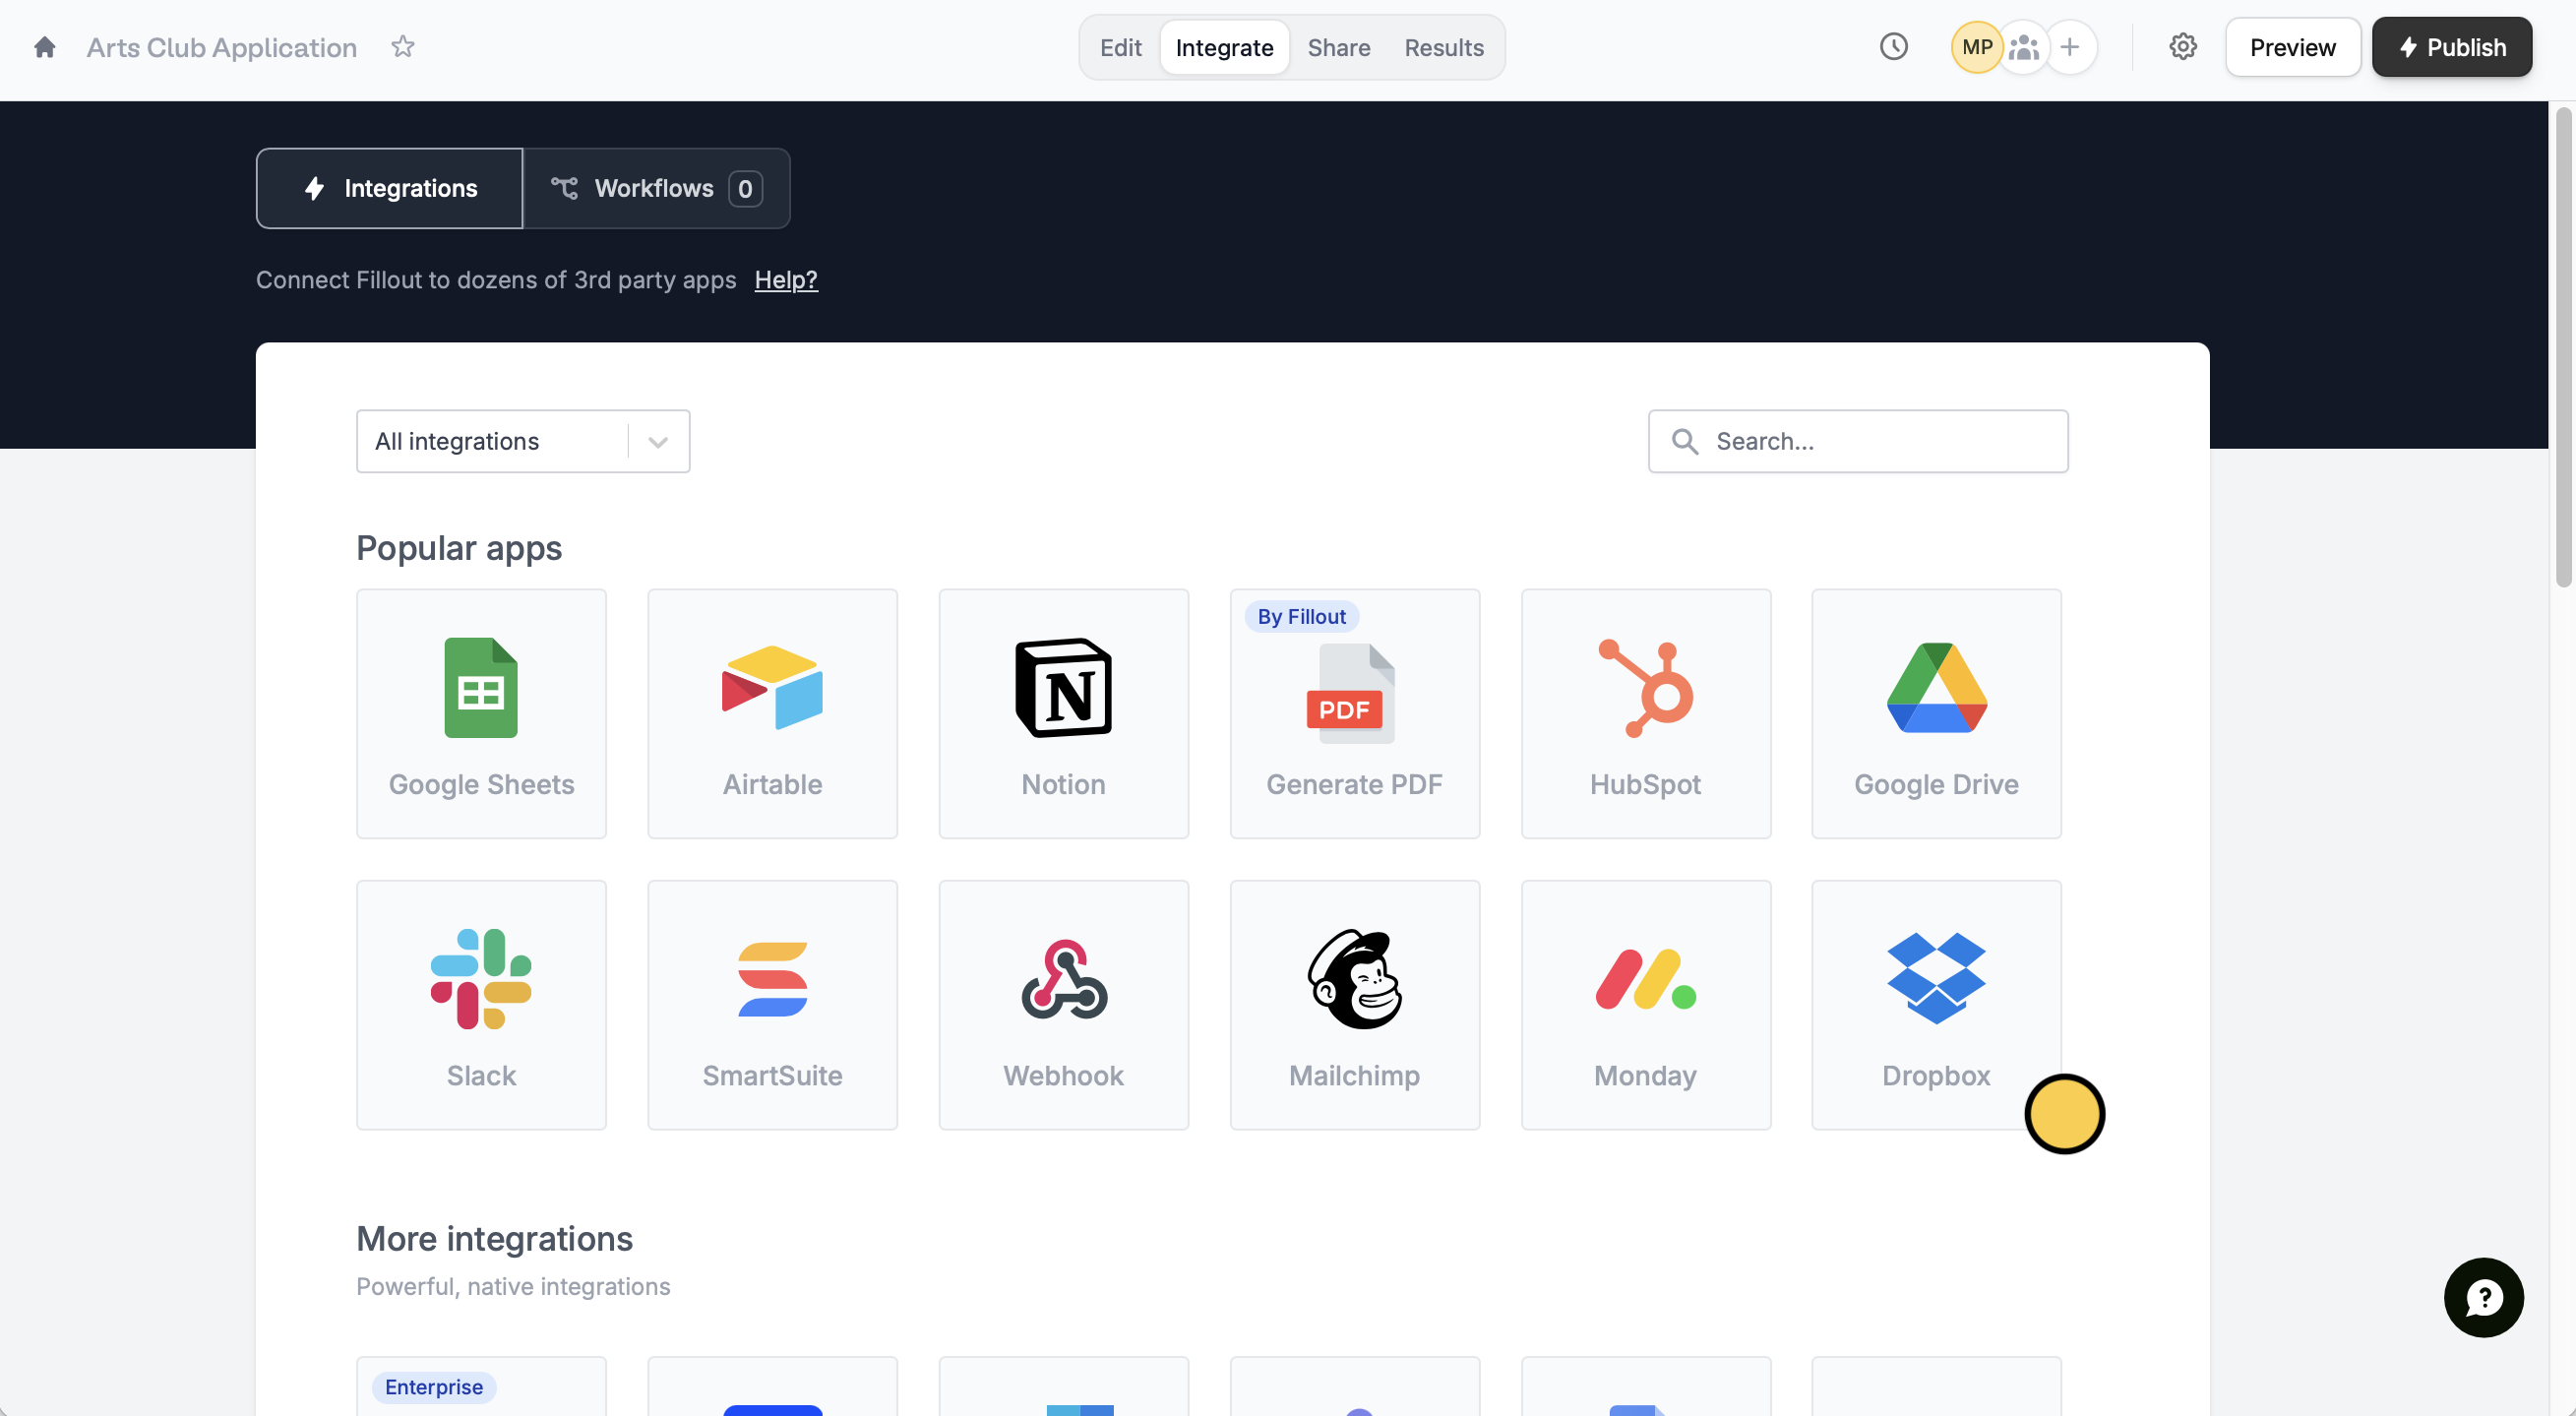
Integrate from the top menu and click Dropbox.Connect to Dropbox.2
Map form fields
Choose which Folder you would like to store the files in. Under upload fields, 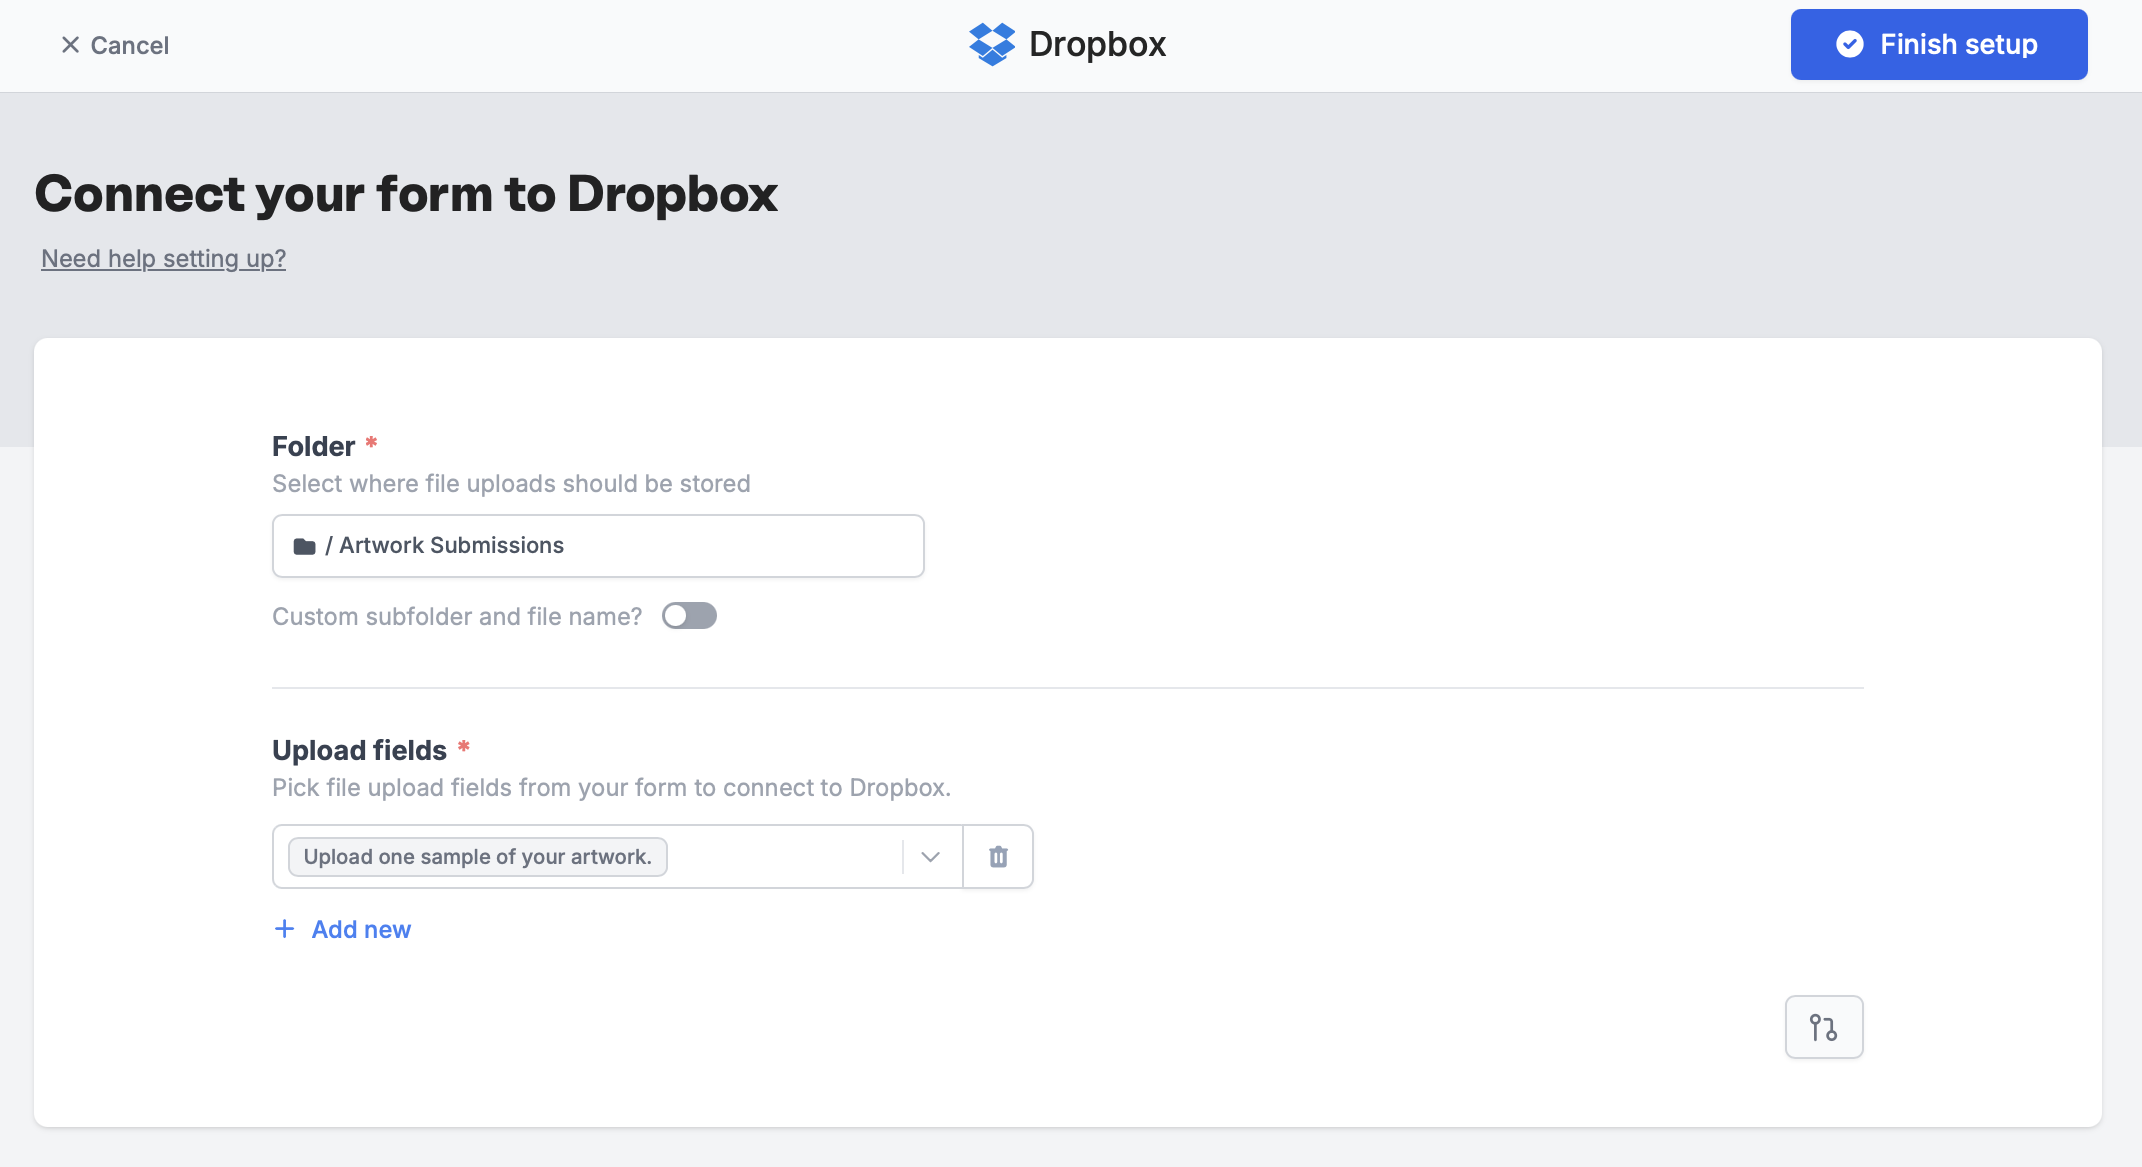
+ Add new and select a file upload field from your form.3
Publish and share
Once everything is set, click
Finish setup on the upper right corner. That’s it! Your form’s good to go. Publish to reflect changes and share the link.Add a dynamic file path
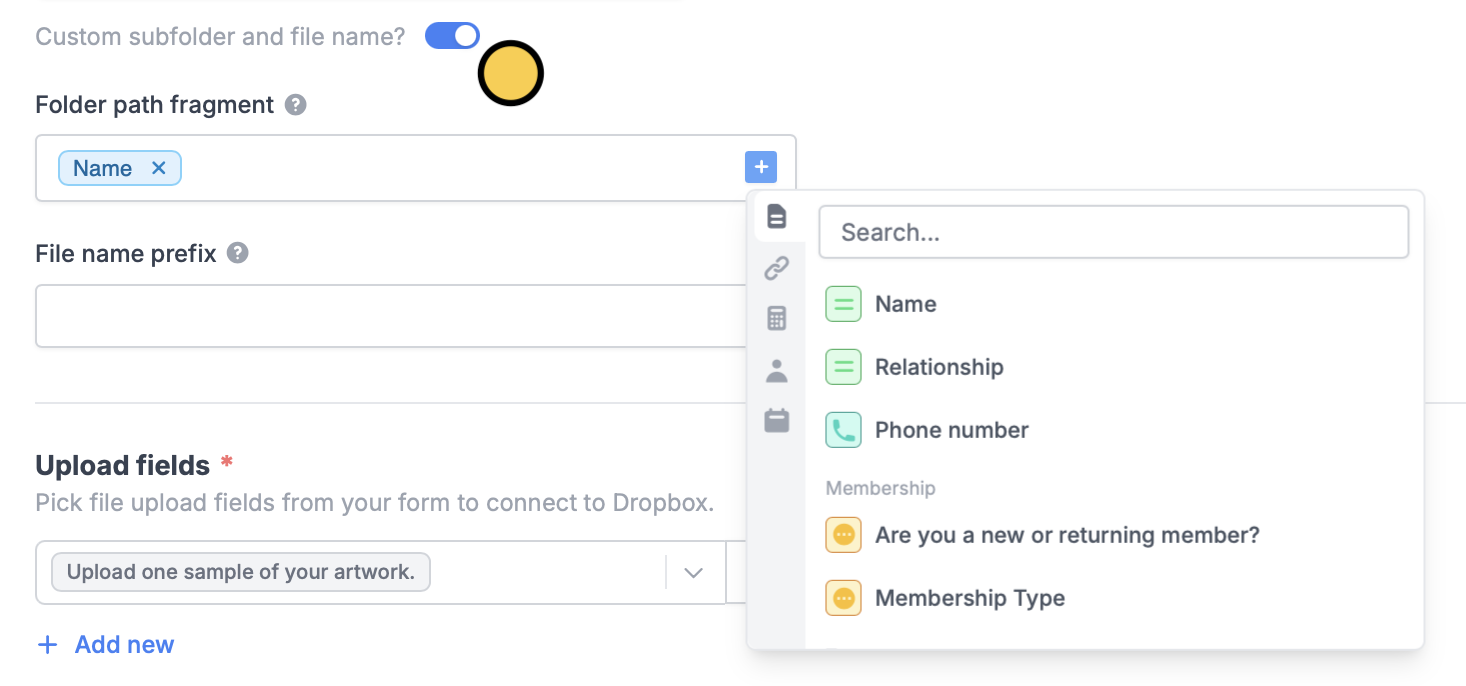
Categorize file uploads into folders based on respondent input. Toggle theCustom subfolder and file name? switch, then select a Folder path fragment. Enter text or click to map a field in your form. Let’s choose “Name” for this example.
Add subfolders
You can add a subfolder by typing / followed by a name of your choice.
Personalized filename prefix
Similar to the steps above, enter text or click to reference a form field.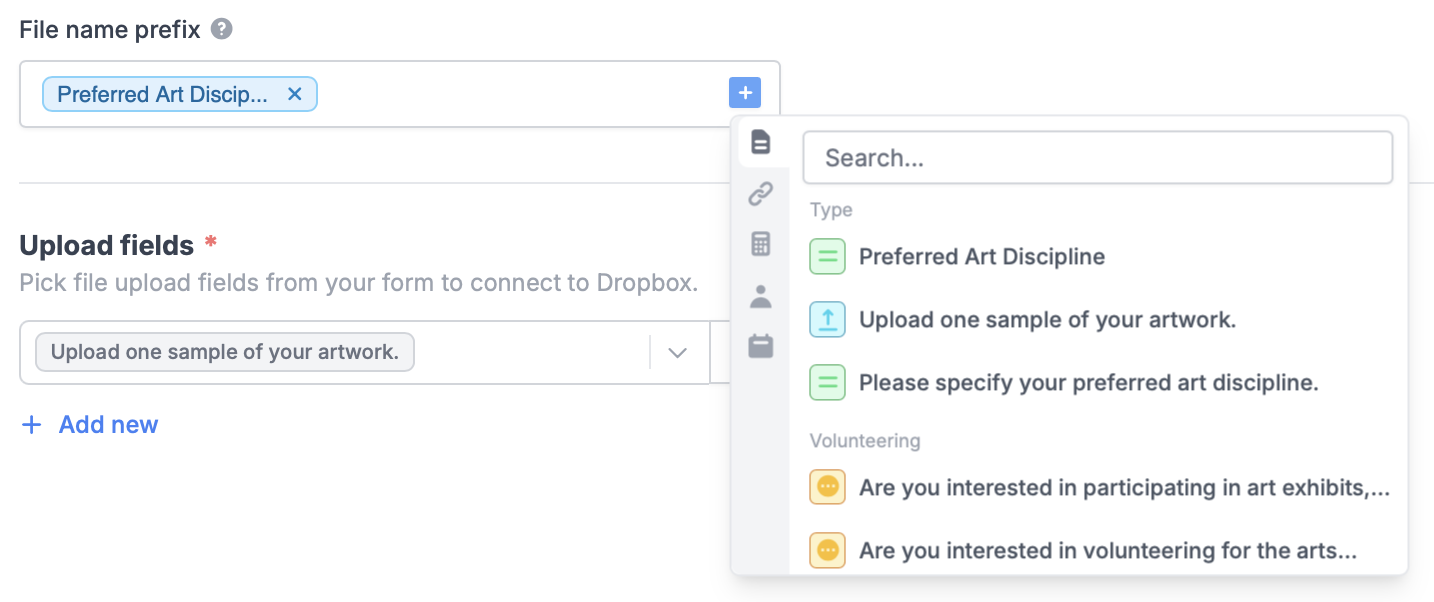
Related articles
Upload files to Google Drive
Automatically upload files with a form.
Sync files to Microsoft OneDrive
Automatically upload files with a form.
Sync responses to Monday
Use a form to create leads and more.