Self-hosted agent
Instructions for deploying Fillout with an on-premise agent. Process and store all respondent data on your own private cloud, like Azure, GCP, AWS or others.
Overview
The Fillout self-hosted agent lets you process and store all respondent data on your own private cloud, like Azure, GCP, AWS or others.
The Fillout on-premise agent is best suited for companies with highly sensitive data requirements. Fillout also offers a managed offering where our team will manage a dedicated instance on your behalf. If you have any questions, please contact us here.
Getting started
- Login to your Enterprise Fillout account
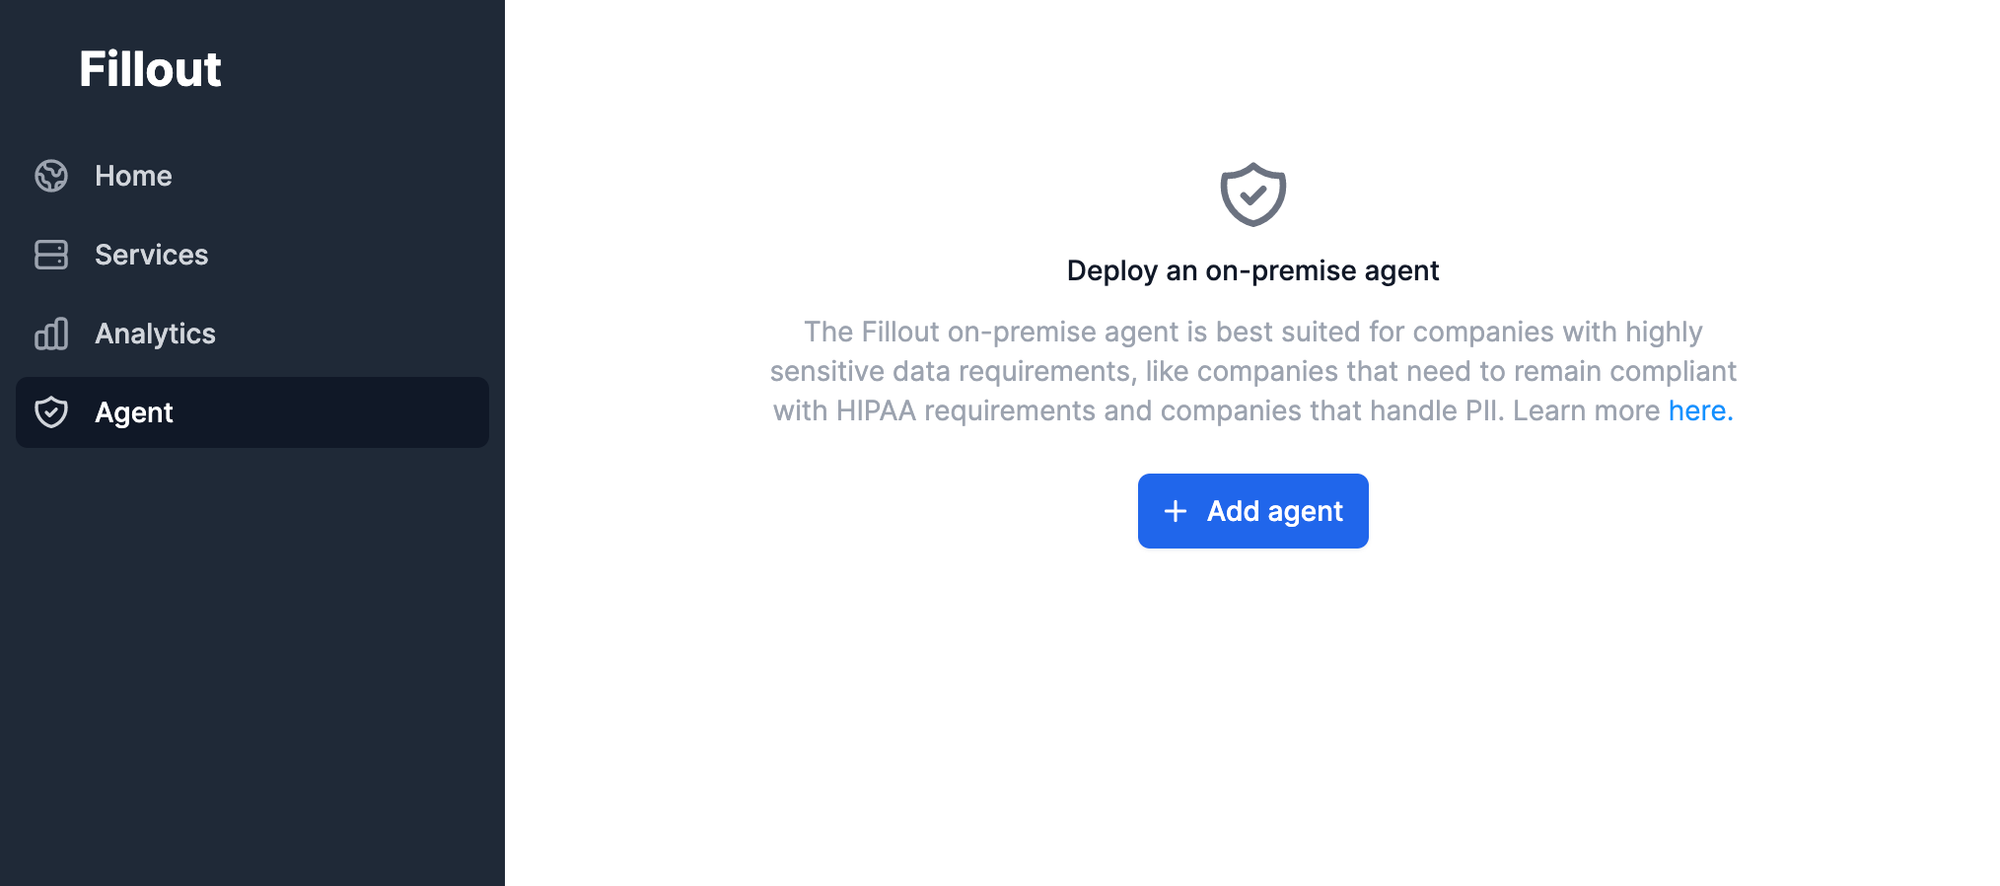
- Navigate to the "Agent" tab and add an agent. You can leave the host and port blank if you don't know them yet.
- Choose a deployment option and follow the necessary steps below. You'll need the Fillout agent key obtained on the screen from step #2.
- Once you've deployed the agent, press "Check health" to confirm that the agent was connected successfully.
Deployment options
- AWS EC2
- Aptible
- Microsoft Azure
- GCP
- Render
- Any cloud provider that supports pre-built Docker images
EC2 (docker compose)
- Add the following secrets to your docker.env
FILLOUT_AGENT_KEY=<obtained from your fillout.com account, e.g. agent_key_xyzabc>
DB_NAME=<postgres-db-name>
DB_HOST=<postgres-host>
DB_USER=<postgres-username>
DB_PASSWORD=<postgres-user-password>
ENCRYPTION_SECRET=<some-random-string>
DB_PORT=<optional-postgres-port>
- Run
docker-compose up
Aptible
- Install the Aptible CLI and authenticate into your account with
aptible login.
- Clone this Github repository:
git clone https://github.com/fillout/onpremise-agent
cd onpremise-agent
- Create a new app on Aptible
aptible apps:create <app-name>
- Create a postgres database
aptible db:create <db-name> --type postgresql --version 14
- Set the necessary environment variables with the command below. You'll find the database connection details in the Aptible dashboard and the
FILLOUT_AGENT_KEYfrom the Getting started steps.
aptible config:set --app <app-name> \
    FILLOUT_AGENT_KEY=<fillout-key-from-fillout-agent-dashboard> \
    DB_NAME=<postgres-db-name> \
    DB_HOST=<postgres-host> \
    DB_USER=<postgres-username> \
    DB_PORT=<optional-postgres-port> \
    DB_PASSWORD=<postgres-user-password> \
    ENCRYPTION_SECRET=$(cat /dev/urandom | base64 | head -c 64)
- Set your git remote:
git remote add aptible your-git-urlYou can find the git url in the Aptible dashboard.
- If you're not on the
masterbranch, switch to the master branch or rungit checkout -b masterto create it. Aptible deploys based on changes to the master branch.
- If you haven't already, add a public SSH key to your Aptible account. Then run
git push aptible.
- Create an Aptible endpoint