Pre-requisites
- Organization should be on Fillout’s Enterprise Plan
- Your account must have an Admin role in your team
Set up SSO
After signing up or upgrading your plan, you will be sent setup instructions via WorkOS.
How to Log in Using SSO
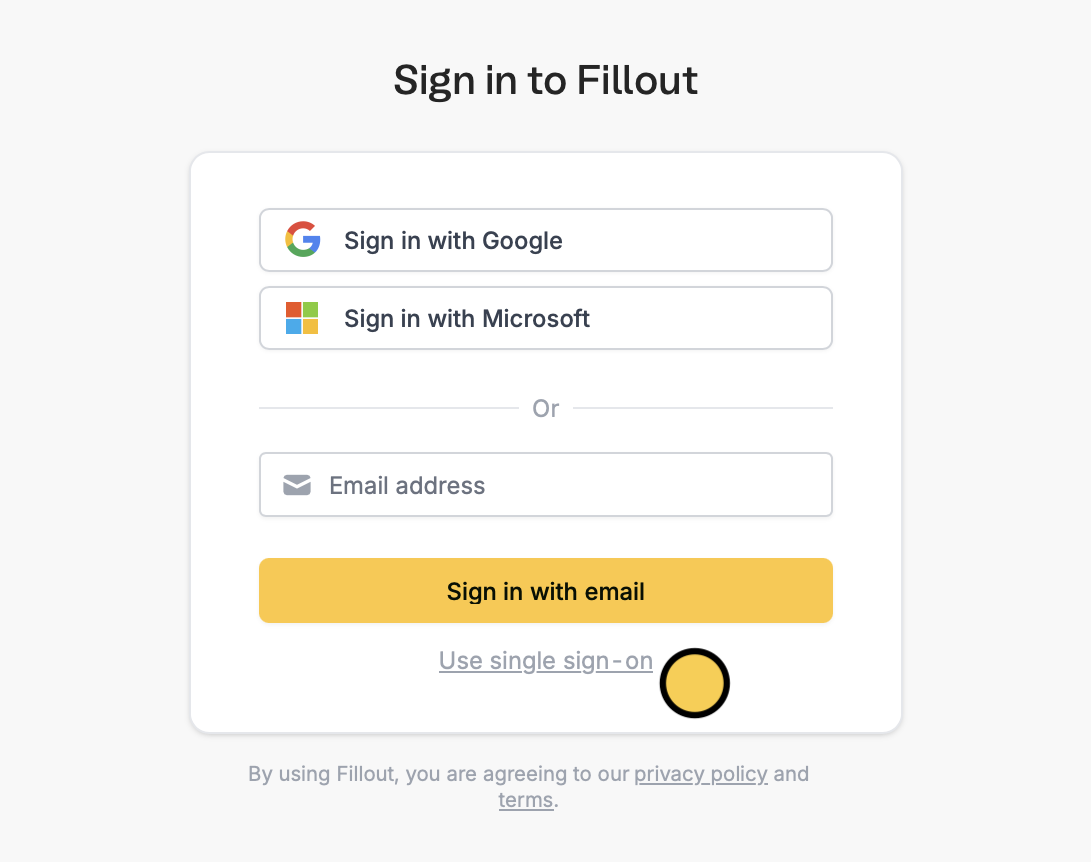
Once SSO is configured, your team members can log in by clicking on Login with SSO on the Fillout login page and entering their company email.

How provisioning users works
Fillout does not currently auto-provision users when they are added to your SSO provider. Instead, an account in Fillout will be created when the user logs into Fillout for the first time, using the SSO login.
Enforcing SSO
Contact [email protected] if you would like to enforce SSO for all users on your account.
By default, users added to your account before enabling SSO will still be able to authenticate with their prior authentication method (e.g., password or Google login). At your request, we can enforce SSO for all users going forward, including existing users. Existing users will still retain all their prior details once they login with SSO.
SAML SSO can only be enforced for a team if your current session was authenticated via SAML SSO. This ensures your configuration works correctly before restricting team access, preventing accidental loss of access.


