How to set up
Connect your calendar
Go to 

Scheduling settings by clicking .Connected Calendars and add your Google or Outlook calendar.Fillout Scheduling syncs availability across all connected calendars.
Create a scheduling form
Go back to 
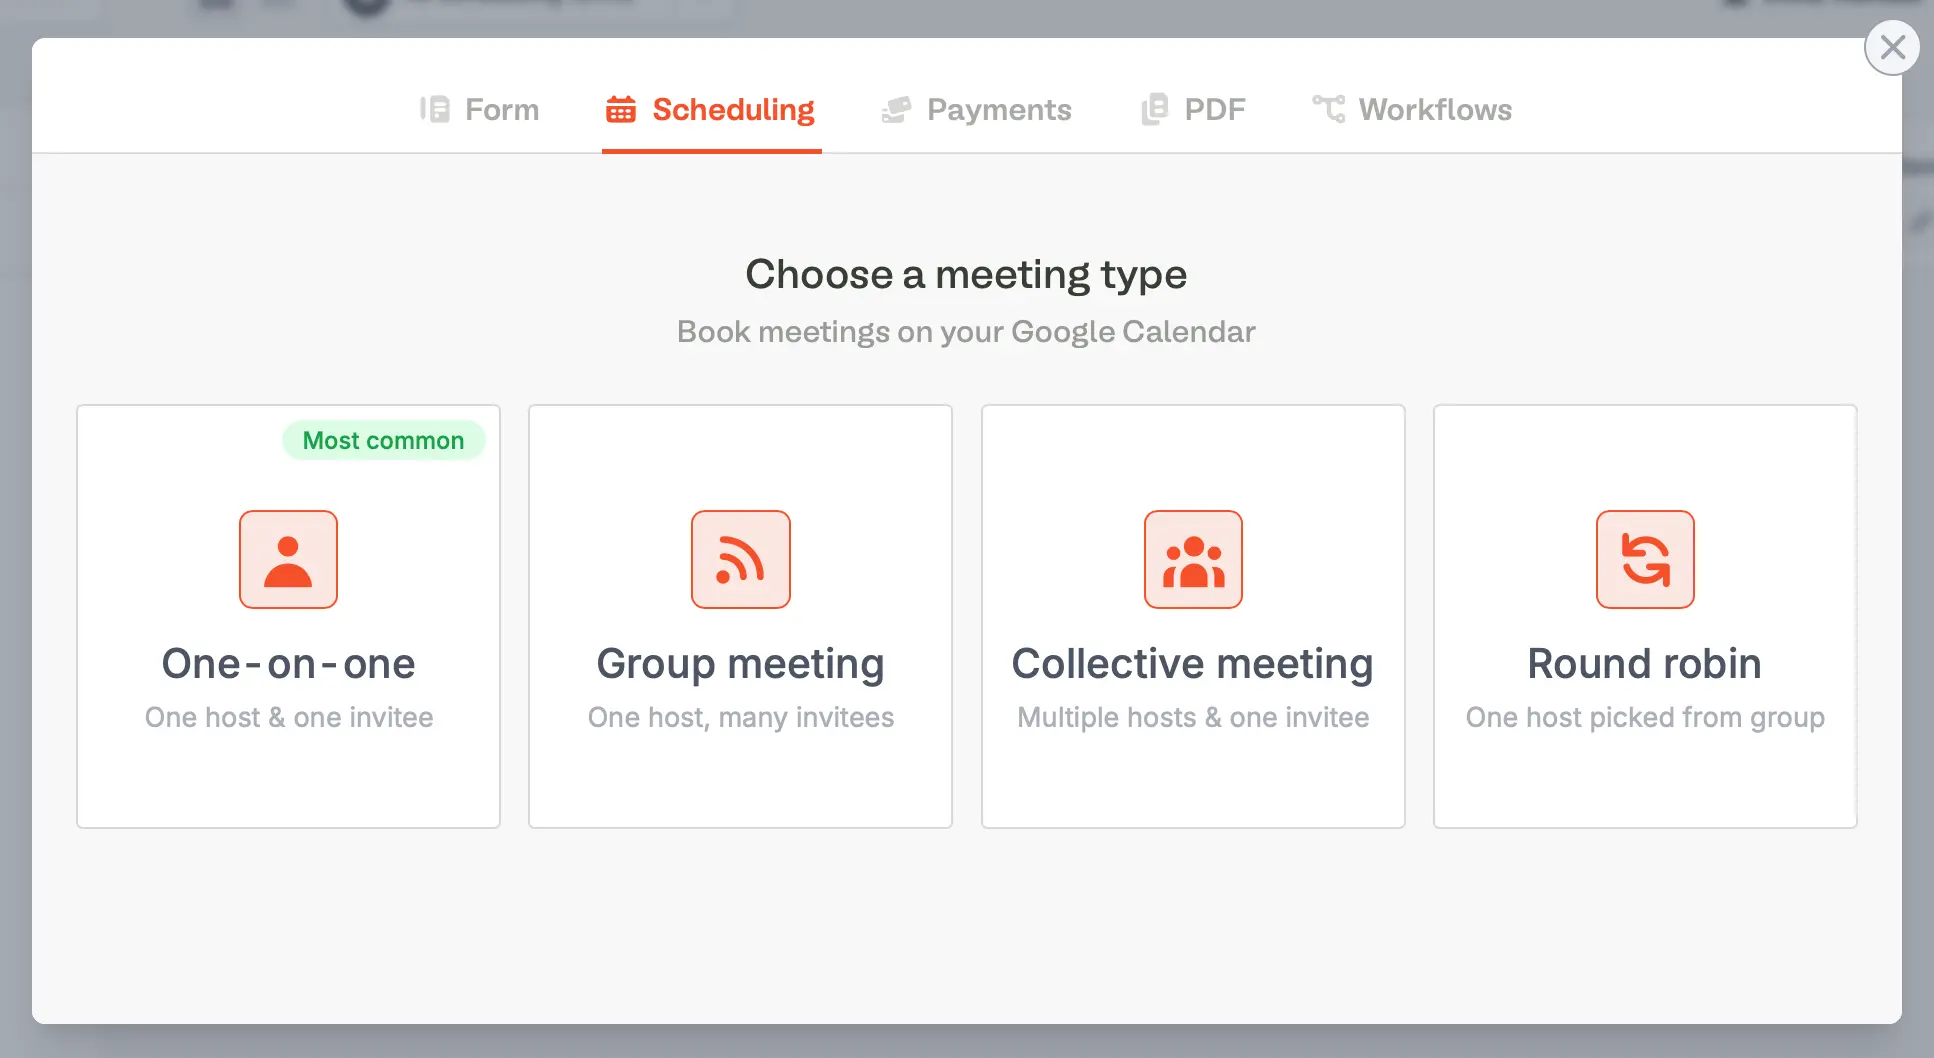
Home and click Form. Alternatively, you may click Create followed by Scheduling.Scheduling followed by your preferred meeting type.Configure event details
Add your meeting details, and optionally + Add meeting location to include a physical location, phone number, or a Google Meet or Zoom link for the meeting.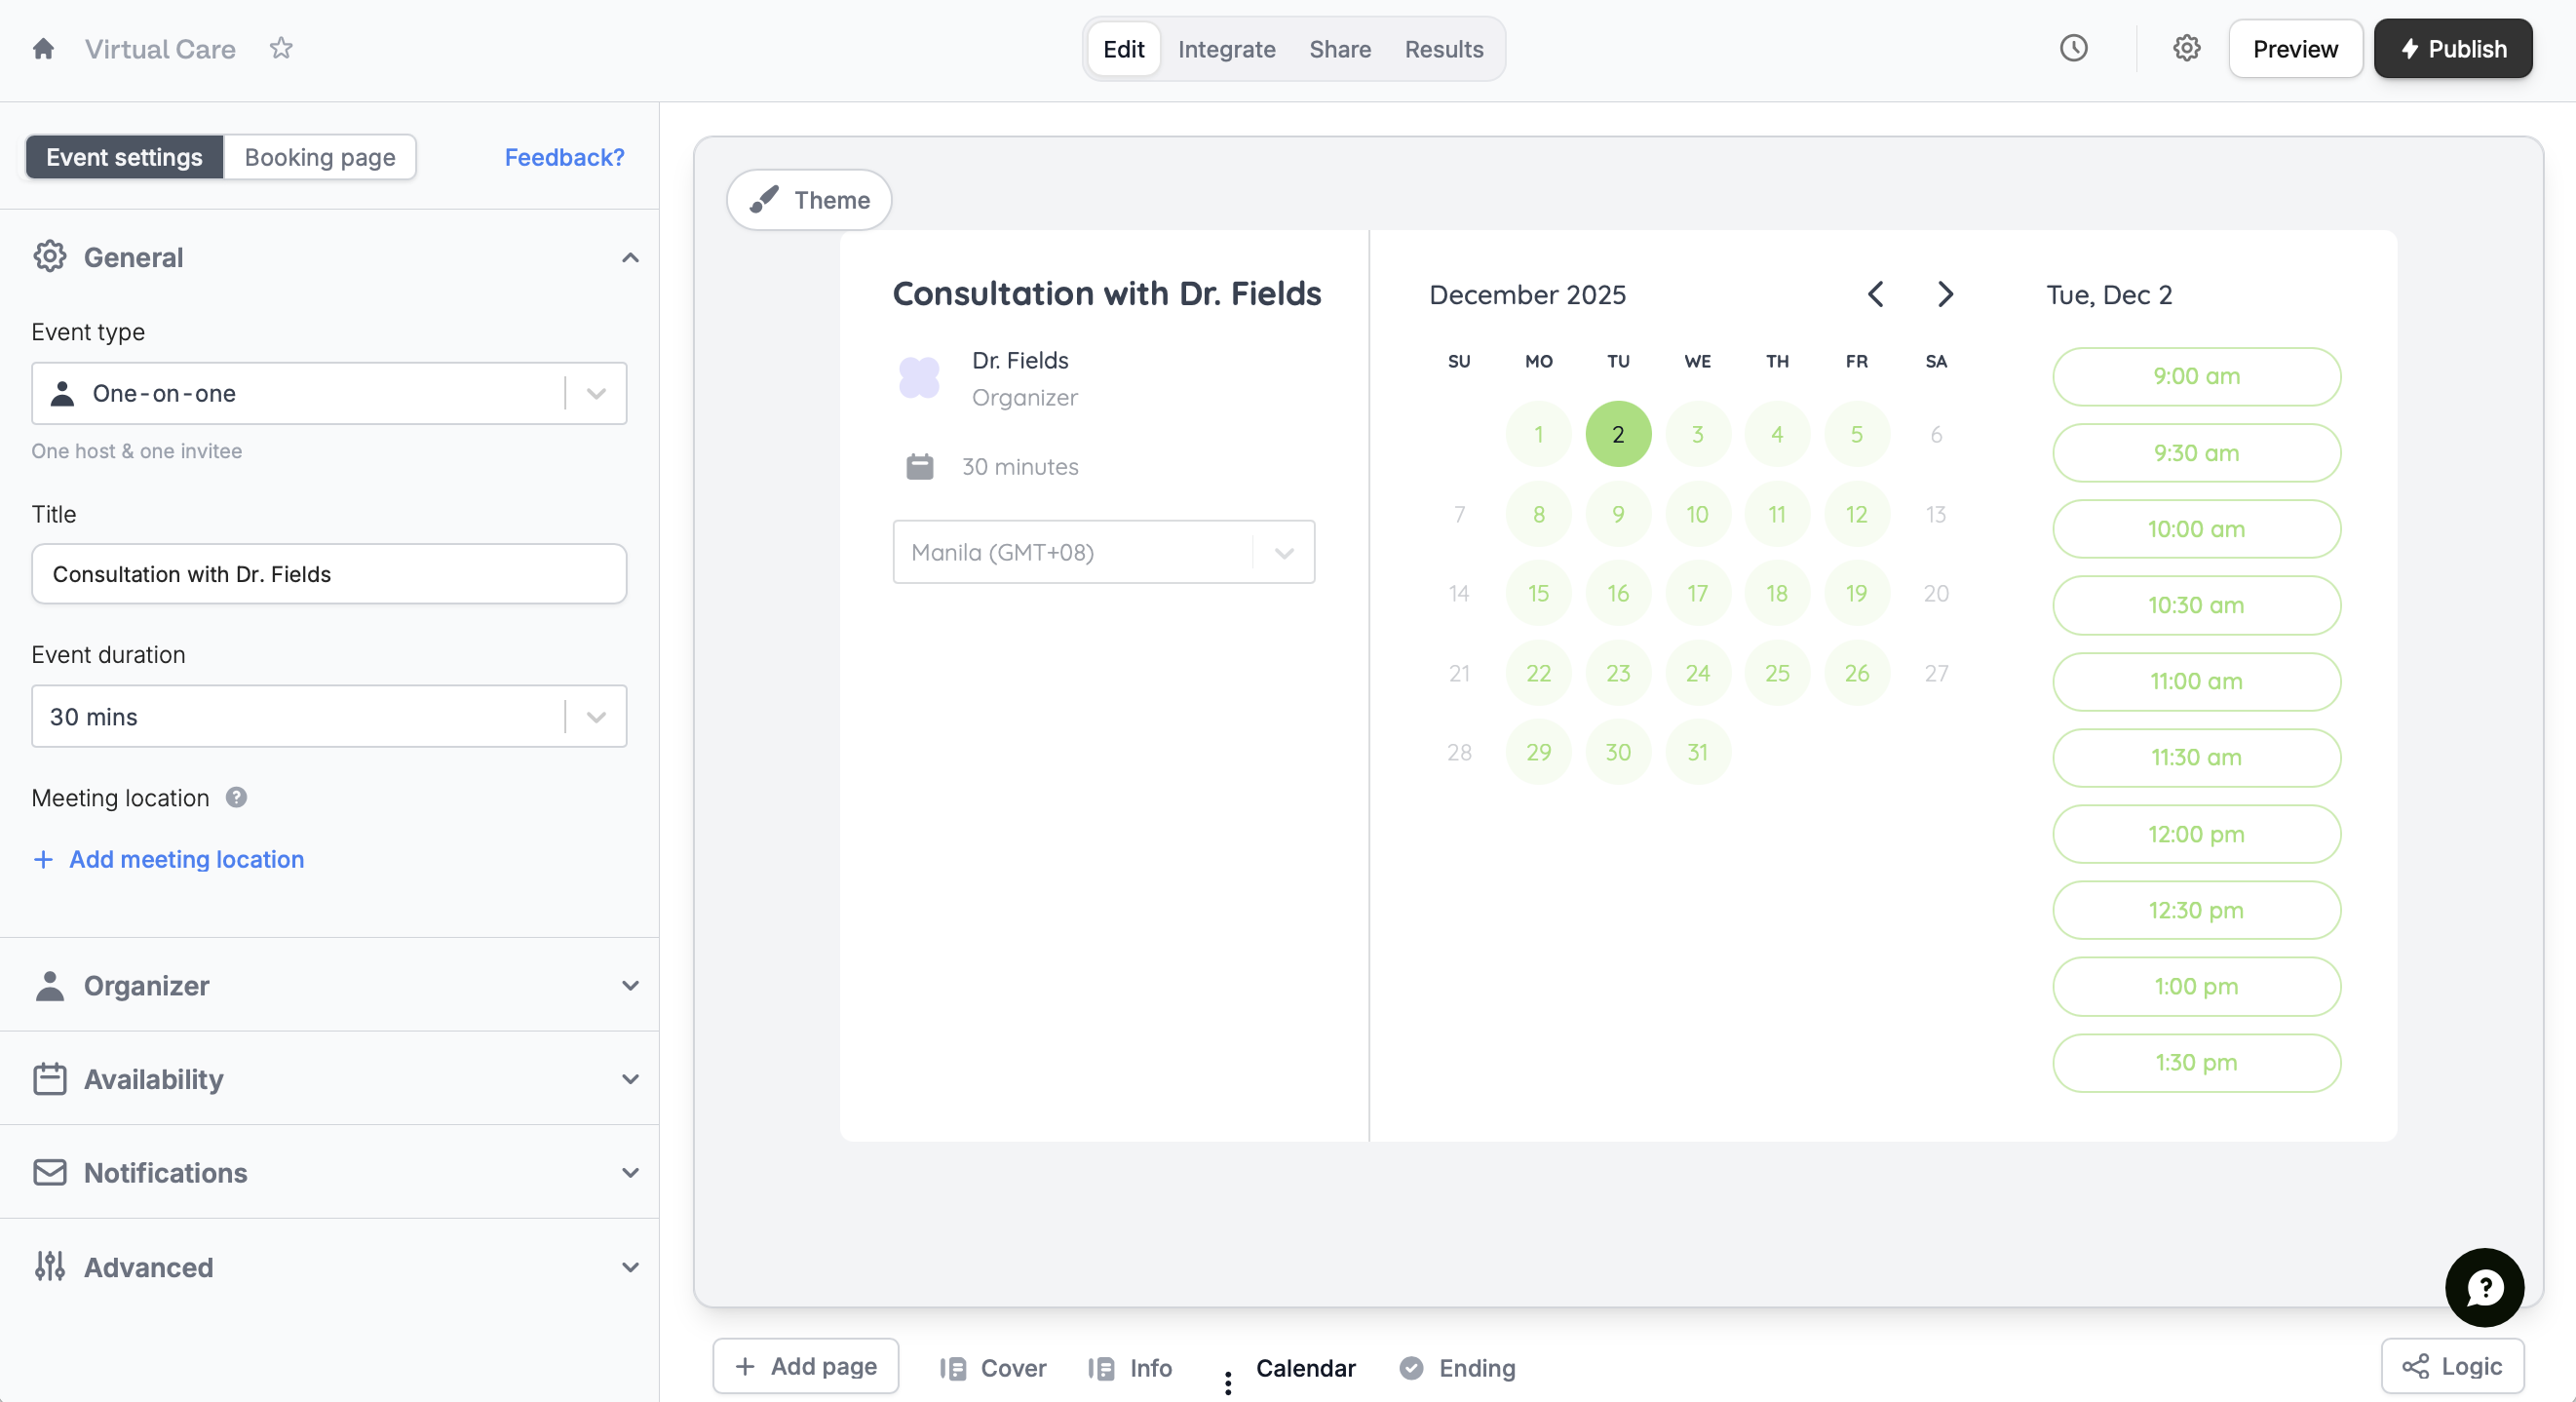
- Availability - choose a calendar, set your working hours (the default is 9 AM–5 PM, Monday to Friday, but you can adjust them to any time), add a minimum notice period, set buffer times, and limit bookings per day
- Notifications - send a customizable automated email reminder
- Advanced - customize Google Calendar event details, time increments, and share link
Customize the style
Go to Theme to edit your form’s design. You can even change your avatar to your logo to match your brand and edit the button label.
Add a calendar to a standard Fillout form
Fillout’s core form editor also includes an option to add a Scheduling page to any form. Open an existing form, and click+ Add Page at the bottom followed by Scheduling.

How Fillout Scheduling Works
Fillout Scheduling forms let people book available slots on your calendar while ensuring the time works for you. The forms show a calendar, meeting details, and organizer info by default.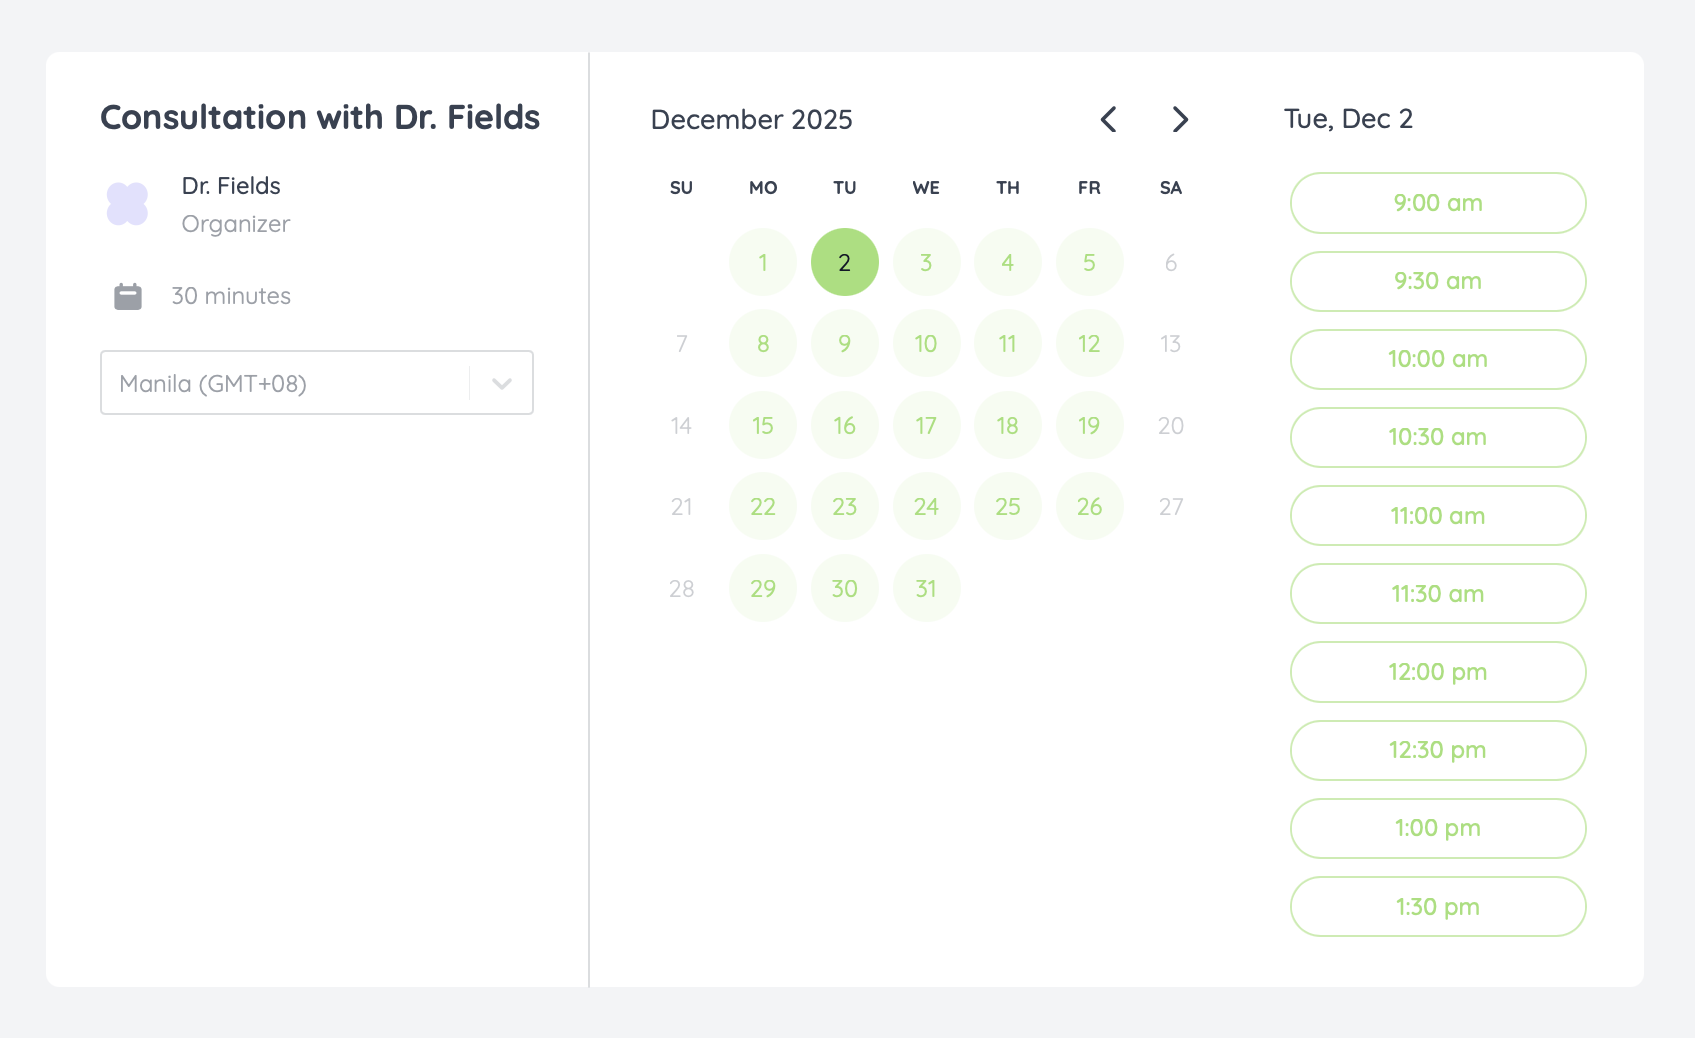
Respondents can select their timezone to view slots in local time.
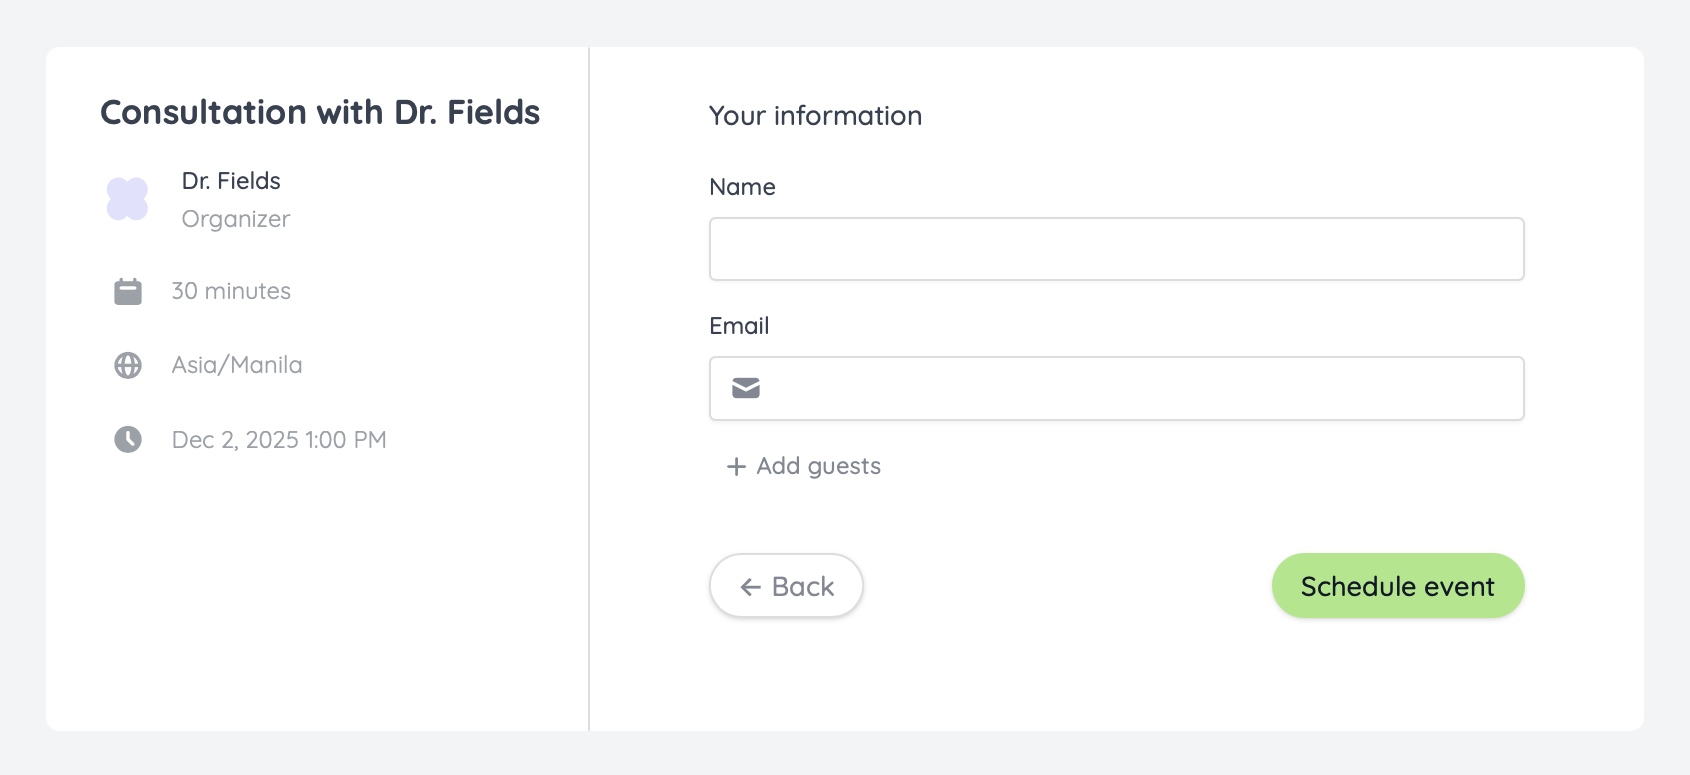
Schedule event, respondents will receive an email containing the details and a reschedule link. Events are automatically added to Google and Outlook calendars.
Related articles
Event types
Select the event type that best fits your agenda.
Set your availability
Specify your available hours and buffer times through forms.
Style scheduling form
Tweak your form’s design, link, and avatar to match your brand.