Overview
Conditional logic lets your forms adapt to respondents’ answers. By default, forms follow a linear path with a next-page button. With page logic and conditional steps, you can control how pages connect (e.g., skipping a page for respondents who choose a certain option), creating a more interactive and personalized experience.Video tutorial
Edit page branching
Open Logic
After adding the necessary pages to your form, click 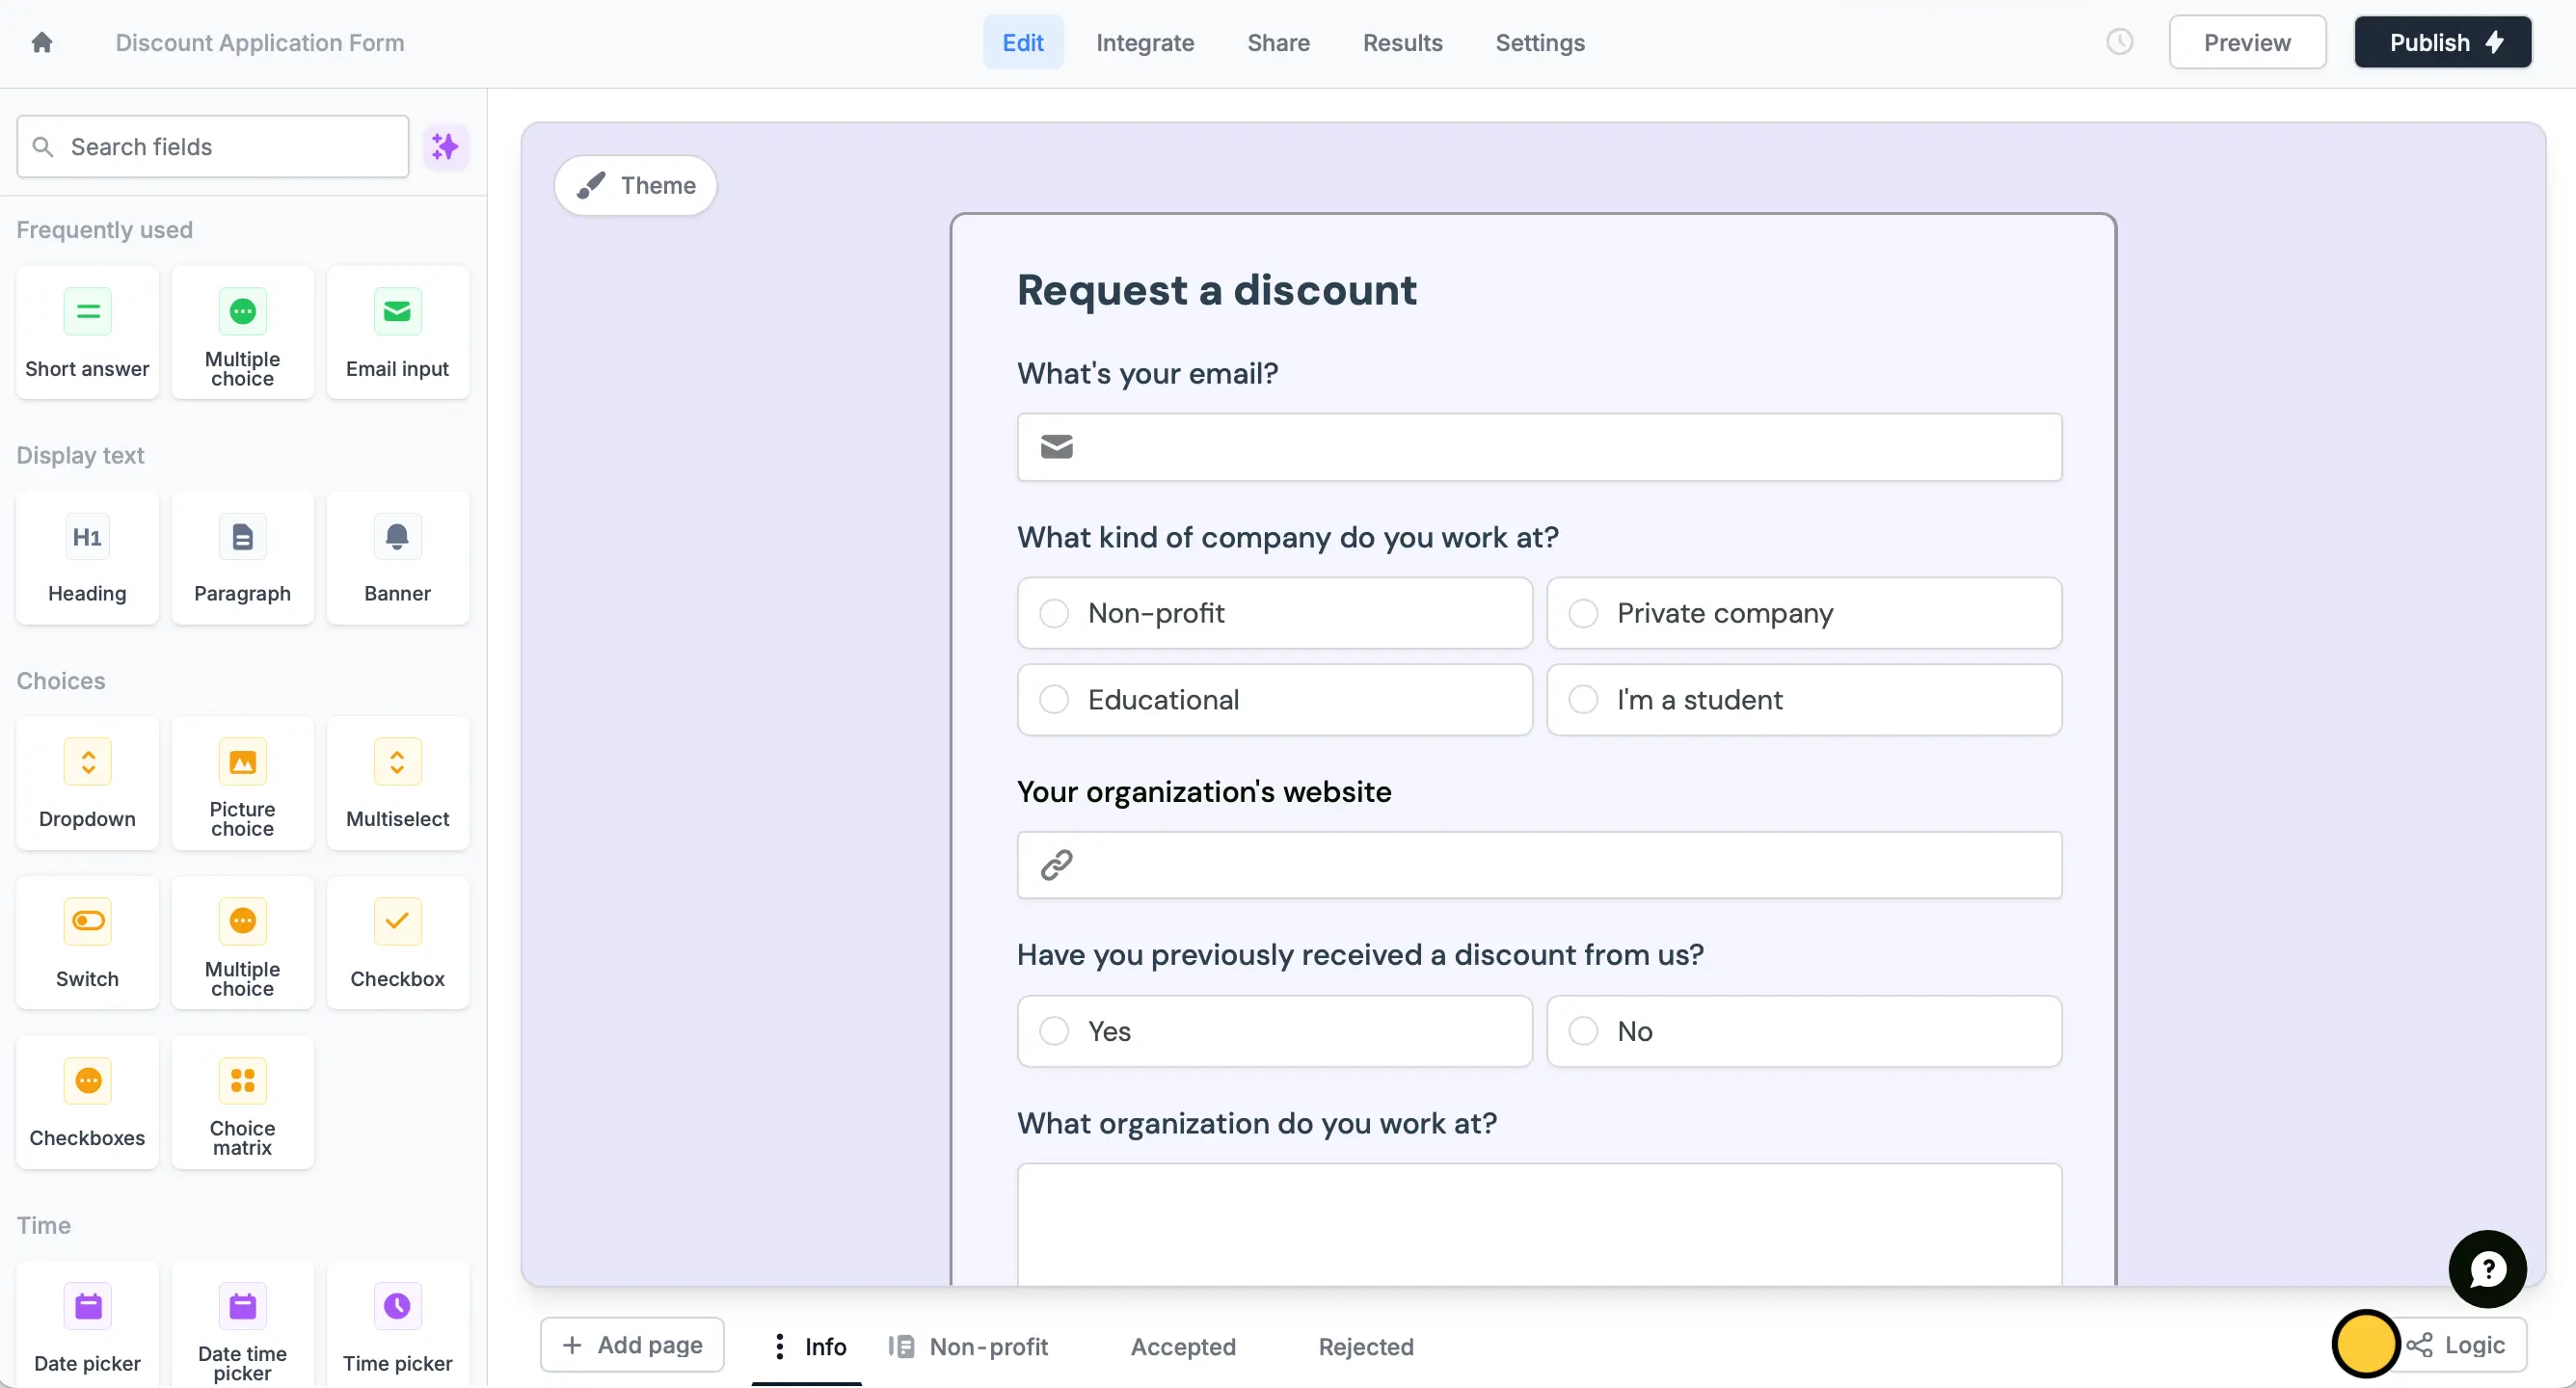
Logic.- If they qualify for a discount right away (e.g., student) show them the accepted ending page
- If they work at a non-profit show them the non-profit page
-
If they don’t qualify (e.g., private company) show them the rejected ending page
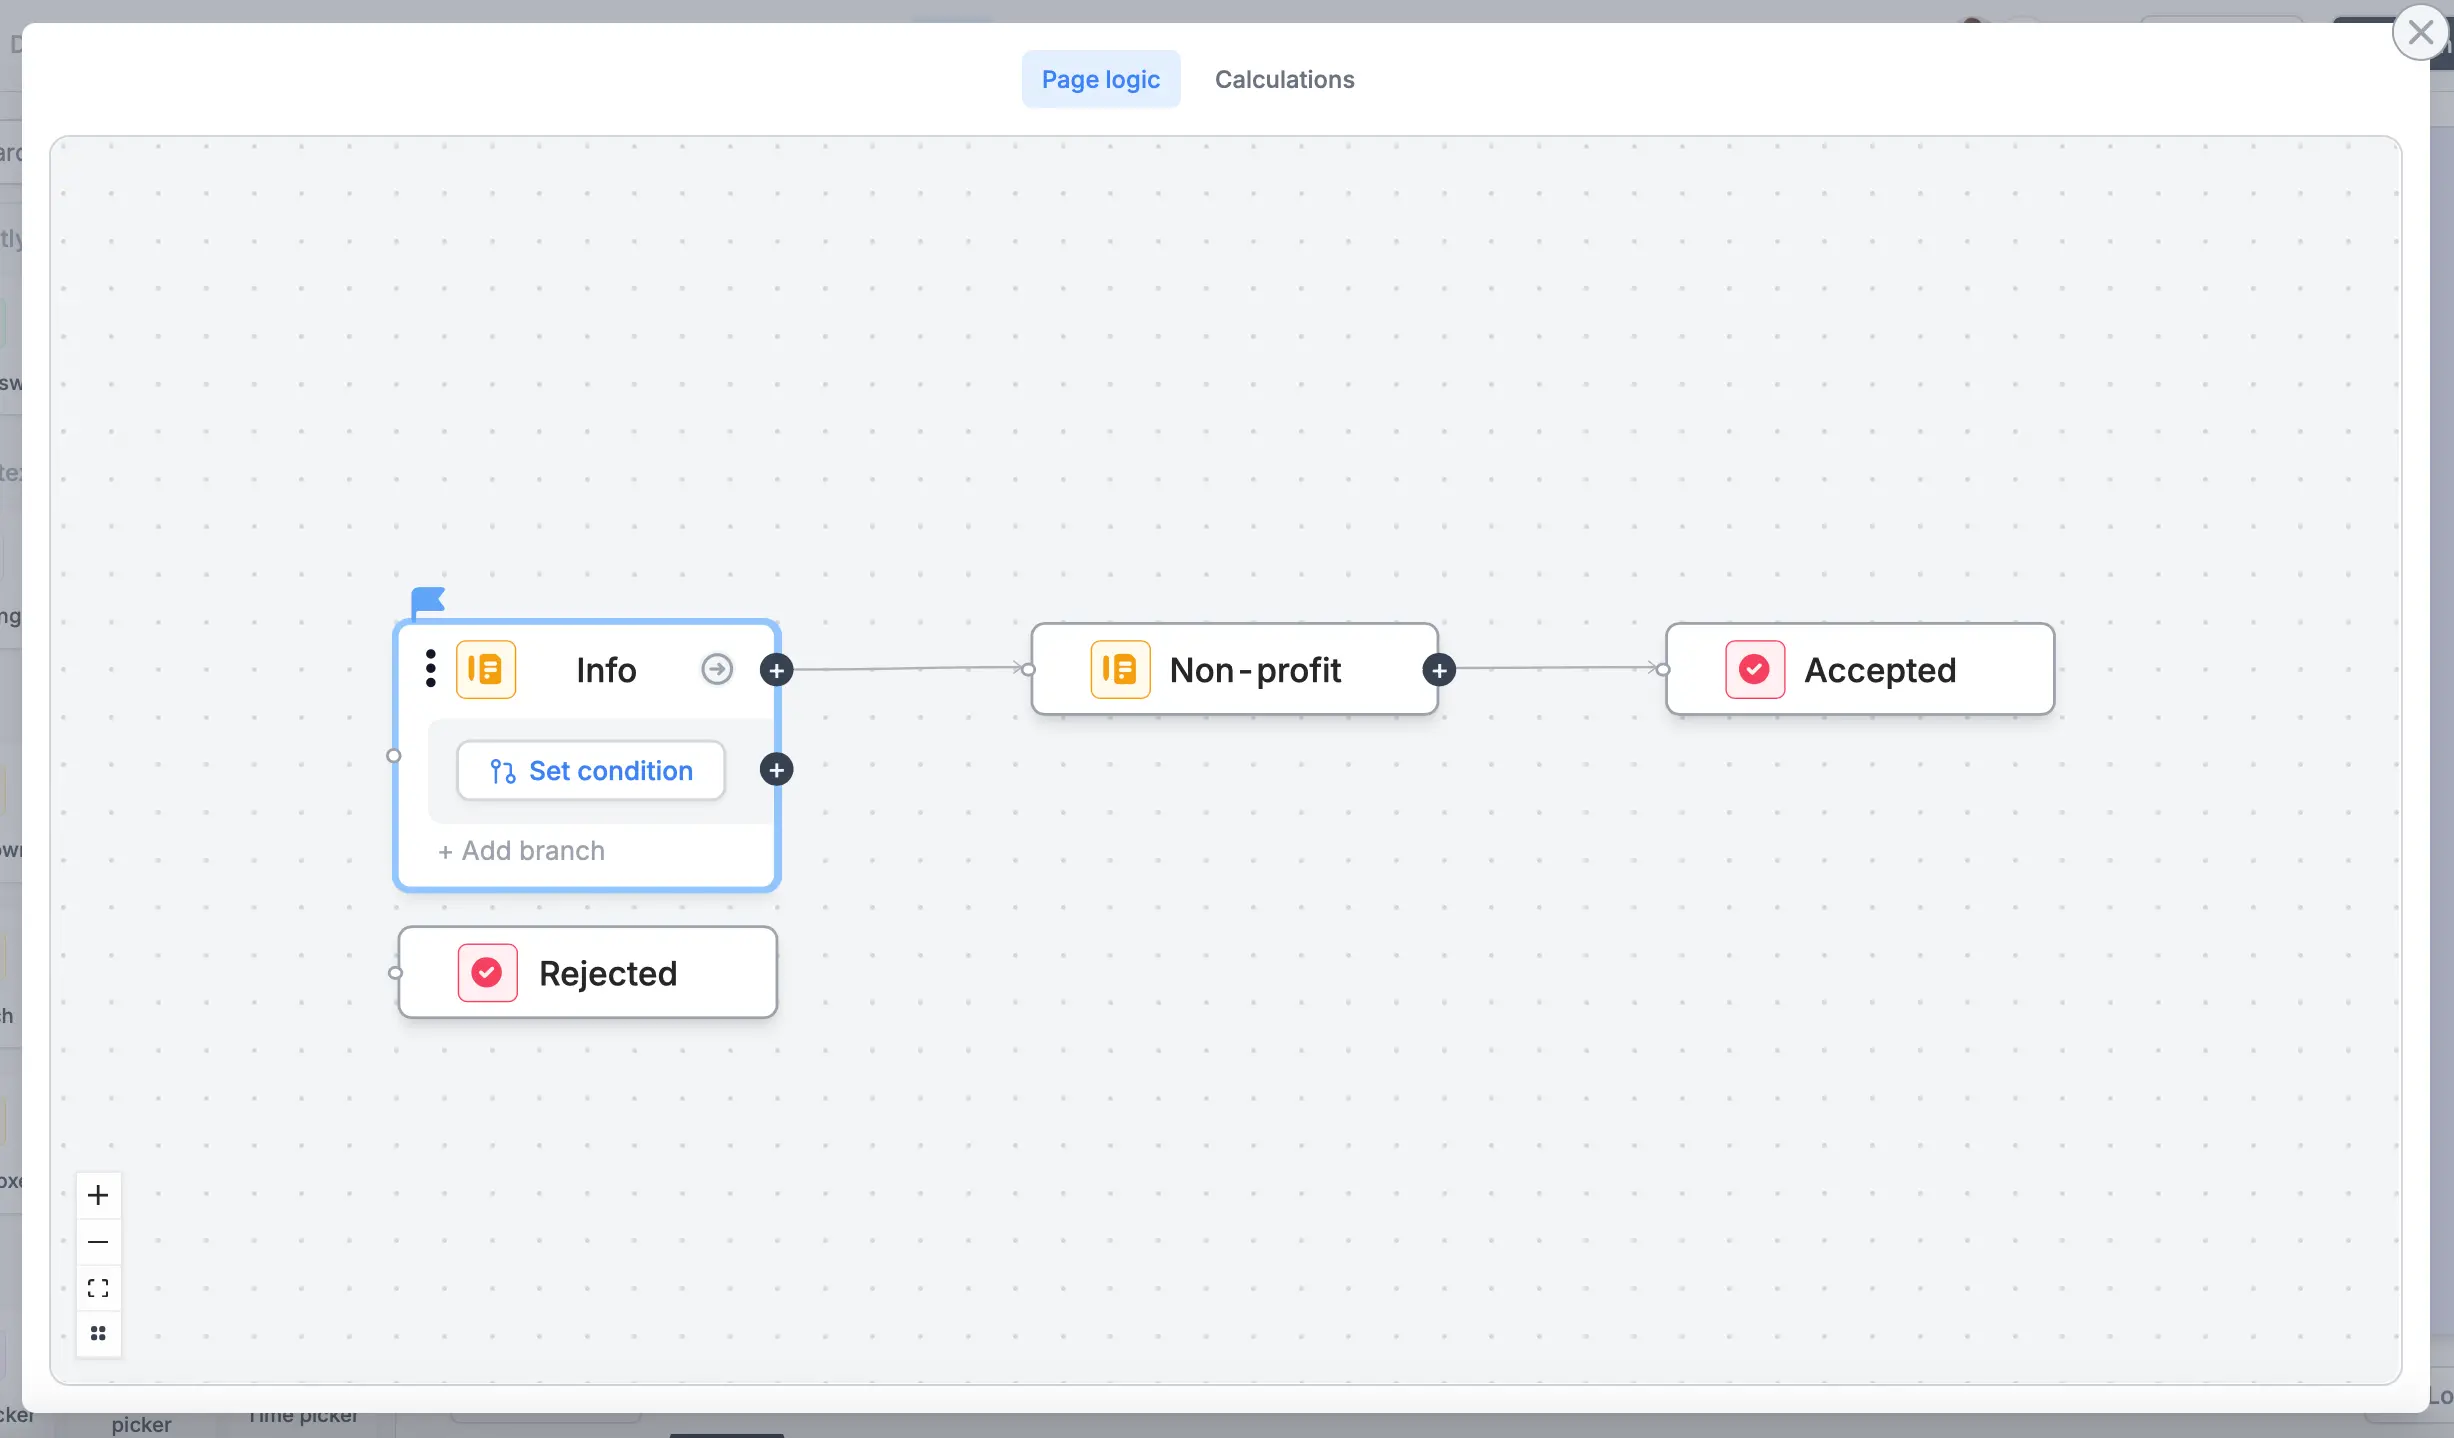
Connect pages
First, click and drag from the connector of the page you want to connect, then drop it onto the target page. For example, we’ll click connector “Info” and route it to “Rejected”.
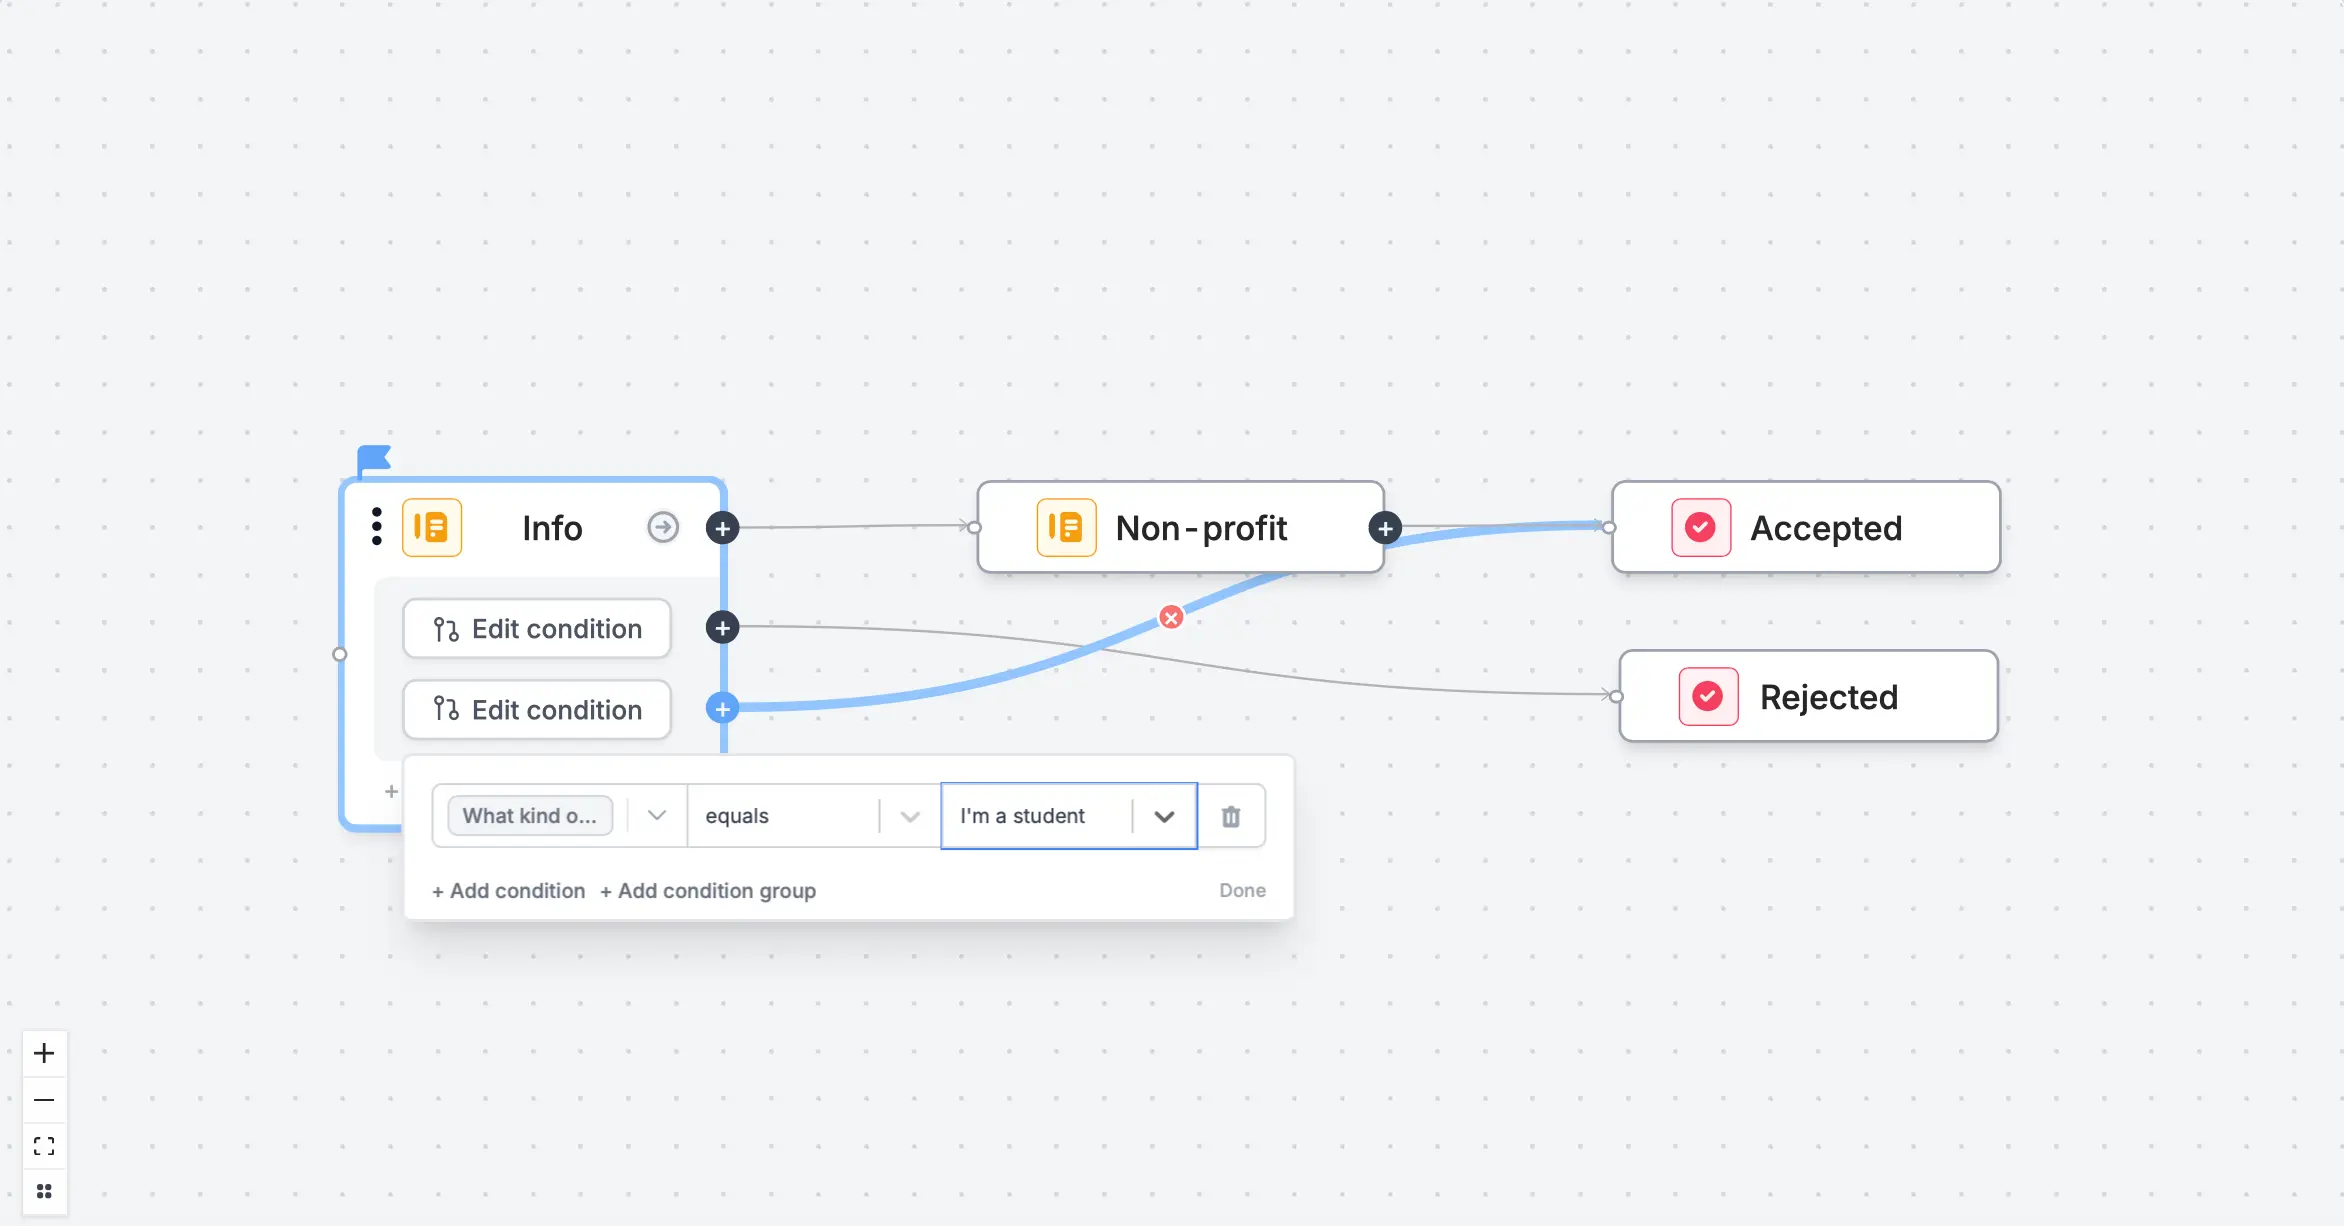
Set condition to define when it will redirect to “Rejected”. In this case, if it’s a “Private company”.+ Add branch to Set condition.Related articles
Page logic
Hide or show pages or custom endings based on respondent input.
Ending page
Show a thank you page, redirect, or allow re-submission.
Condition groups
Show or hide fields based on multiple conditions at once.