

How to build a form in minutes
1
Sign up or log in
Sign up here or log in here using your Google account, Microsoft account, or any email.If you sign up with an email, we send a 6-digit code to your inbox. Your account isn’t created until you enter it. Enter it in the same browser, then choose your name and password. The code lasts 15 minutes.
The email comes from Zite Security (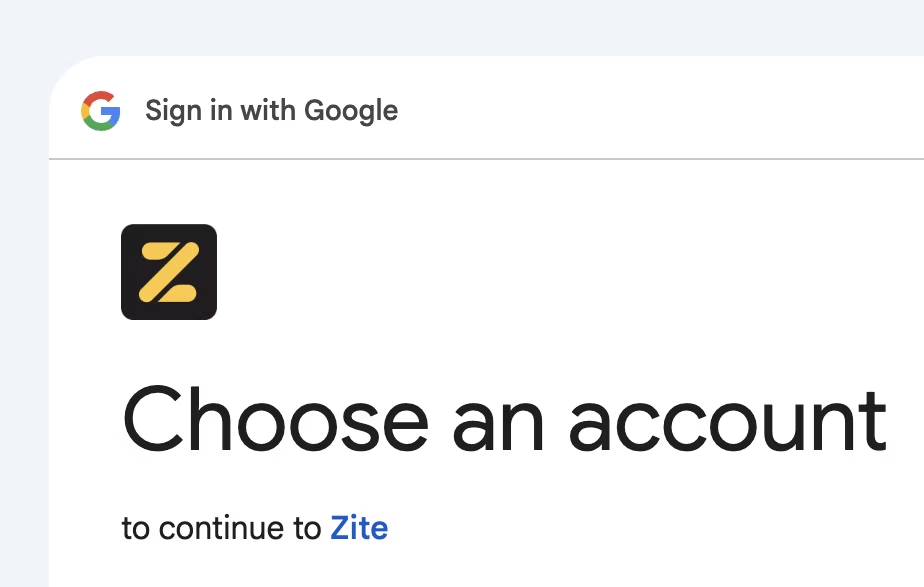
security@mail.fillout.com), with a subject like 123456 is your Fillout verification code. Signing up with Google or Microsoft, or from an emailed invite, skips the code.
If the code doesn’t arrive:- Check your spam or quarantine folder, and add
security@mail.fillout.comto your allowed senders. - Click send a new code once the timer runs out.
- If you see We couldn’t send your code, or the code still doesn’t arrive, sign up with Google or Microsoft instead, or contact us with your email address and roughly when you tried.
Signing in to Fillout with Google shows our company logo, Zite.
2
Create a new form
In the side menu, under Fillout, click My forms. Then, click New form in the upper right. To create the form in a Fillout workspace, open that workspace instead and click New form. To make a form that saves to a Zite database from the start, create it from the Zite workspace instead.Next, in Choose how to get started, pick one: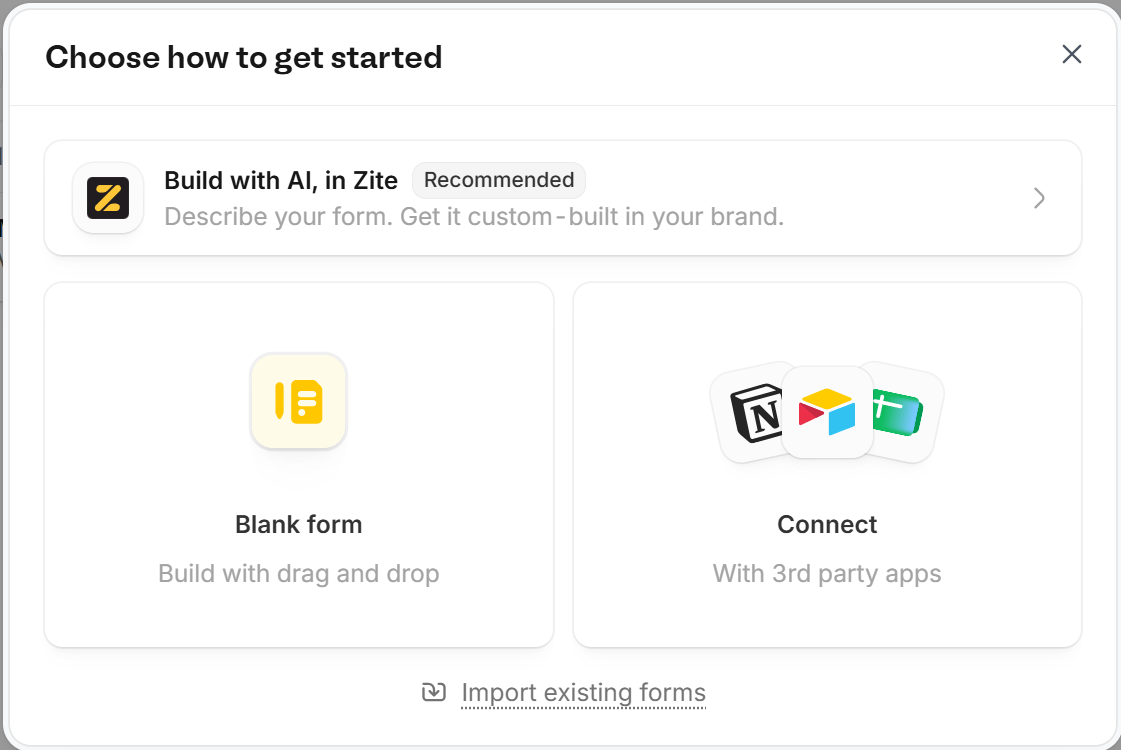
If you don’t see Fillout in the side menu, Fillout is turned off for your organization. An admin can turn it on.
- Blank form - build with drag and drop in the Fillout editor
- Connect - start from a 3rd party app like Airtable, Notion, Google Sheets, HubSpot, and more
- Build with AI, in Zite - describe your form, and Zite builds it as an app instead of a Fillout form. See Zite Apps.
Typing a form idea in the prompt box on fillout.com also builds a Zite app. To start a Fillout form from fillout.com, click Start a blank form.
3
Customize the design
Click 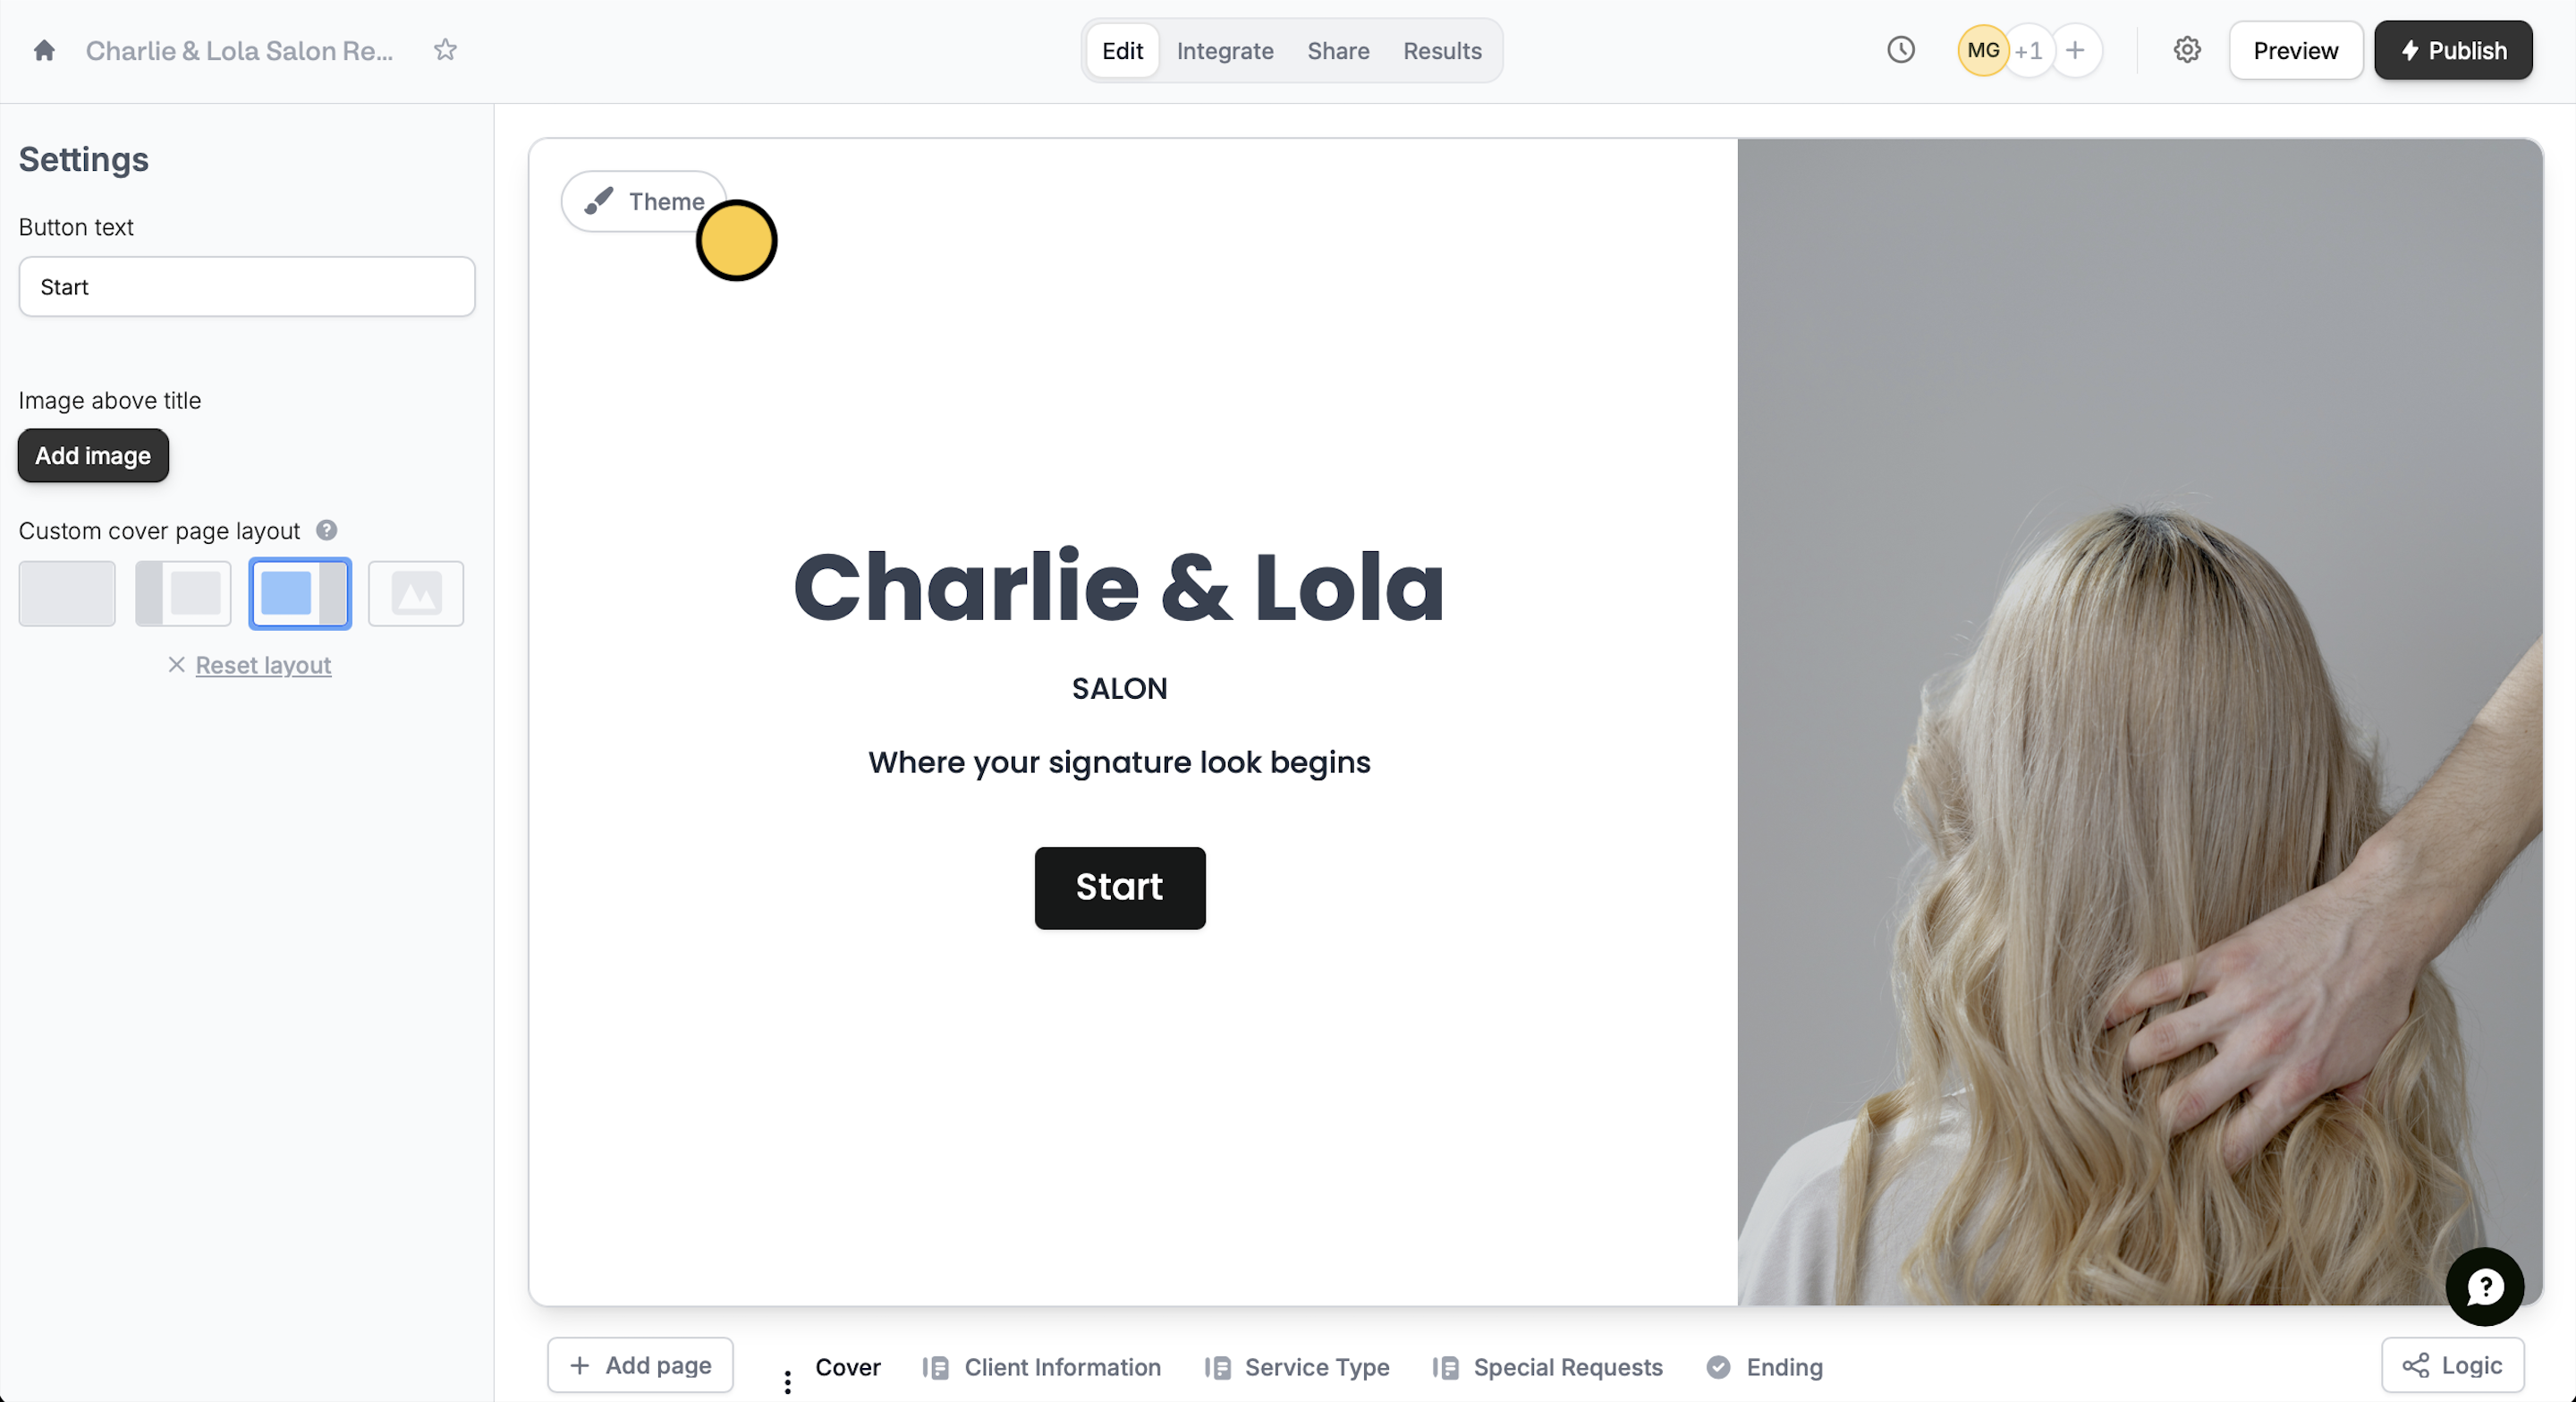
Theme to pick from one of the pre-made themes or customize your own.4
Add questions or fields
Click or drag and drop your desired field types from the left-hand panel. Choose between over 50 different types.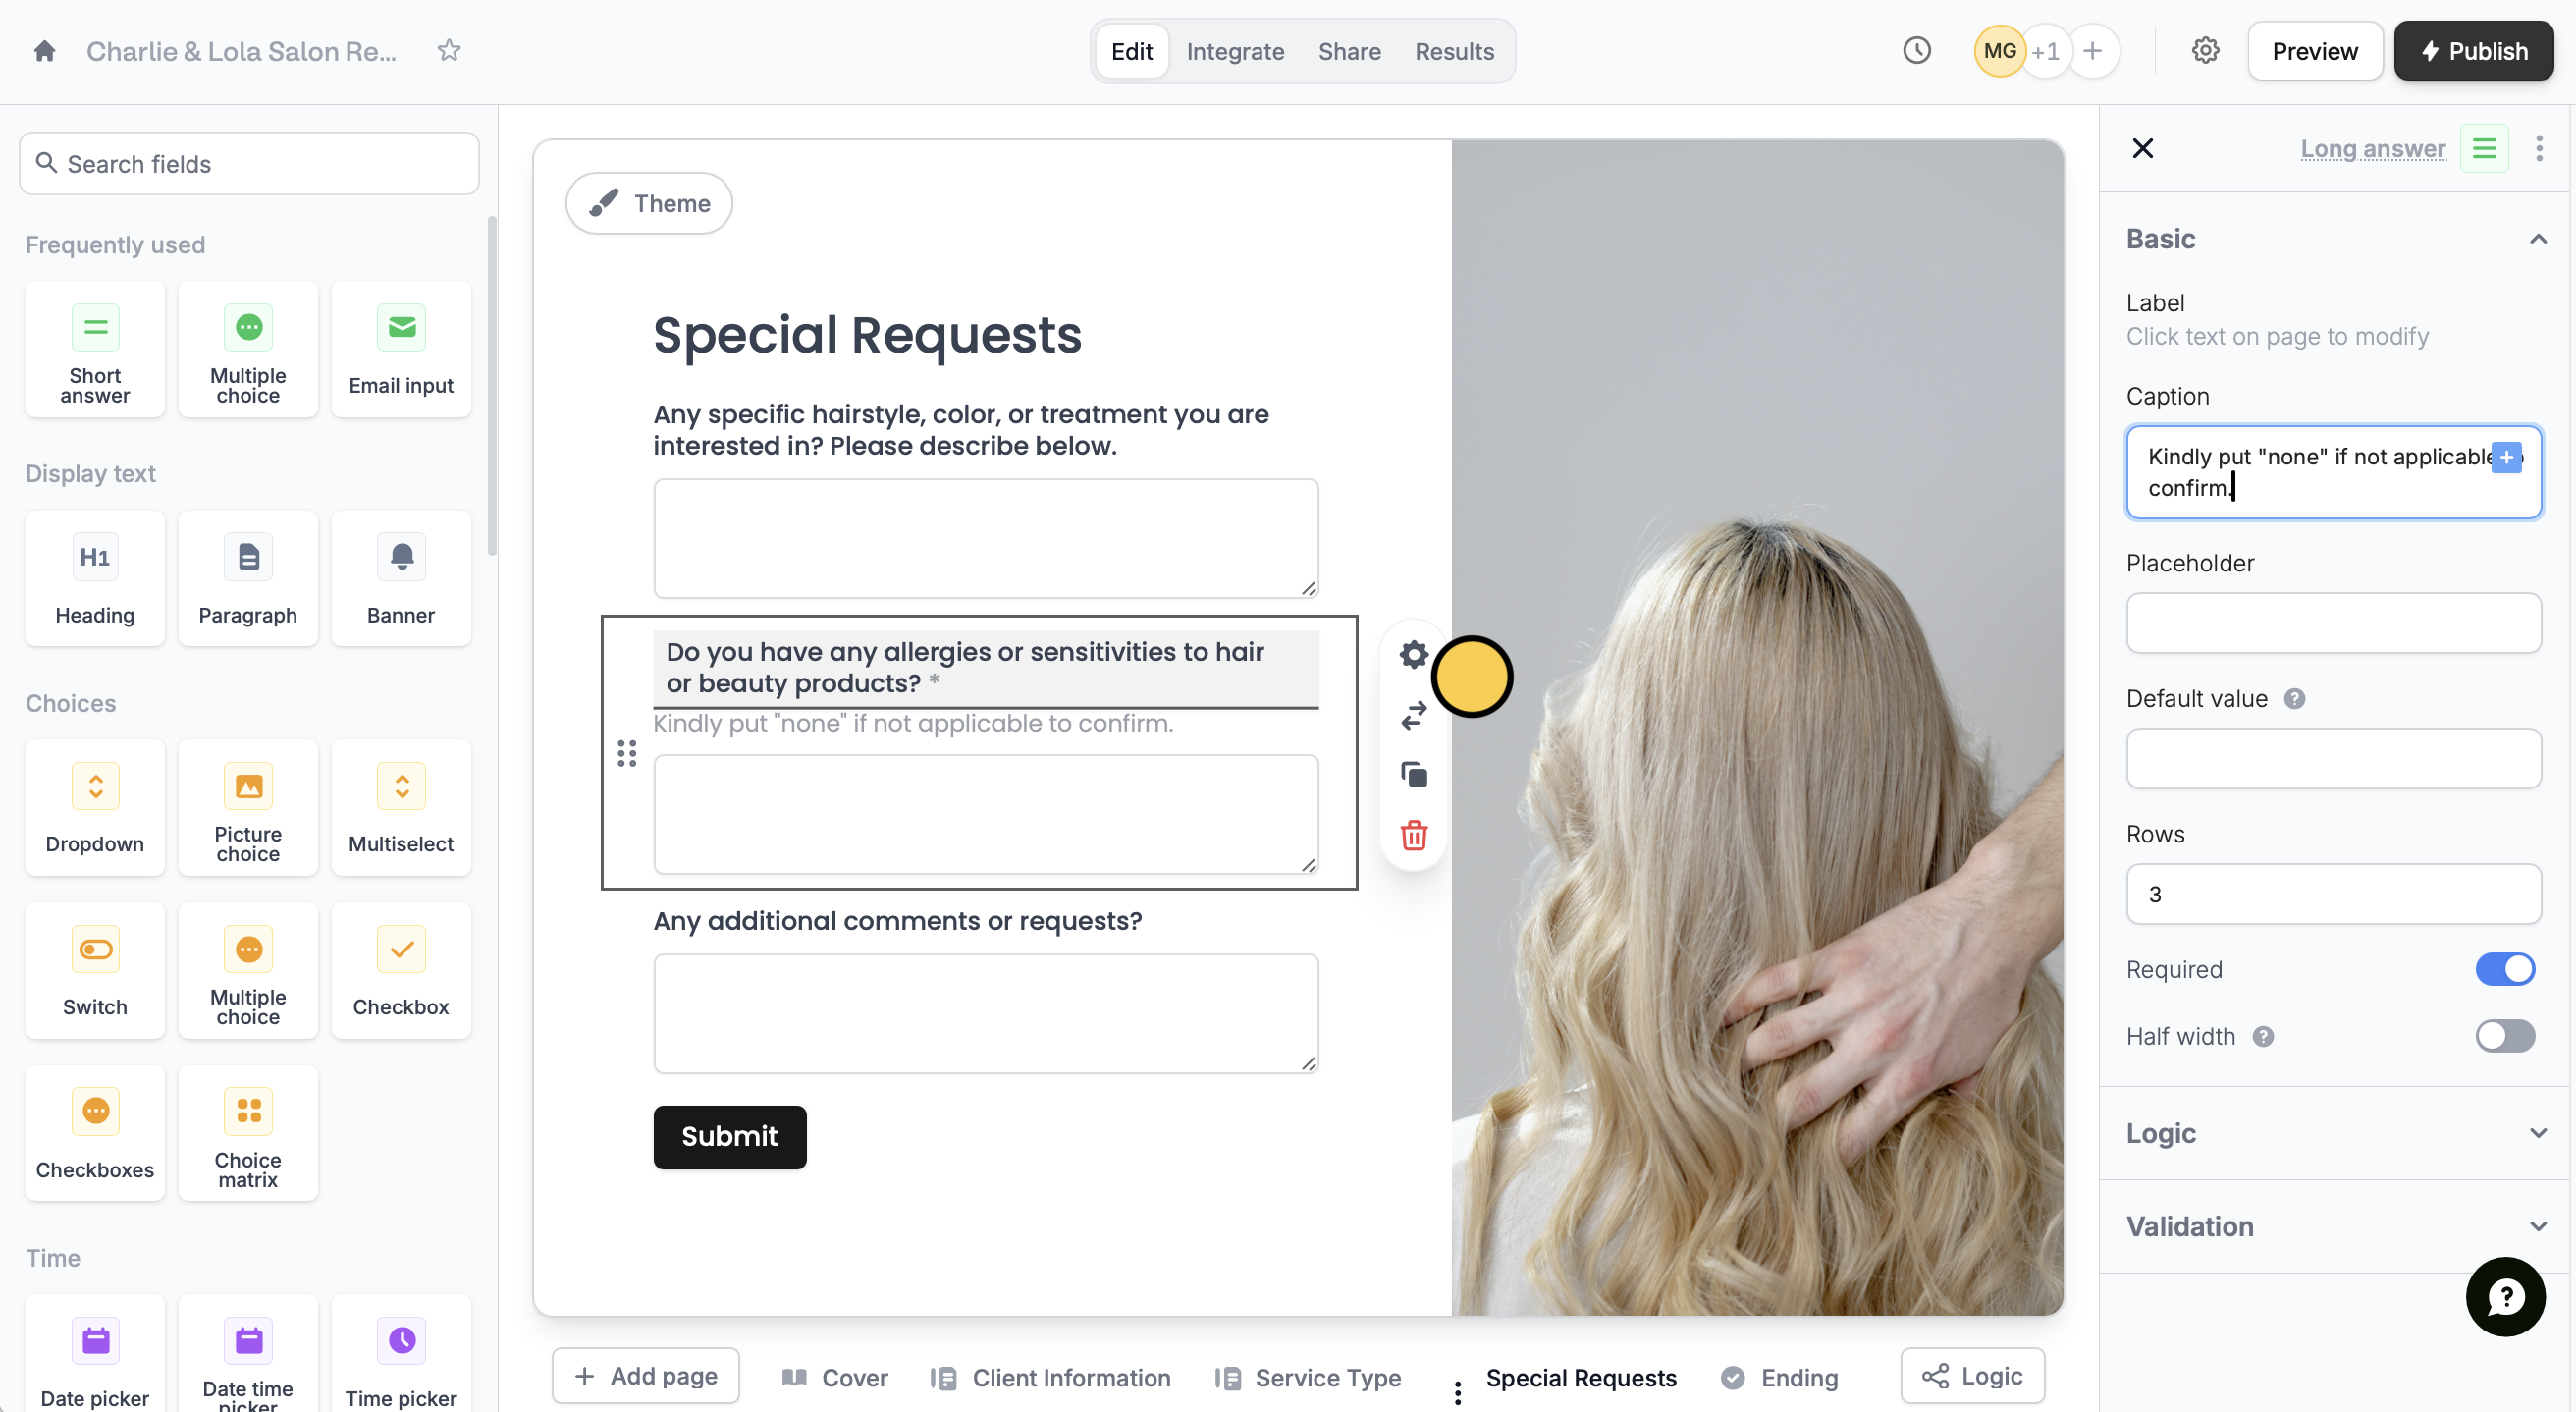
settings icon to customize it in the right-hand panel.5
Publish and share
Preview your form to test it. When you’re happy with it, click Publish.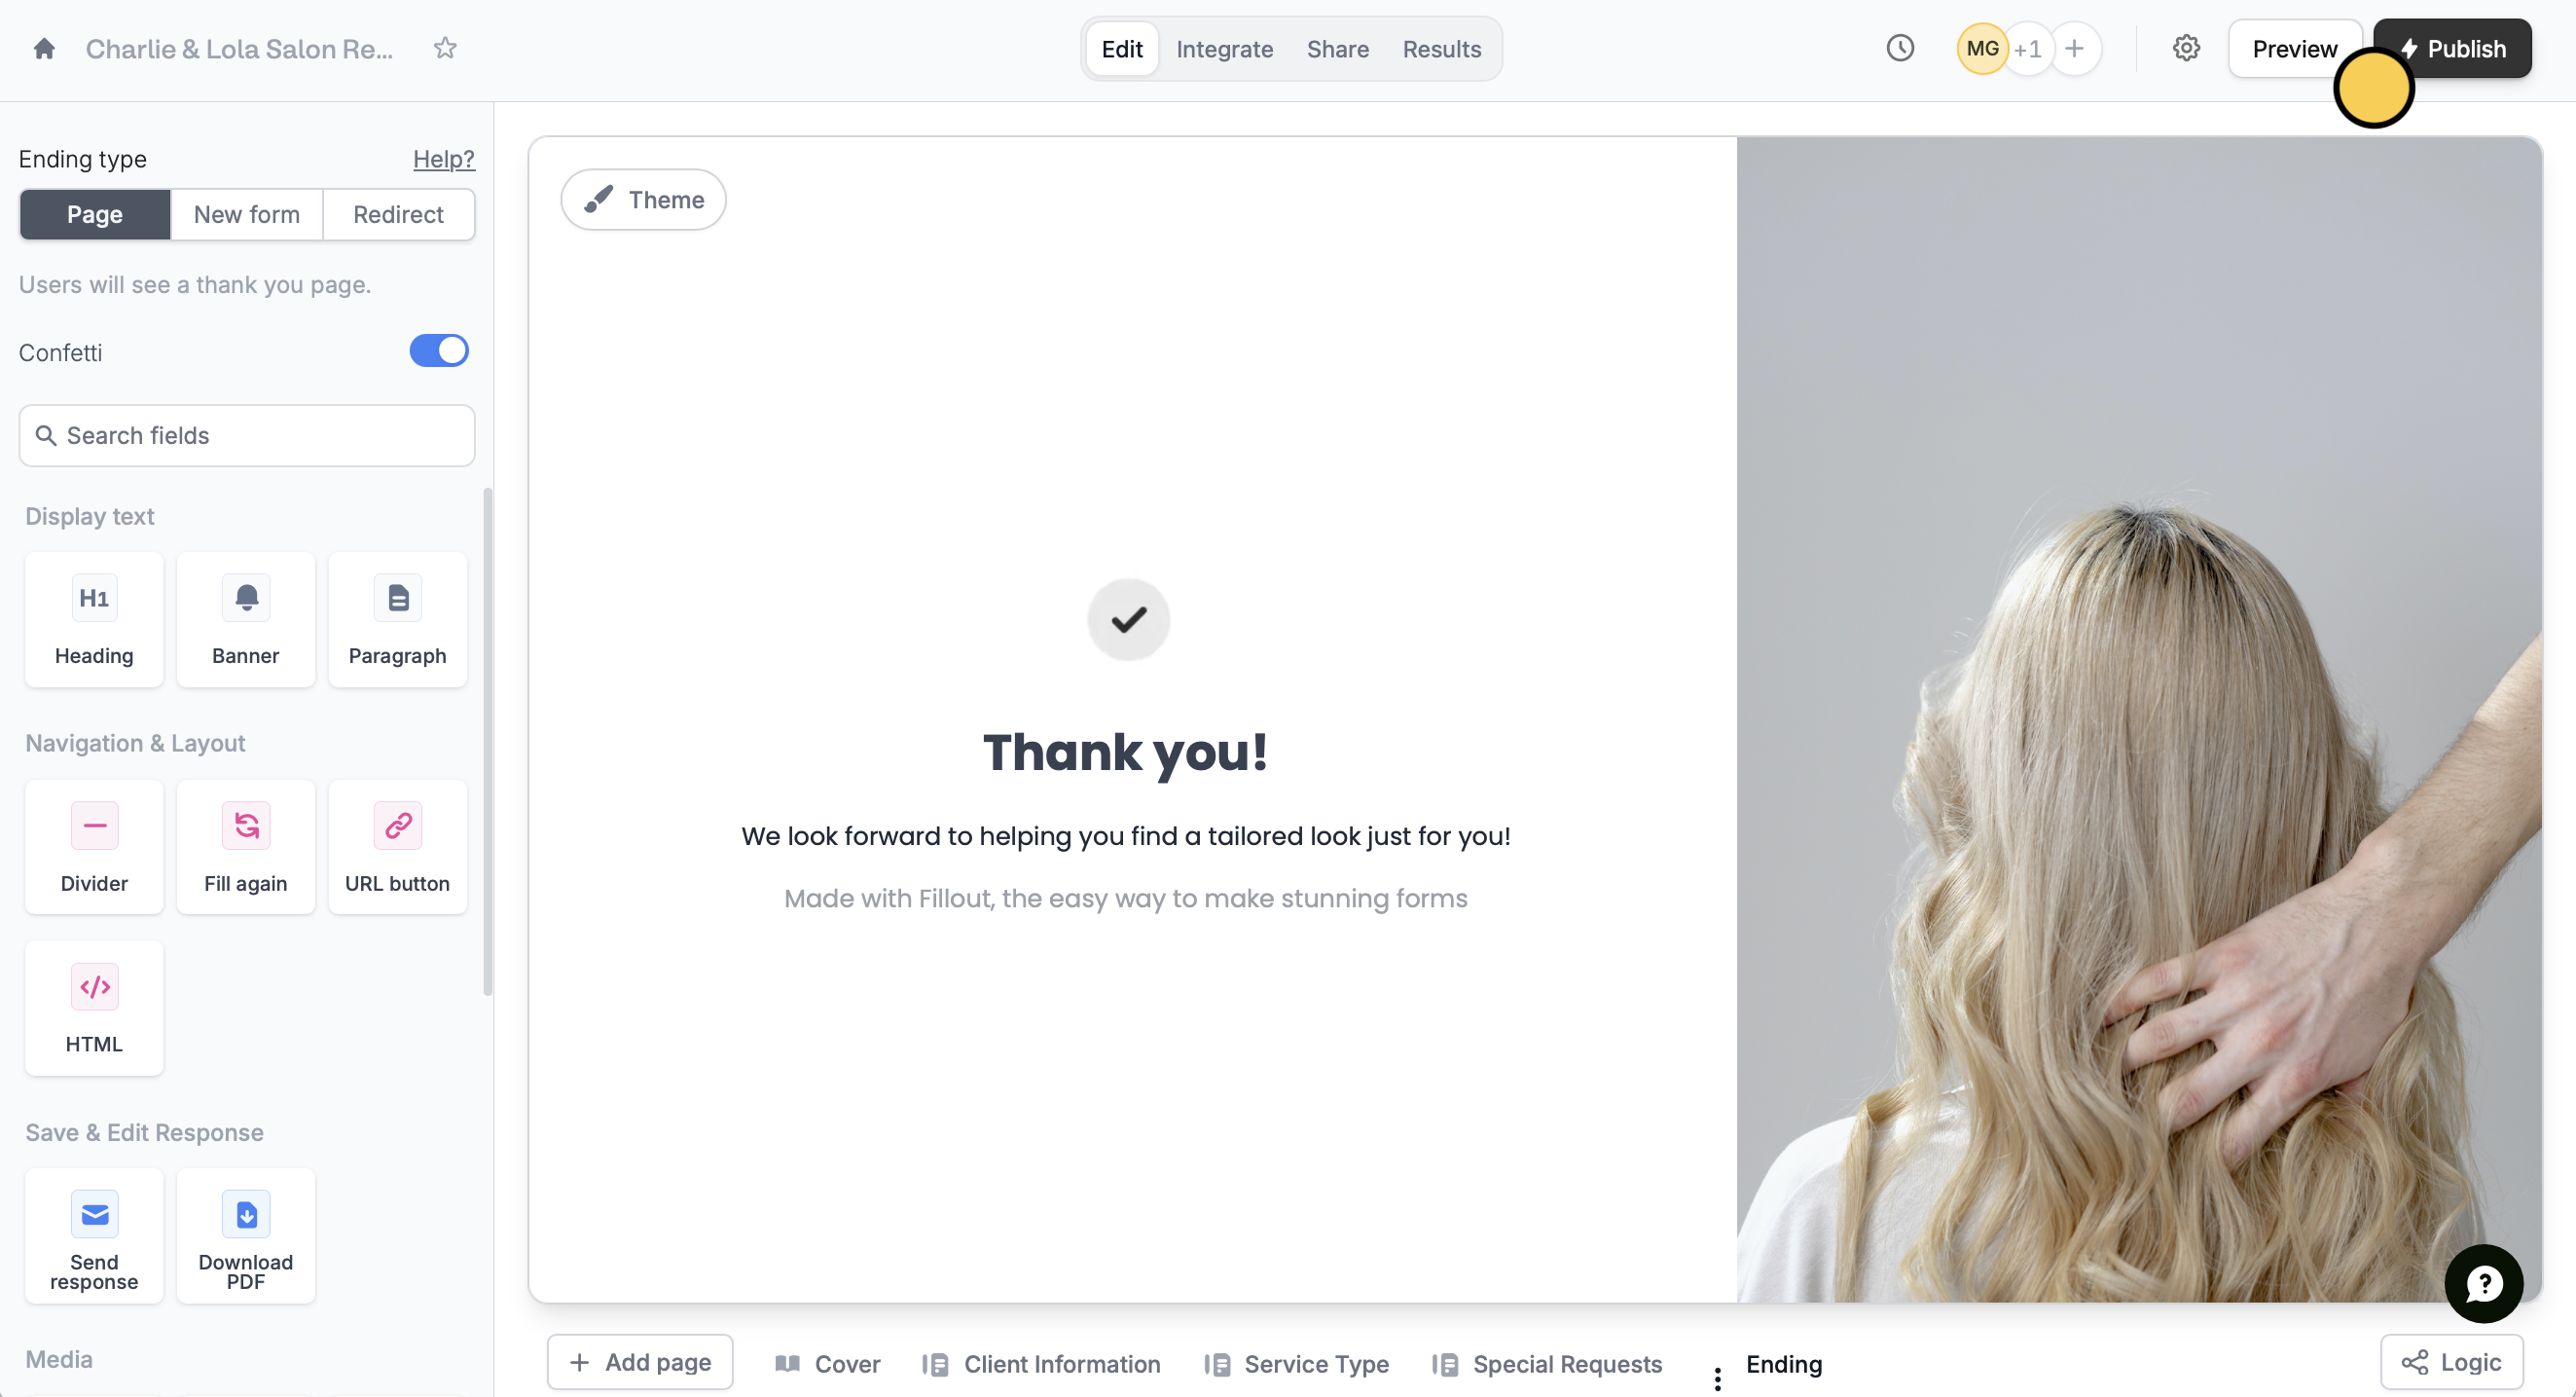
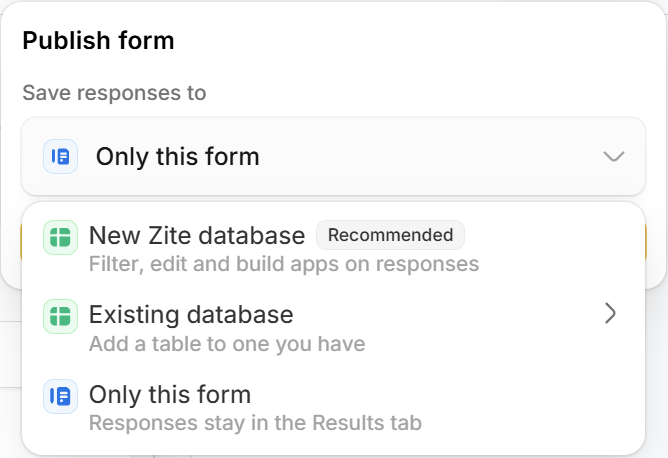
- New Zite database (Recommended) - creates a database named after your form, with a table built from your questions
- Existing database - adds a new table to a database you can edit
- Only this form - responses stay in the form’s Results
Related articles
Themes
Select from hundreds of themes or create your own.
Field types
Customize or change over 50 field types, add captions, and more.
Responses
View all submissions to your form. Filter, sort, or export to CSV.