How to create a Notion form

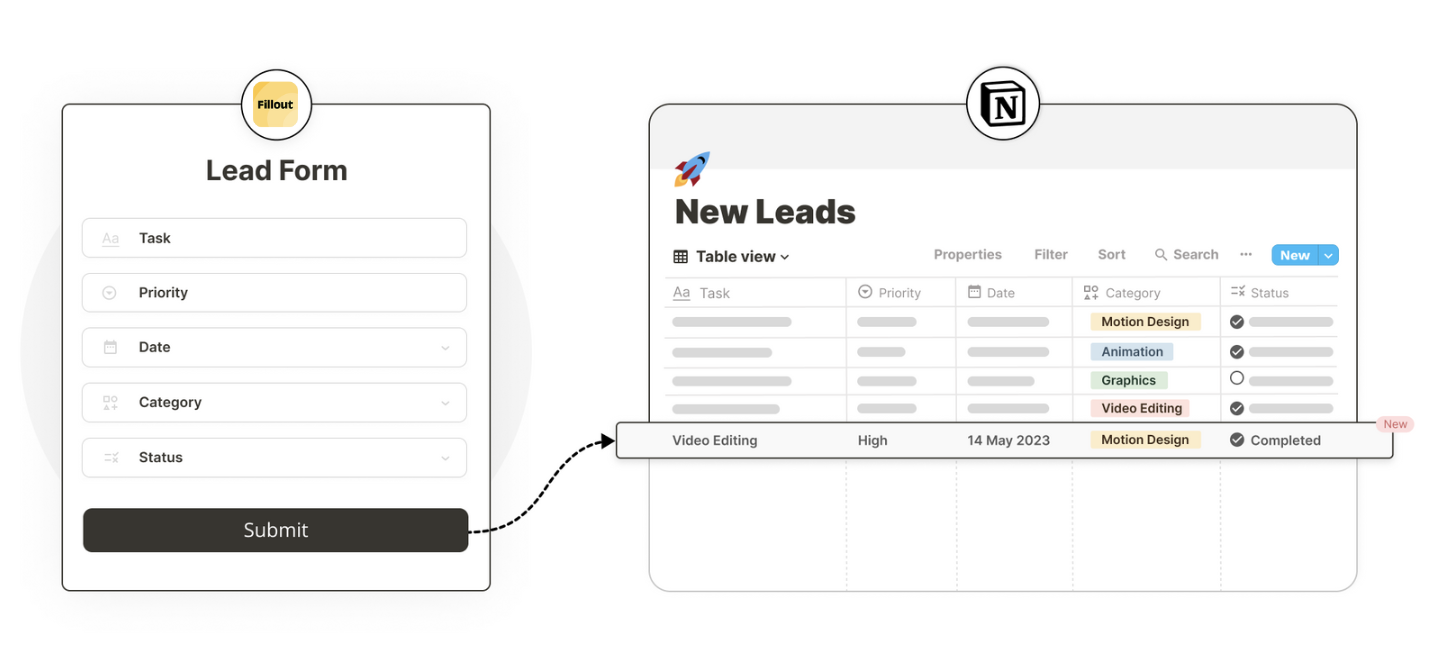
Use a Fillout form to create or update your Notion databases. Embed your forms in Notion or share them anywhere.

Use a Fillout form to create pages or update your Notion databases.

 
notion image


How it works

1. Create your database in Notion

If you already have your database created in Notion, you can skip this step.
 
  • In your Notion sidebar, click + Add a page and select Database > Table.
notion image
 
  • Create a + New Database as the data source.
 
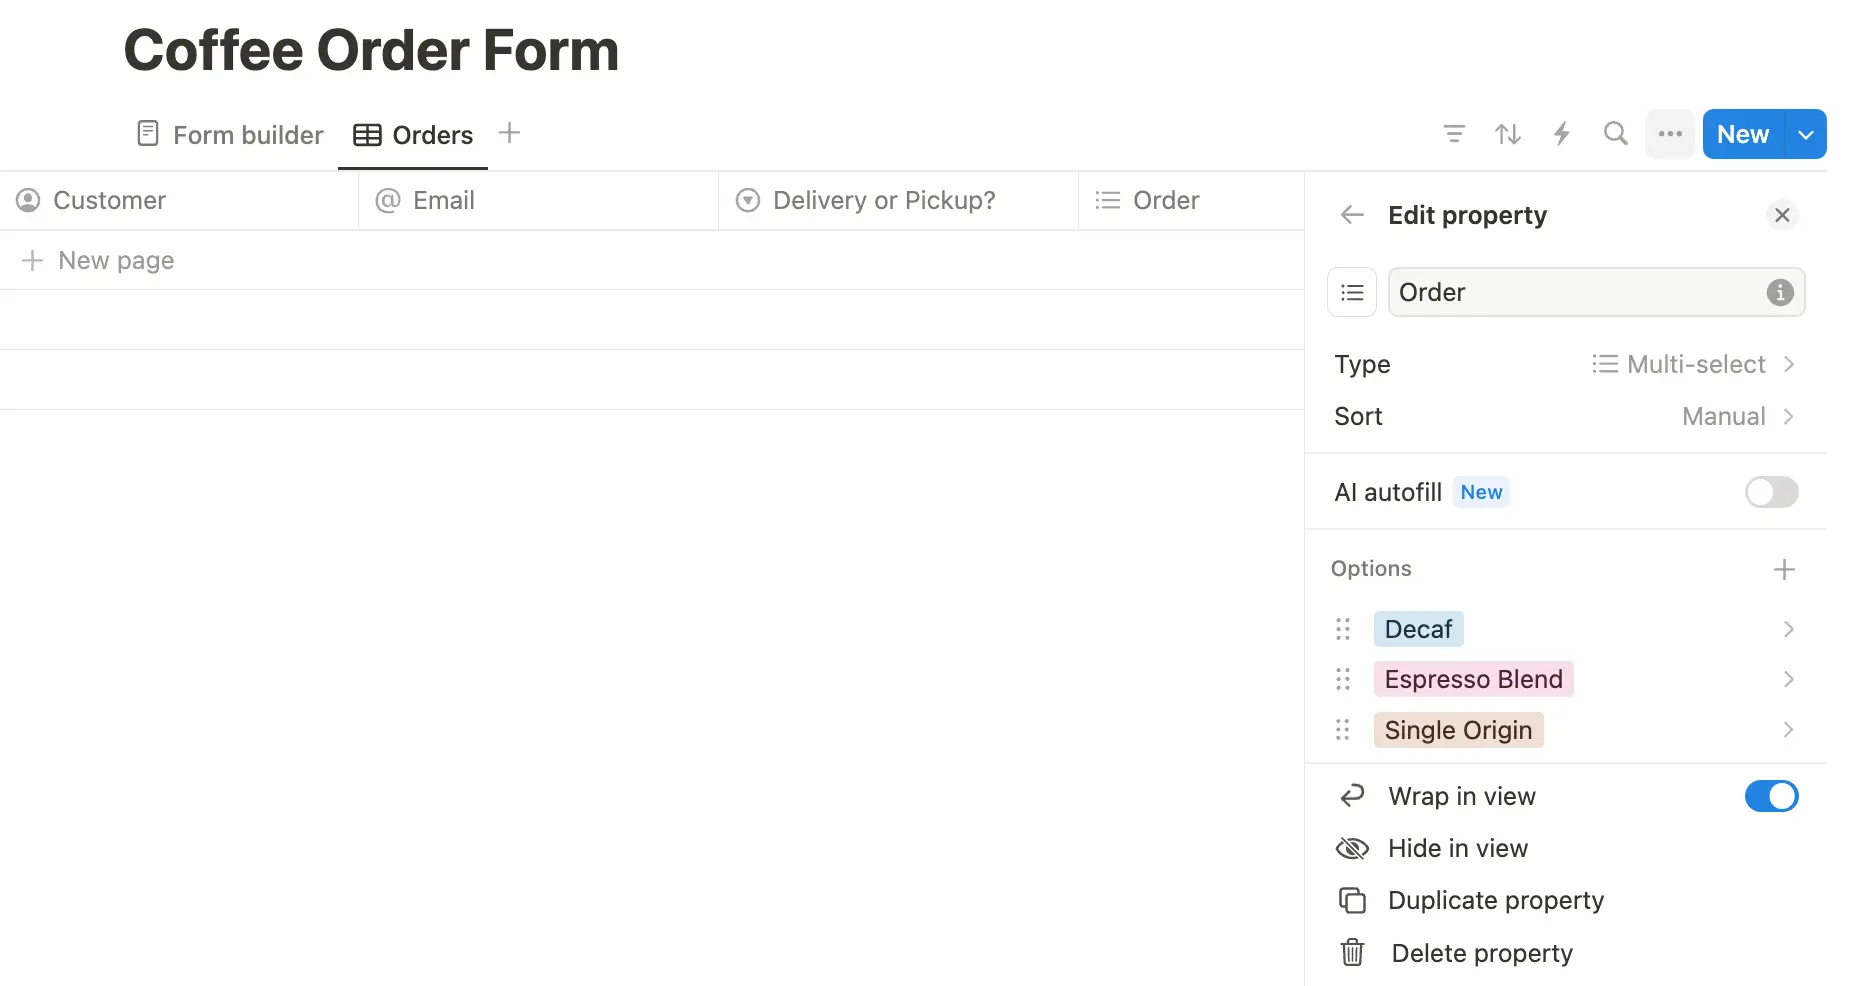
  • Give your database a name, and create the columns you need. You’ll need 1 column for every question.
 
  • For each column, create a new property for the answer type you require (eg. Text, Select for radio buttons, Multi-select, etc).
 
notion image
 
  • If you are using the “Select” and “Multi-select” properties, make sure to type in the options you’d like people to choose from.
 
Once you’ve added a column and property (and options, when needed) for every response field, 90% of your work is now done.
 
notion image
 
Nice work! Now you’re ready to sync it easily with a new or existing Fillout form.
 

2. Create your form in Fillout

 
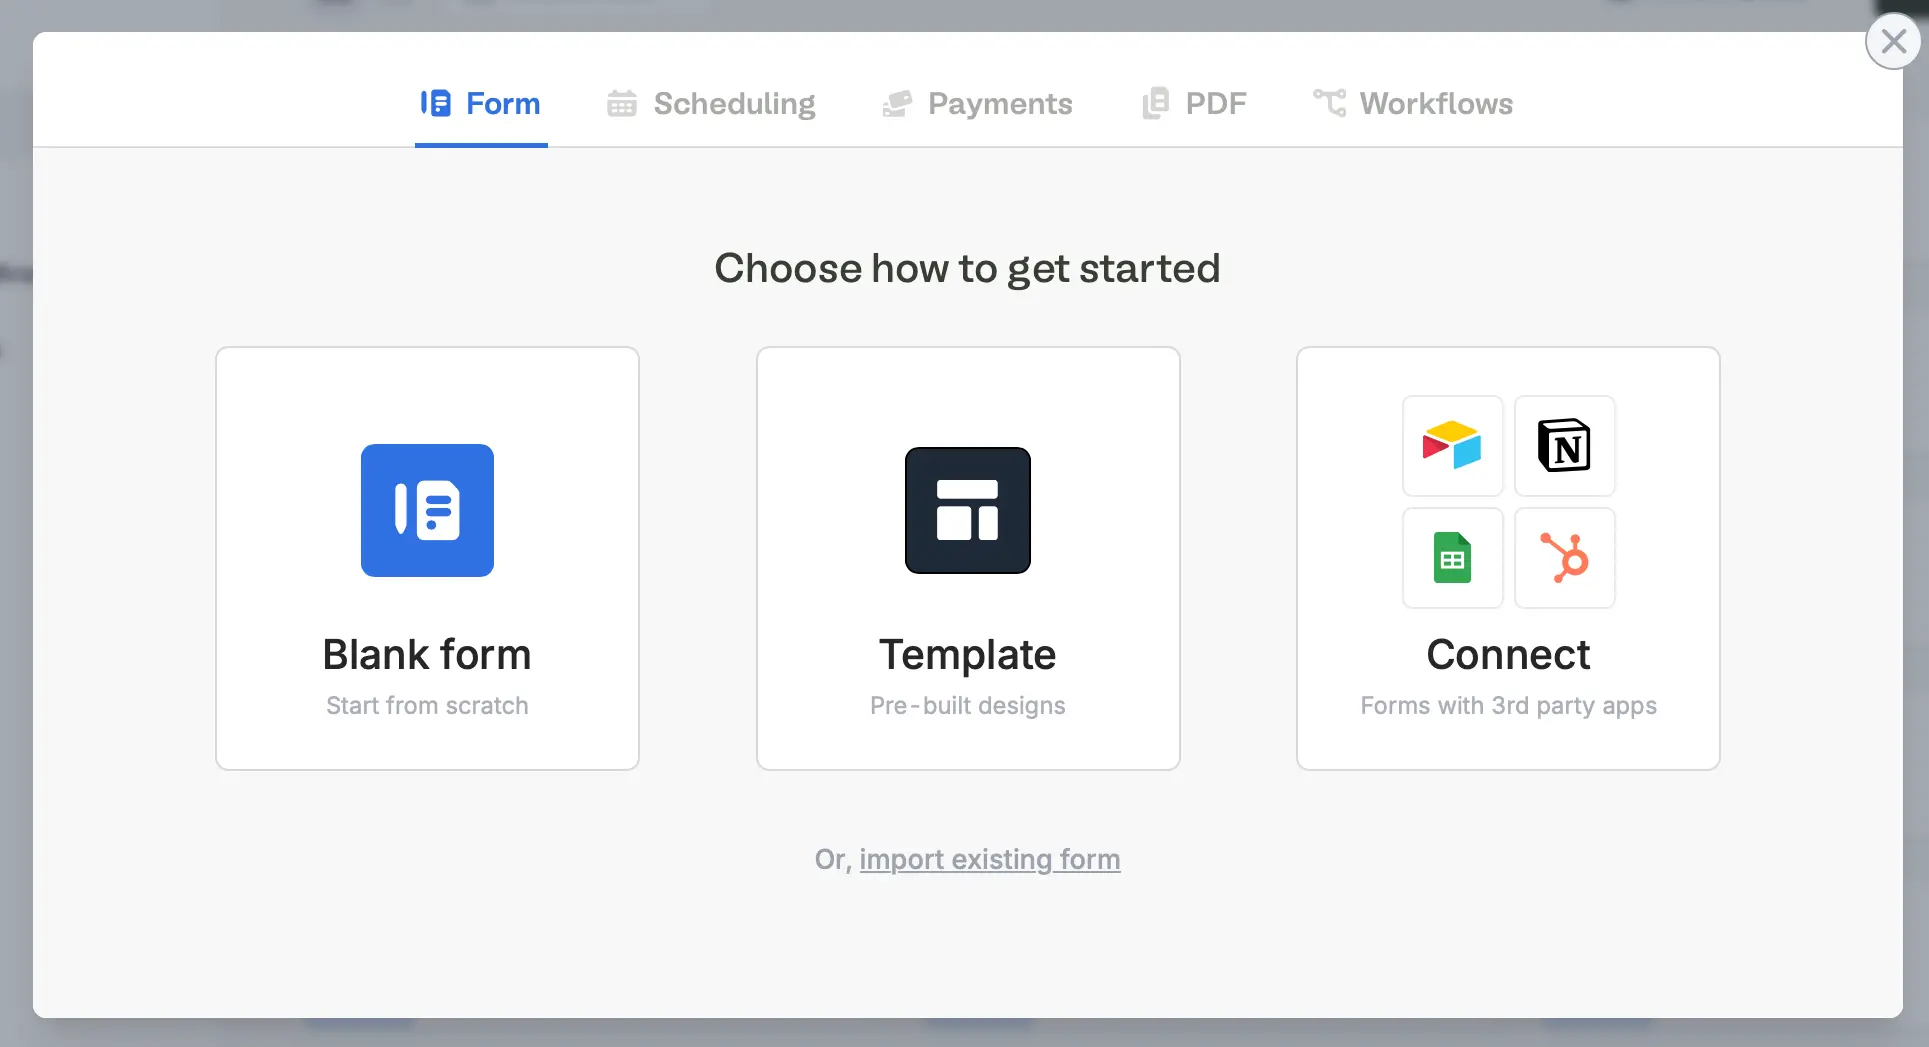
  • In your Fillout dashboard, click the New Form button and pick Notion form in the popup.
notion image
 
  • Choose your theme (don’t worry, you can always change this later).
 
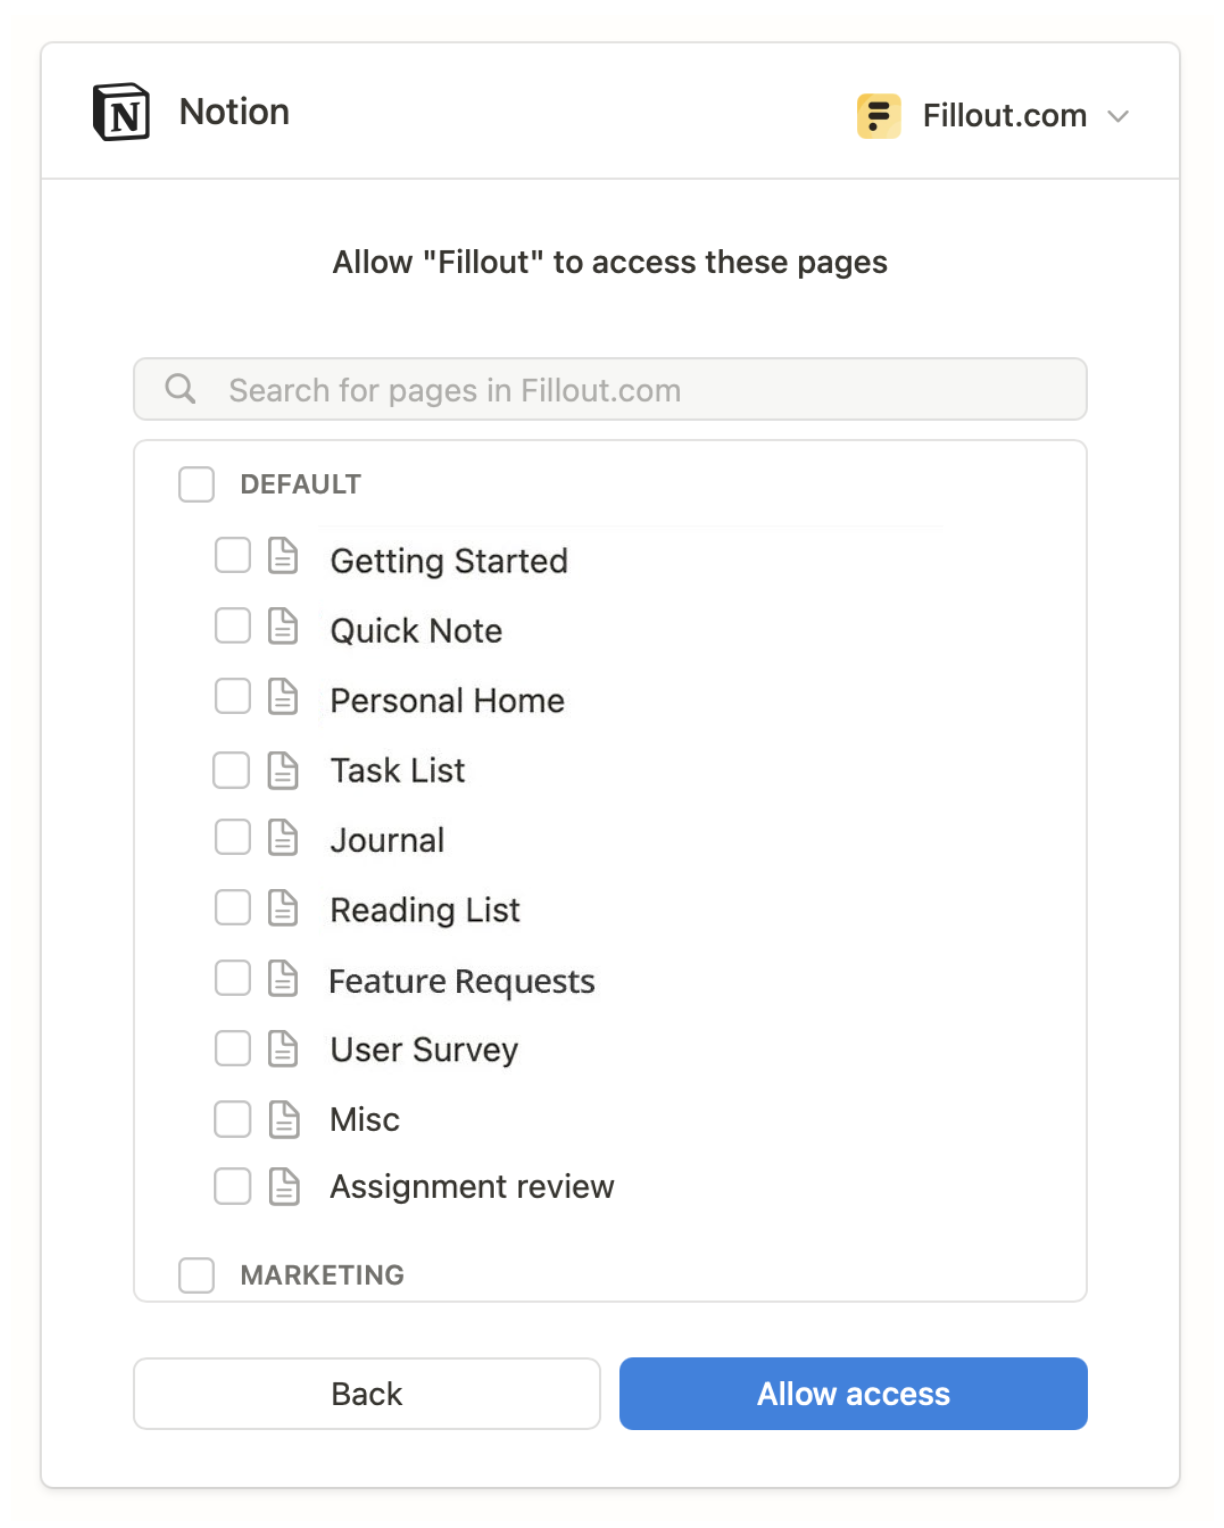
  • Click Connect to Notion and in the resulting authentication menu, you’ll be asked to allow access to your Notion workspace. Press Select pages to continue.
    • notion image
 
Tip: If you have multiple workspaces in Notion, check you’re connecting to the correct one. You can change your Notion workspace in the top right corner of this popup.
 
  • You’ll now see a list of all of the pages in your workspace. Select the pages you would like the integration to be able to access, and then press Allow access.
    • You can add and remove pages to this integration any time later inside your Fillout dashboard.
notion image
 
  • If your Notion workspace hasn’t pre-populated already, simply press the dropdown menu and select it.
notion image
 

3. Select a database

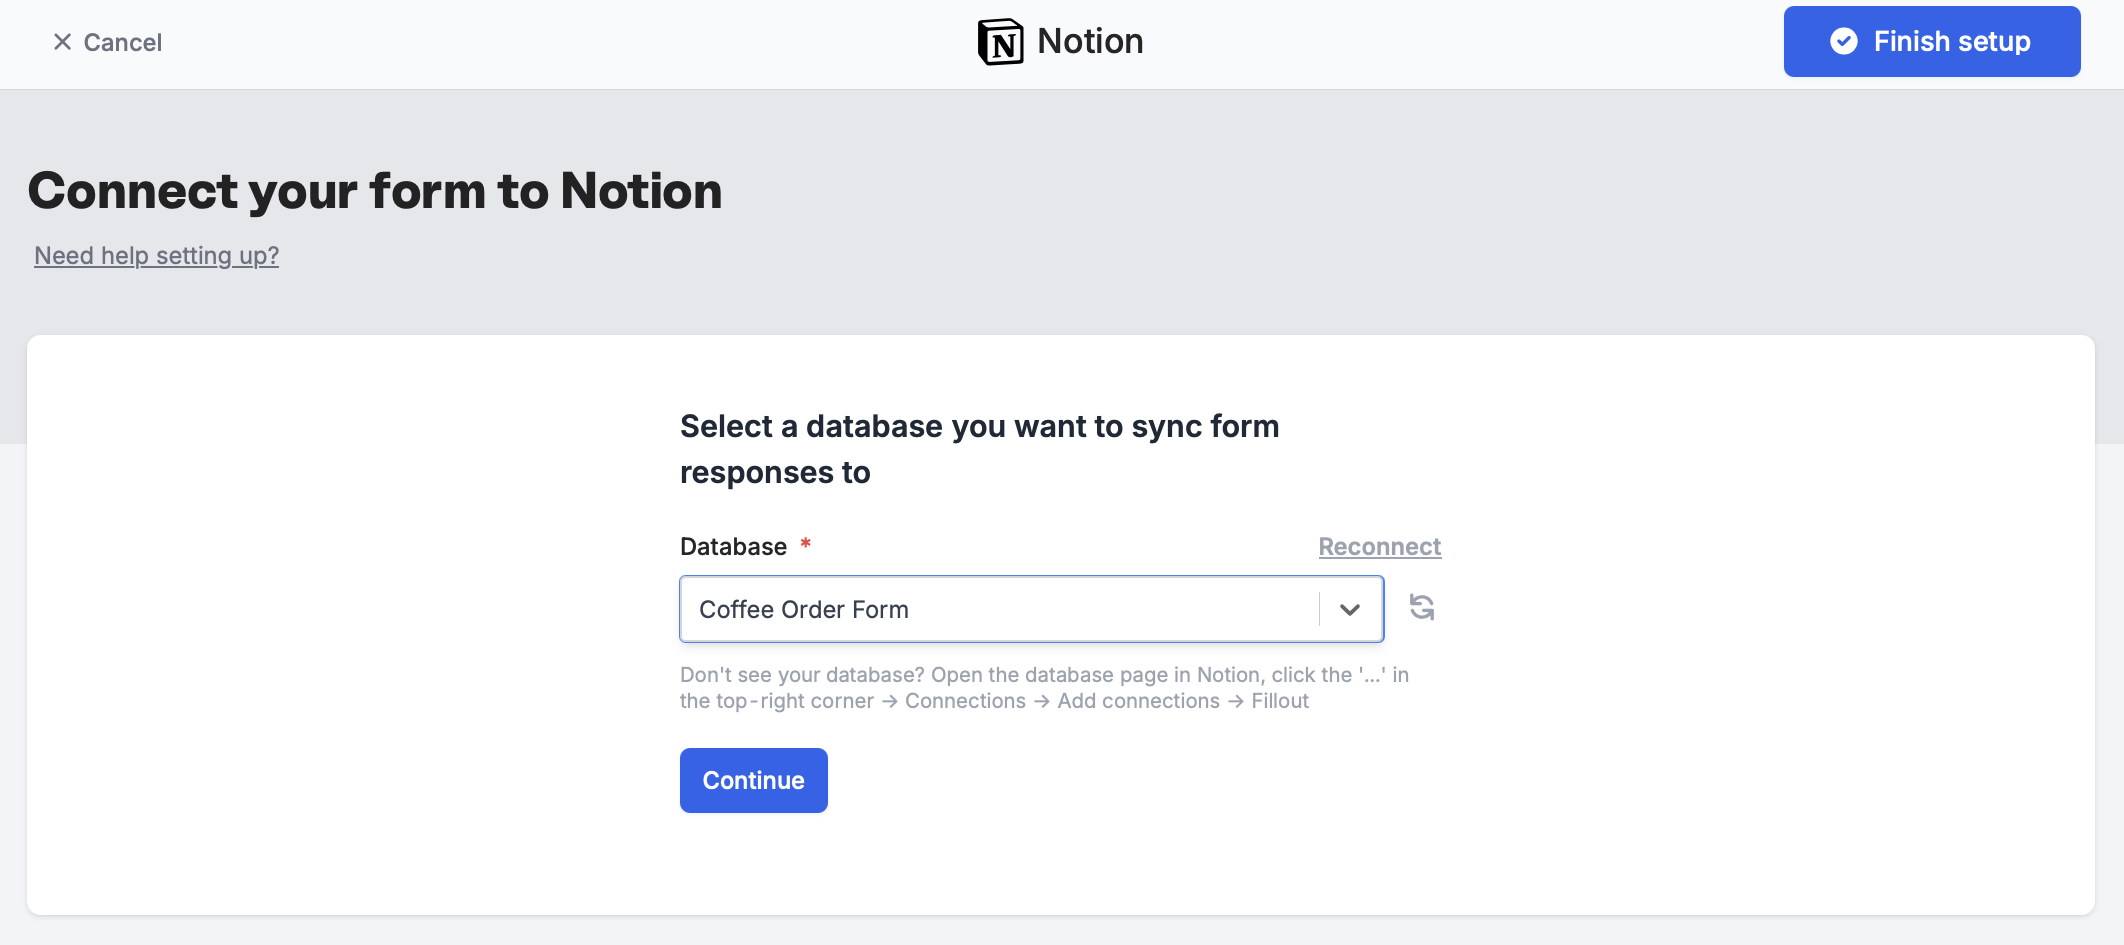
  • Next, select your database from the dropdown menu. This is the database you’ll be using with your form.
  • Press Create Form
notion image
Troubleshooting: Don’t see your database in the dropdown list? Check you have connected to the correct workspace and granted access to the page where your database lives.
 

4. Map your questions

 
Now you’ve connected to Notion and synced with your database, it’s time to create your form.
Fillout will pull your questions (and answer options, when present) directly from your Notion database.
 
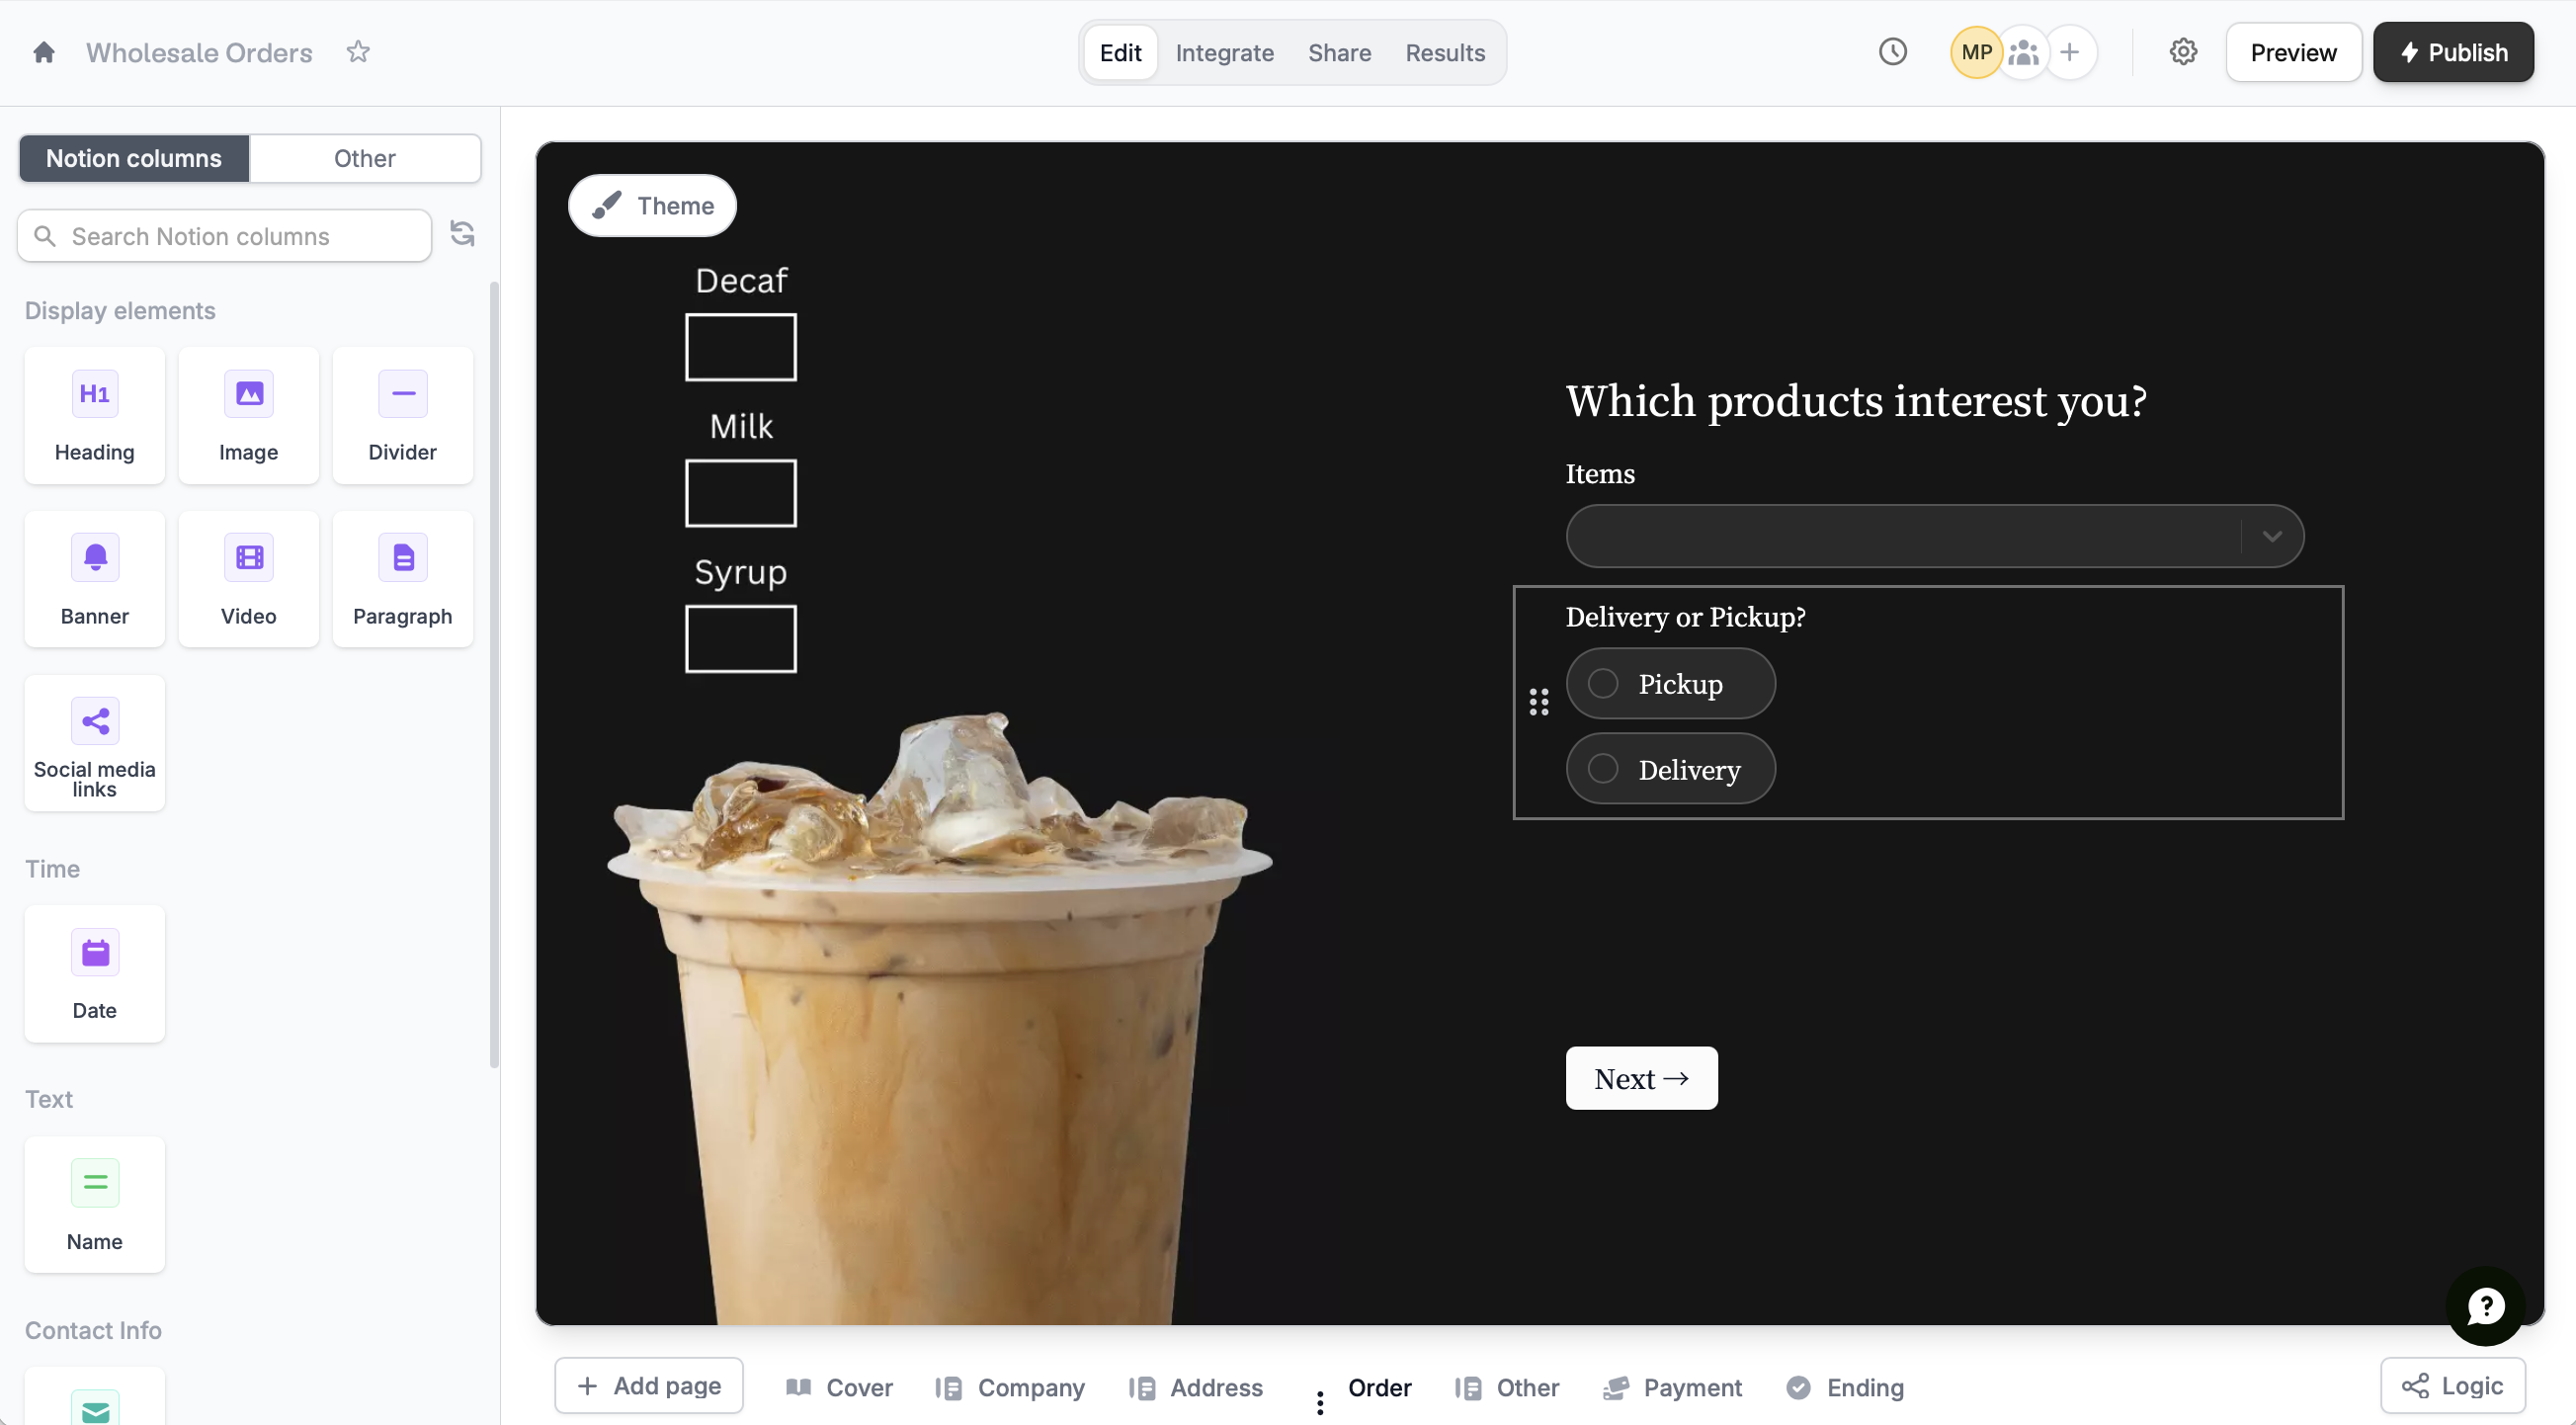
Notion Columns now appears in the left sidebar of your Fillout form editor.
 
All the properties you set up in Notion are here. Simply drag & drop to start building your form.
 
notion image
 
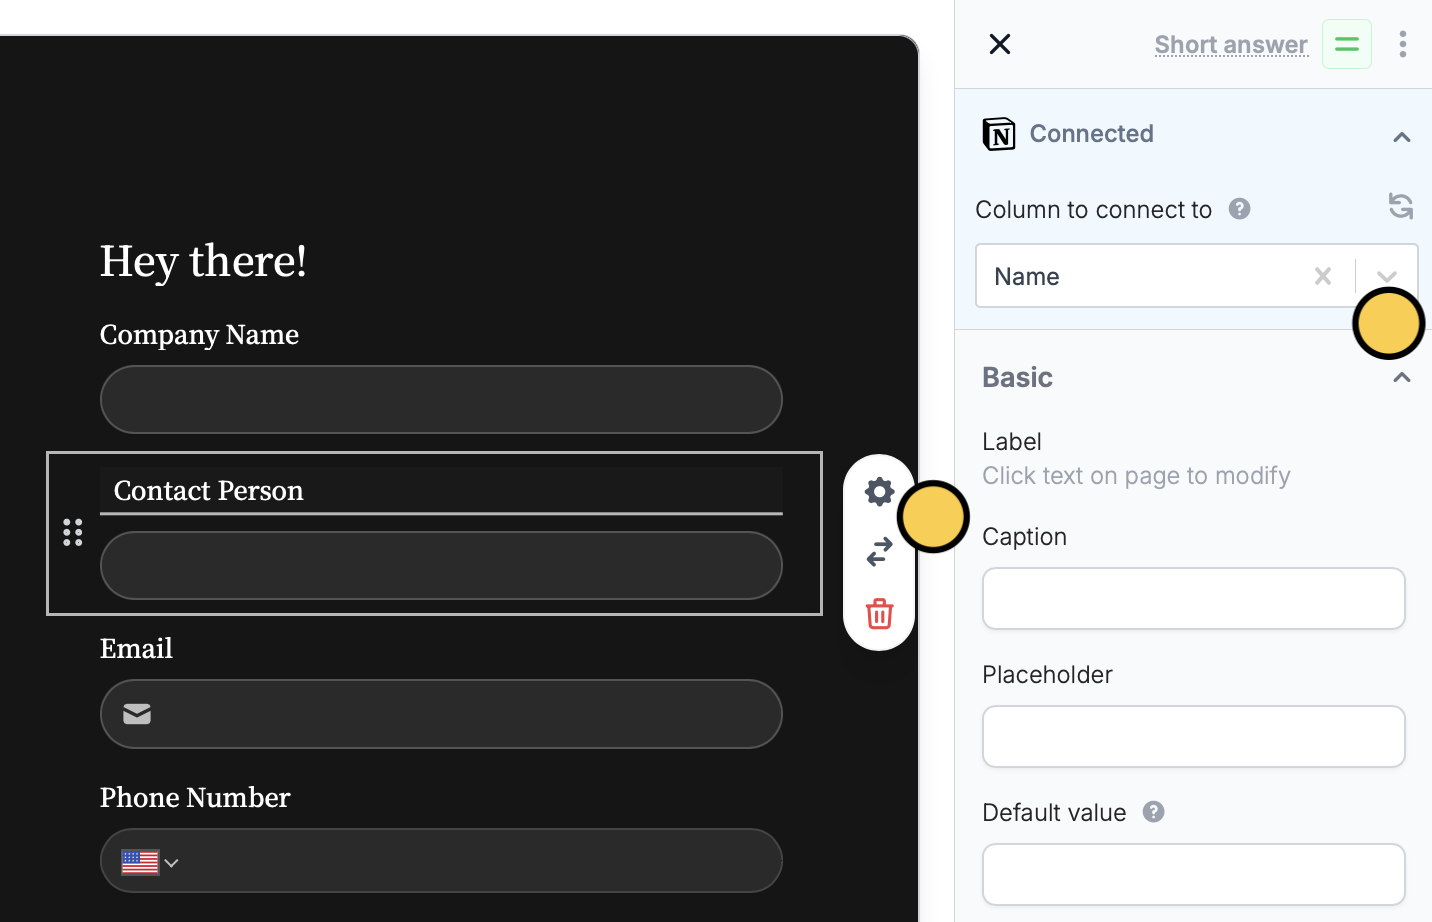
To connect a new question to your Notion database, or check an existing connection, go to the dropdown menu inside Connected > Column to connect to in the right sidebar.
 
ℹ️
Tip: If you make changes in your Notion database that you want to reflect in your Fillout form, hit the Refresh Notion Connection icon 🔄 


5. Publish & Share

 
Once you’ve finished creating your form, you’re ready to go!
Simply Publish and share. Form responses will now automatically populate inside your Notion database.
 
Fillout has many powerful features like branching and conditional hide/appear logic. No matter how complex your needs are, there’s a way to build it in Fillout.
 

Notion specific guides

Update existing Notion pages with a form