Video tutorial
How it works
Create a payment form
From the Fillout dashboard, 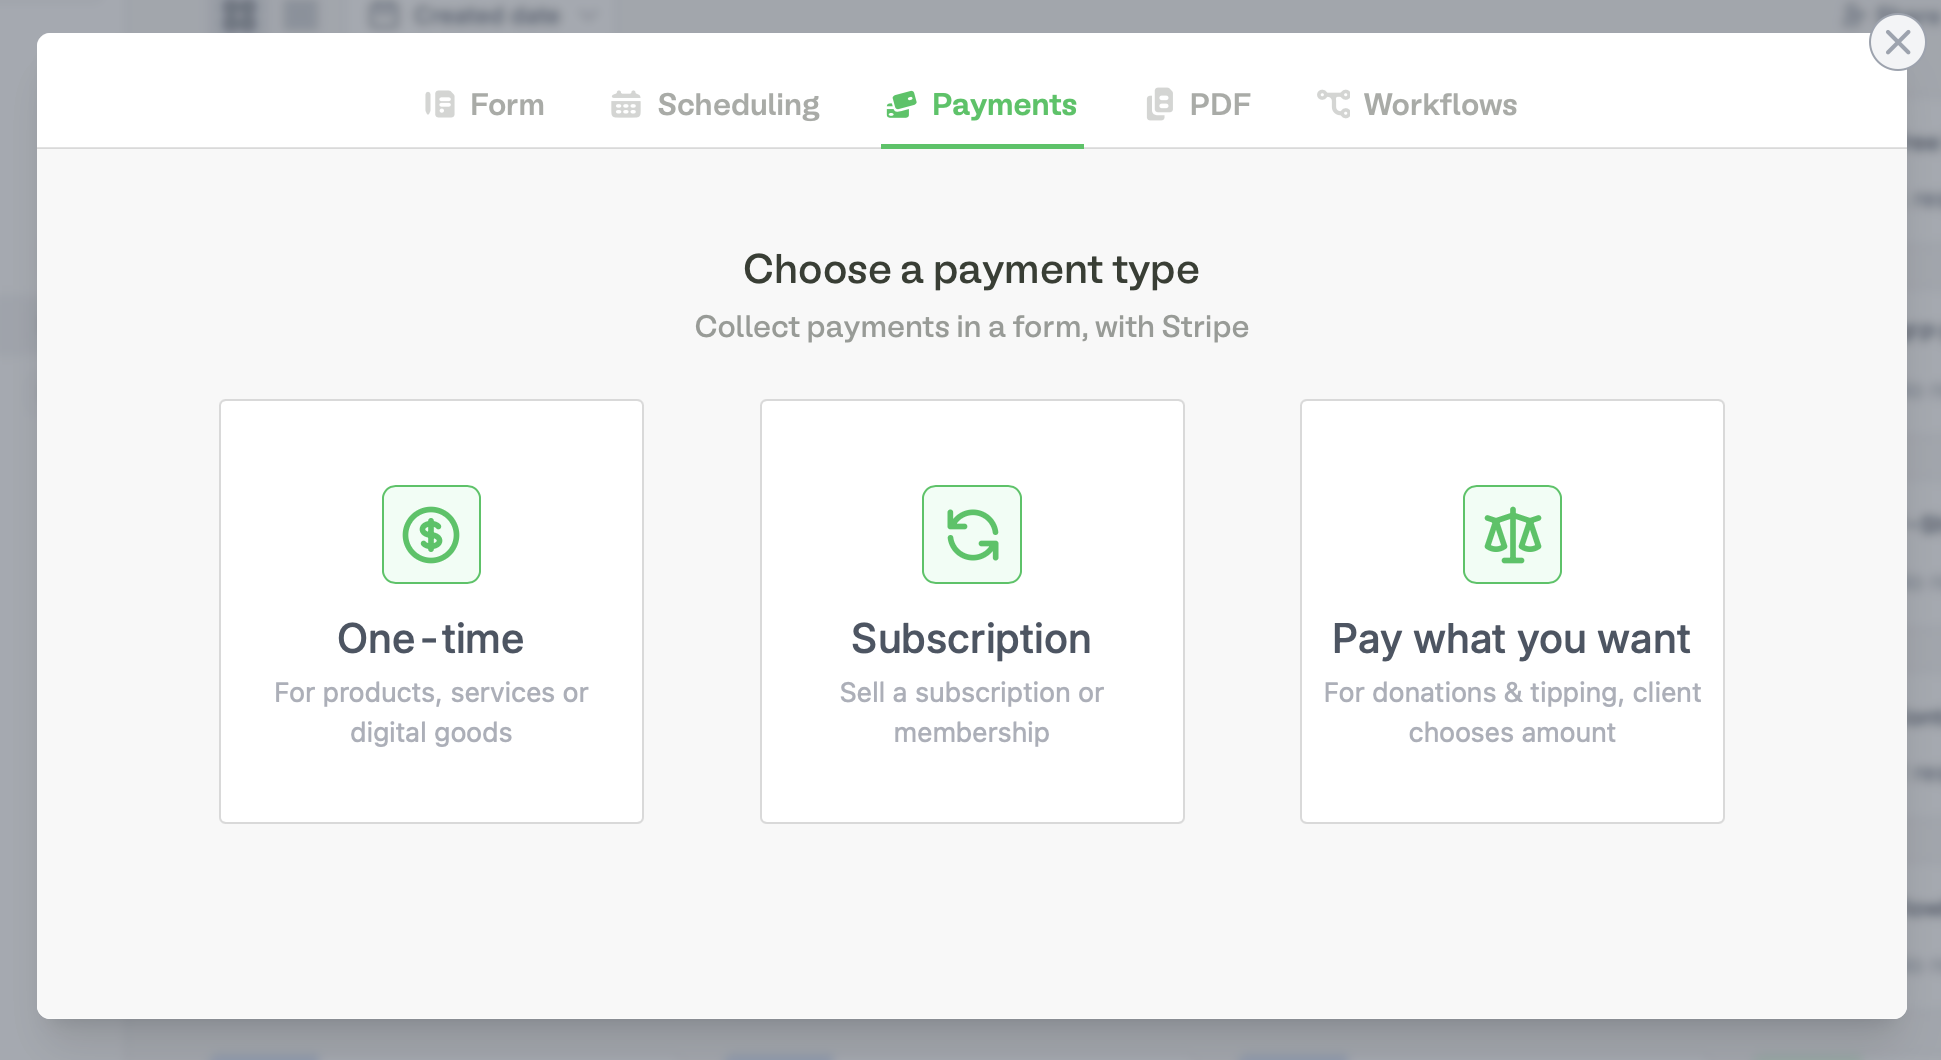
+ Create a form and choose Payments. Next, Connect to Stripe.Edit the product details
Click 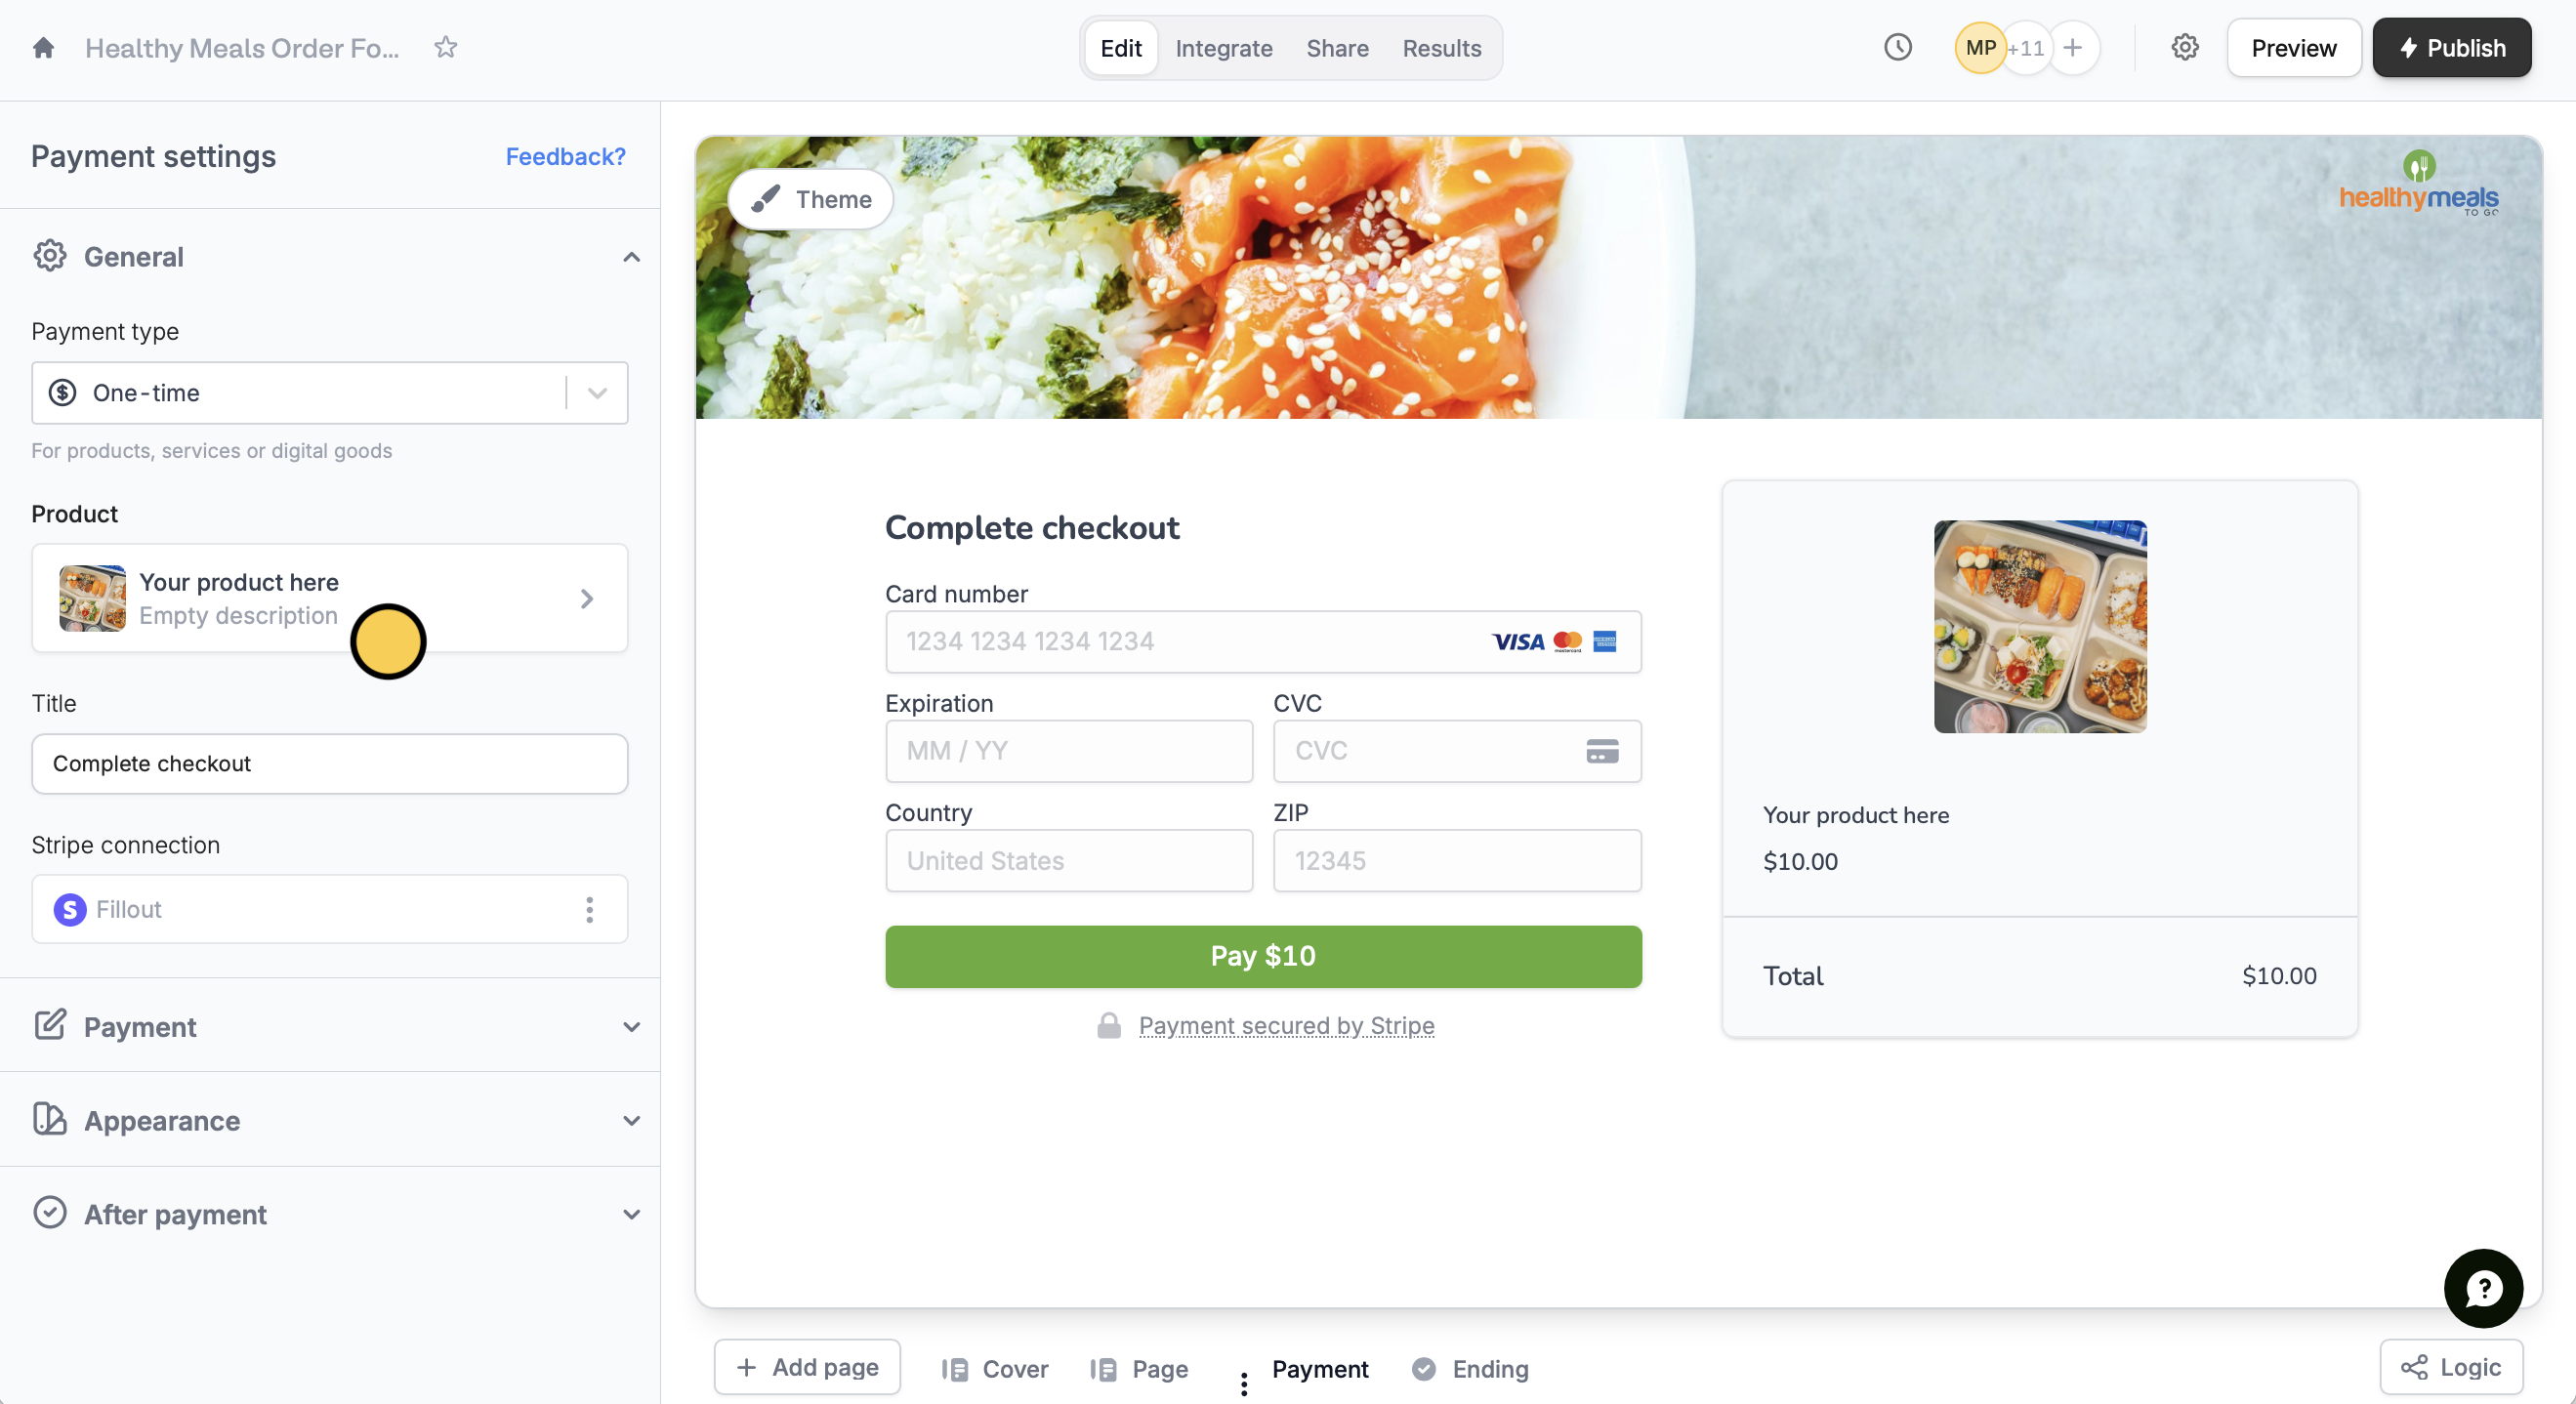

Product to change the details as you see fit.Configure payment settings (Optional)
In the left-hand panel, you can switch payment type, add discount codes, add payment methods, and more. Check this article to learn more.
Connect the form to an Airtable
Click
Integrate on the top menu to connect to your Airtable account. Then, choose a base and table.Map Airtable columns to form payment fields
Go to your Airtable base, and create one column per payment field.Then, 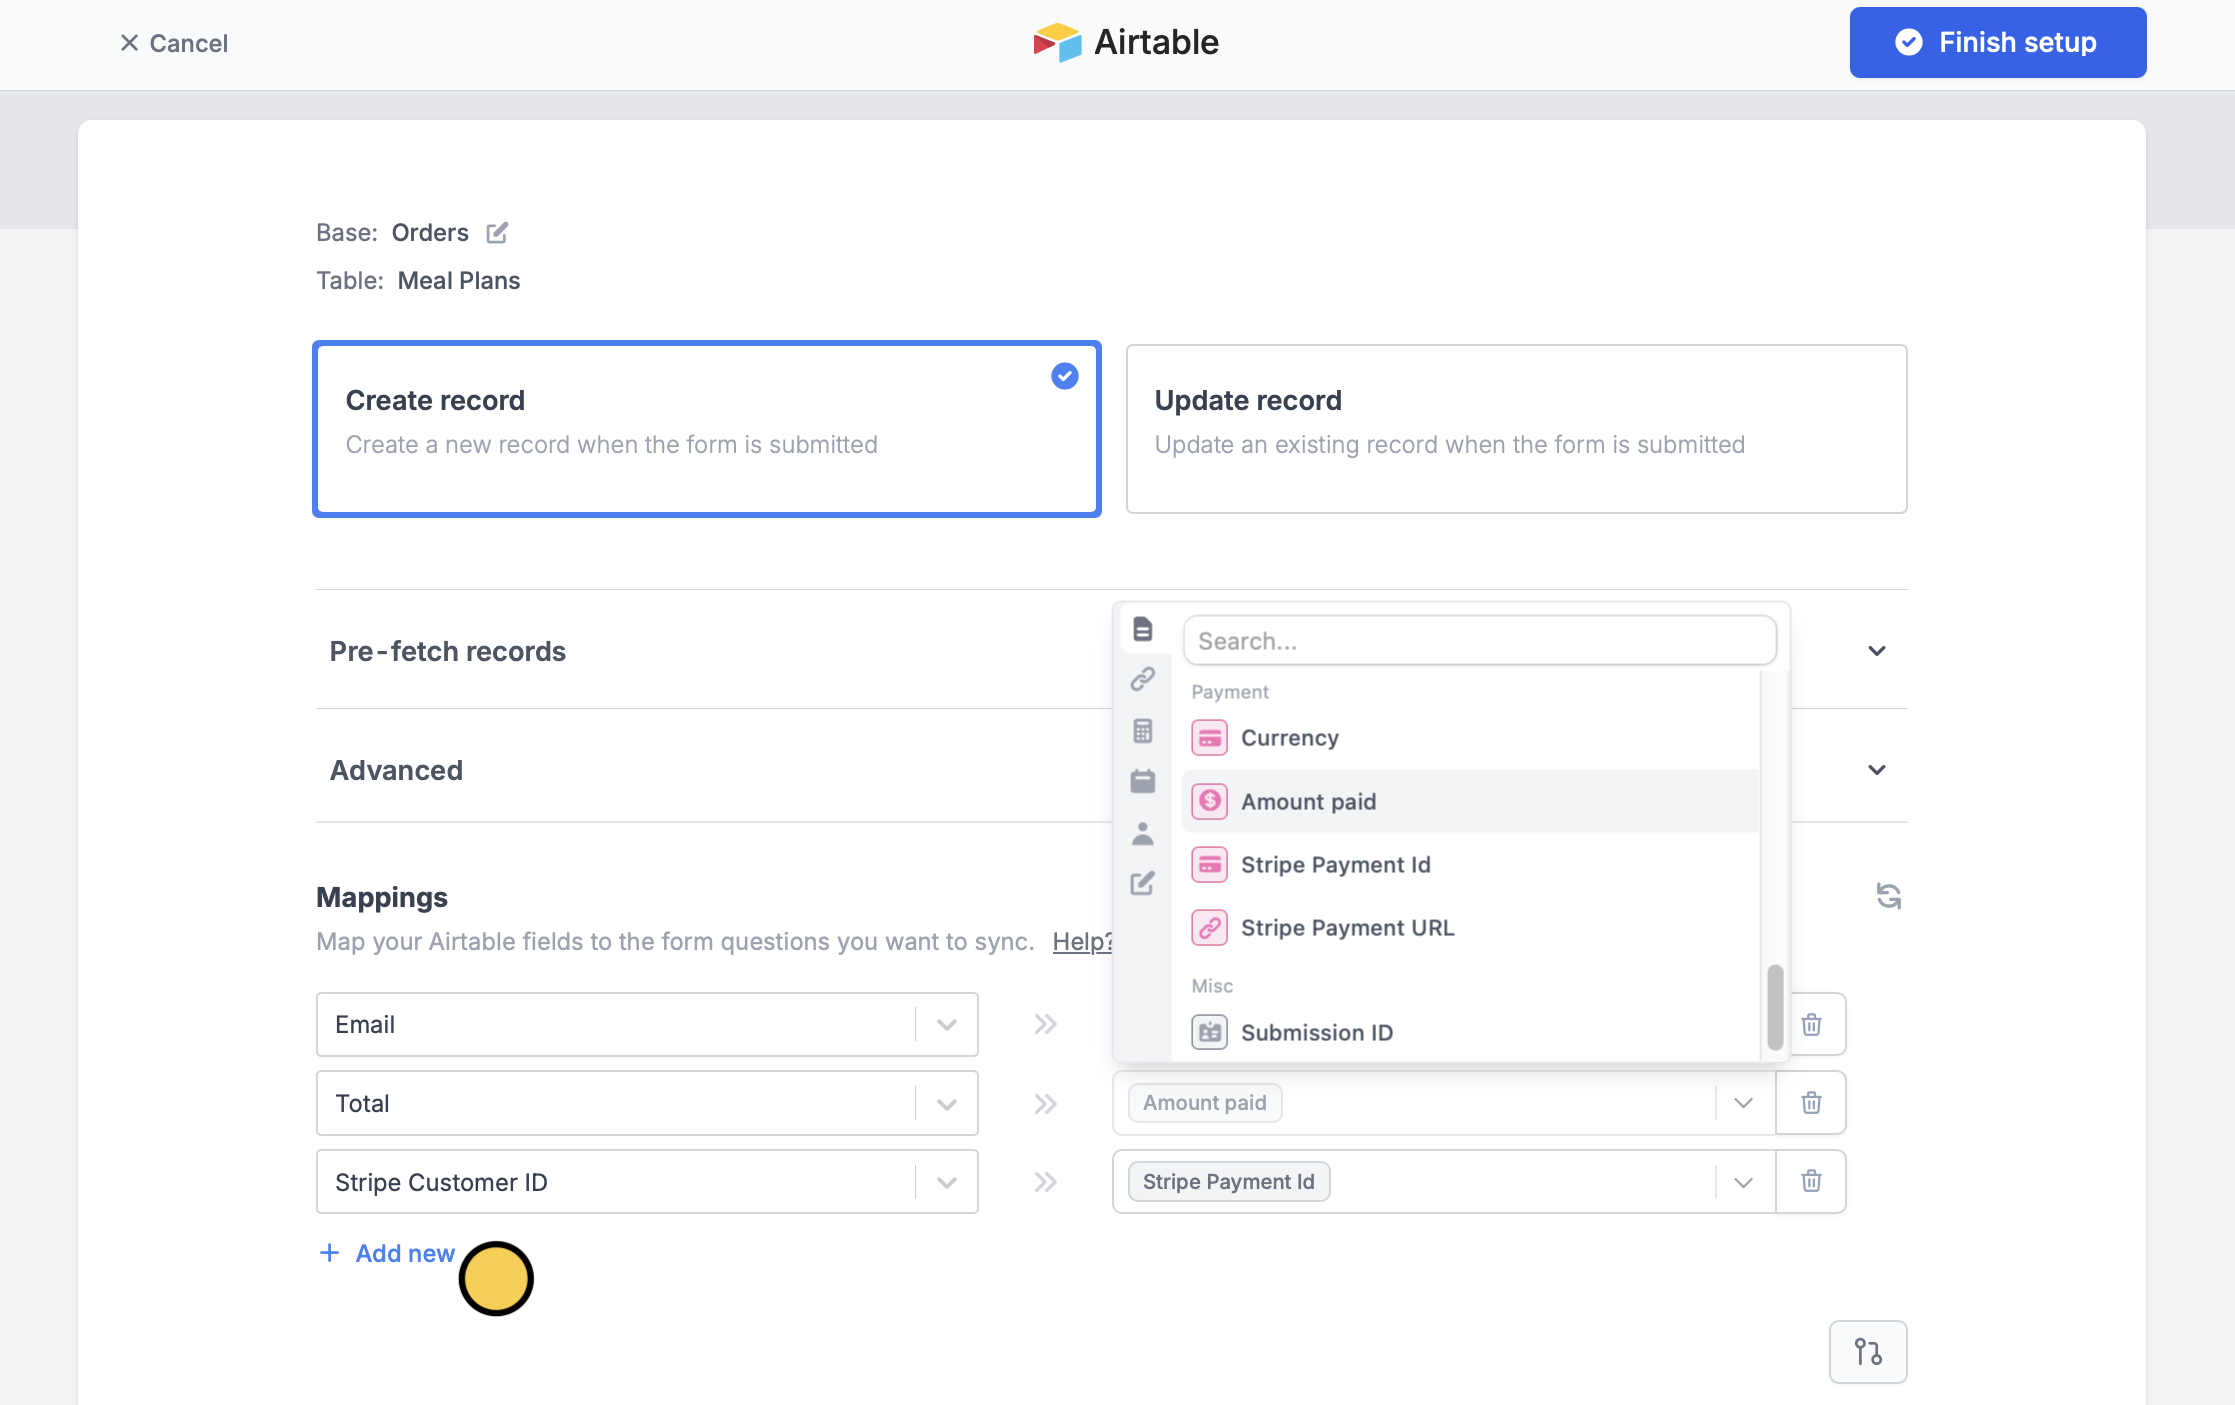
+ Add new Airtable field on the left and select the corresponding Fillout field on the right.Related articles
Payment page
Collect payments via card, US bank account, and more.
Dynamic payment page
Auto-update product and price by order.
Create an Airtable form
Use a form to create or update Airtable bases.